


December 2002 TOSHIBA TEC 1 - 87 e-STUDIO160/200/250 ADJUSTMENT ITEMS
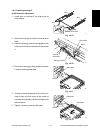
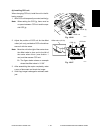
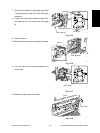
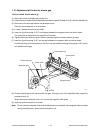
7. While pressing down the drive gear jig, tighten
7 finger-tight screws (B) of the main drive gear
assembly.
8. Loosen the wing screw, release the tab of the
drive gear jig arm, and remove the drive gear
jig.
Fig. 1-9-5
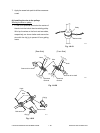
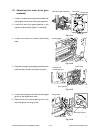
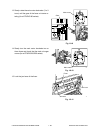
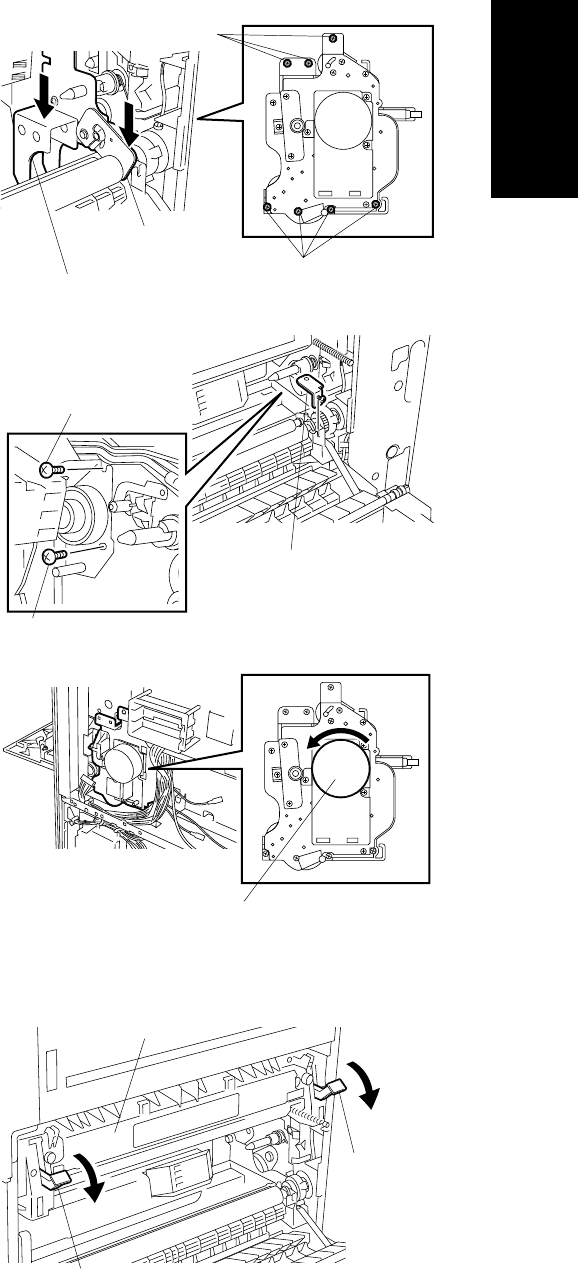
9. Mount 2 screws.
10. Mount the bushing plate and tighen 2 screws.
Fig. 1-9-6
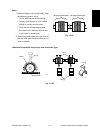
11. Turn the main motor counterclockwise two or
three times.
Fig. 1-9-7
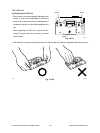
12. Release the jam lever of the fuser.
Fig. 1-9-8
05
06
07
08
Screw (B)
Screw (B)
Drive gear jig
Drive gear jig arm
Screw
Bushing plate
Screw
Main motor
Fuser
Jam lever
Jam lever