


Installation
2–20 975-0012-01-02 Rev A
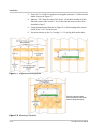
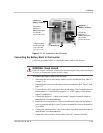
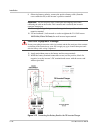
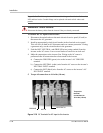
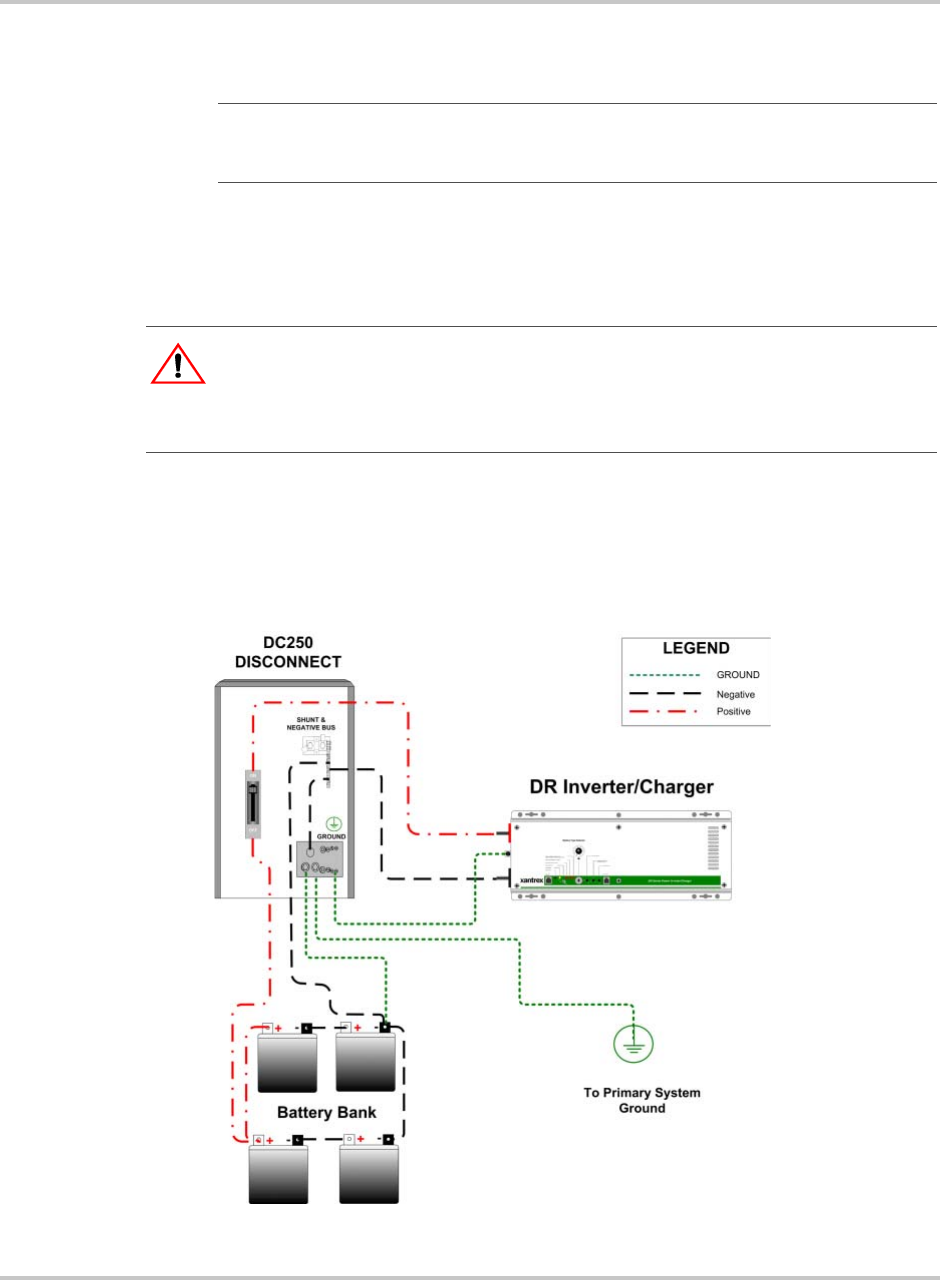
8. Observing battery polarity, connect the positive battery cable (from the
over-current device) to the inverter’s positive terminal.
9. Observing battery polarity, connect the negative battery cable to the inverter’s
negative terminal.
10. Use an insulated ½ inch wrench or socket to tighten the 5/16 SAE nuts to
10-15 ft-lb (13.6 to 20.3 nm) for each inverter input terminal.
11. Apply antioxidant paste to the battery and inverter terminals.
12. Install the battery terminal connection covers (red for positive, black for
negative) over the inverter’s DC terminals and secure with the screws and
washers provided.
Important:
The next step may cause a small spark and snapping sound when
connecting the cable to the inverter. This is normal, and is caused by the inverter’s
capacitors charging up.
: Equip
CAUTION: Equipment Damage
Do not put anything between the cable ring terminal and the flat metal part of the terminal.
overheating of the terminal may occur. Do not apply any type of antioxidant paste until
after the battery cable wiring is tightened.
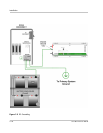
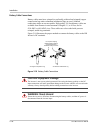
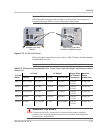
Figure 2-12
Connecting the Battery Bank to the DR Inverter/Charger