


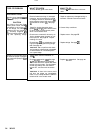
TYPE OF PROBLEM
NO OUTPUT
(Continued)
Motor runs but pump does
not stroke
EXCESSIVE PRESSURE
FLUCTUATIONS
Spray panern variations.
MOTOR IS HOT
e
RUNS INTERMllTENTLY
WHAT TO CHECK
If
check is
OK,
go
to next check
,
Check to see
if
intake valve ball and
piston ball are seating properly.
See
manual 307-793.
.
Check for leaking around throat packing
nut which may indicate worn or damag
-
ed packings.See manual 307-793.
.
Check displacement pump connecting
rod
pin.
See
page 26.
,
Check connecting rod assembly for
damage. See page 25.
.
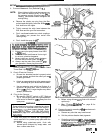
Be sure crank
in
drive housing rotates;
plug
in
sprayer and turn on momentarily
to check. Turn
off
and unplug sprayer.
See
page 25.
.
Be sure both G1 and G2 leads from
firmly
connected. See
page
22.
bridge
1308)
to circuit
board
13401
are
'.
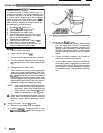
Check stall pressure. Refer to Calibration
procedure on page 24.
i.
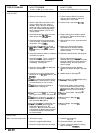
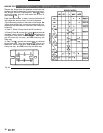
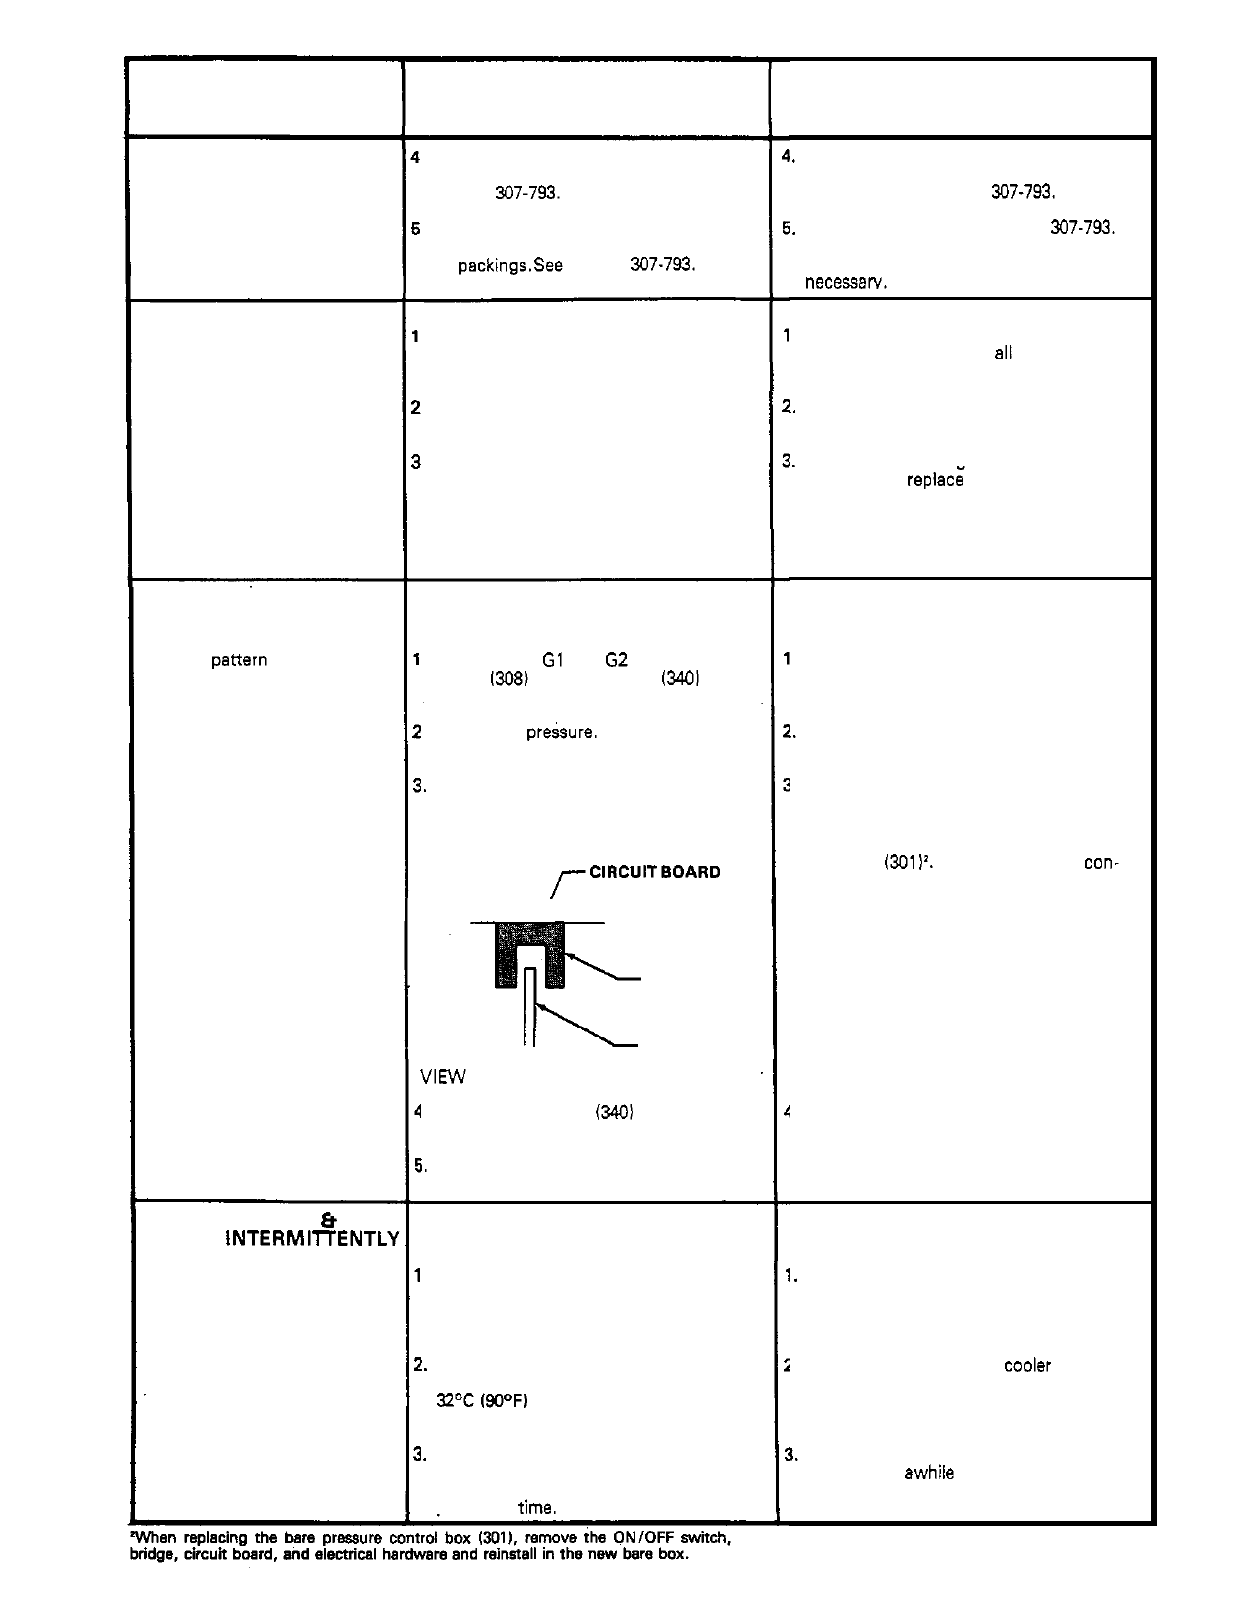
Check bourdon tube flag and detector
position. Turn pressure sening to max
-
imum; flag should not drag or bind
in
optical detector slot of circuit board.
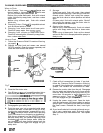
r
CIRCU'TBoARD
OPTICAL
DETECTOR
"
OPTICAL
DETECTOR
FLAG
VIEW
OF OPTICAL DETECTOR AND FLAG
I.
Check circuit board
(3401
by substituting
with a good board. See page
22.
i.
Check
LOW
OUTPUT section on page
12.
.
Check to
see
if
sprayer has been
operating at high pressure with small
tips, which causes low motor RPM and
results
in
excessive heat build up.
I.
Check to
see
if ambient temperature
where sprayer is located is more than
32%
(90°F)
or
if
sprayer
is
located
in
direct sun.
!.
Check to
see
if
sprayer has been left in a
stalled condition [sprayer turned on,
pressurized, but not operating) for long
periods of
time.
WHAT TO
DO
If
check
is
NOT
OK
refer to this column
,.
Remove intake valve and clean. Check
balls and seats for nicks; replace if
necessary. See manual
307-793.
#.
Replace packings. See manual 307-793.
Also check piston valve seat for harden
-
ed
paint or nicks and replace
if
necessarv.
.
Replace pin if missing. Be sure retainer
spring is fully in groove
a11 around
connecting rod. See page 26.
!.
Replace connecting rod assembly. See
page 25.
i.
Check drive housino assemblv for
damage and
replac; if necessary.
See
page
25.
.
Reconnect securely. See page
22.
I.
Calibrate pressure control. See page 24.
I.
Carefully bend flag into alignment with
detector slot to see if that corrects pro
-
blem.
assembly
(3011'. Calibrate pressure con-
If not, replace bare pressure control
trol after reassembly.
I.
Replace circuit board. See page
22.
I.
Decrease pressure sening or increase
tip
size.
!.
Move sprayer
possible.
to shaded, coolel
'
area if
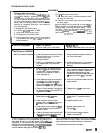
1.
Turn
off
sprayer whenever you stop
spraying for
awhile and relieve fluid
pressure.
307-671
13