


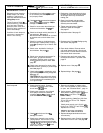
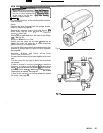
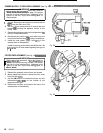
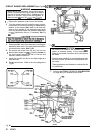
POWER SUPPLY CORD REPLACEMENT
(See
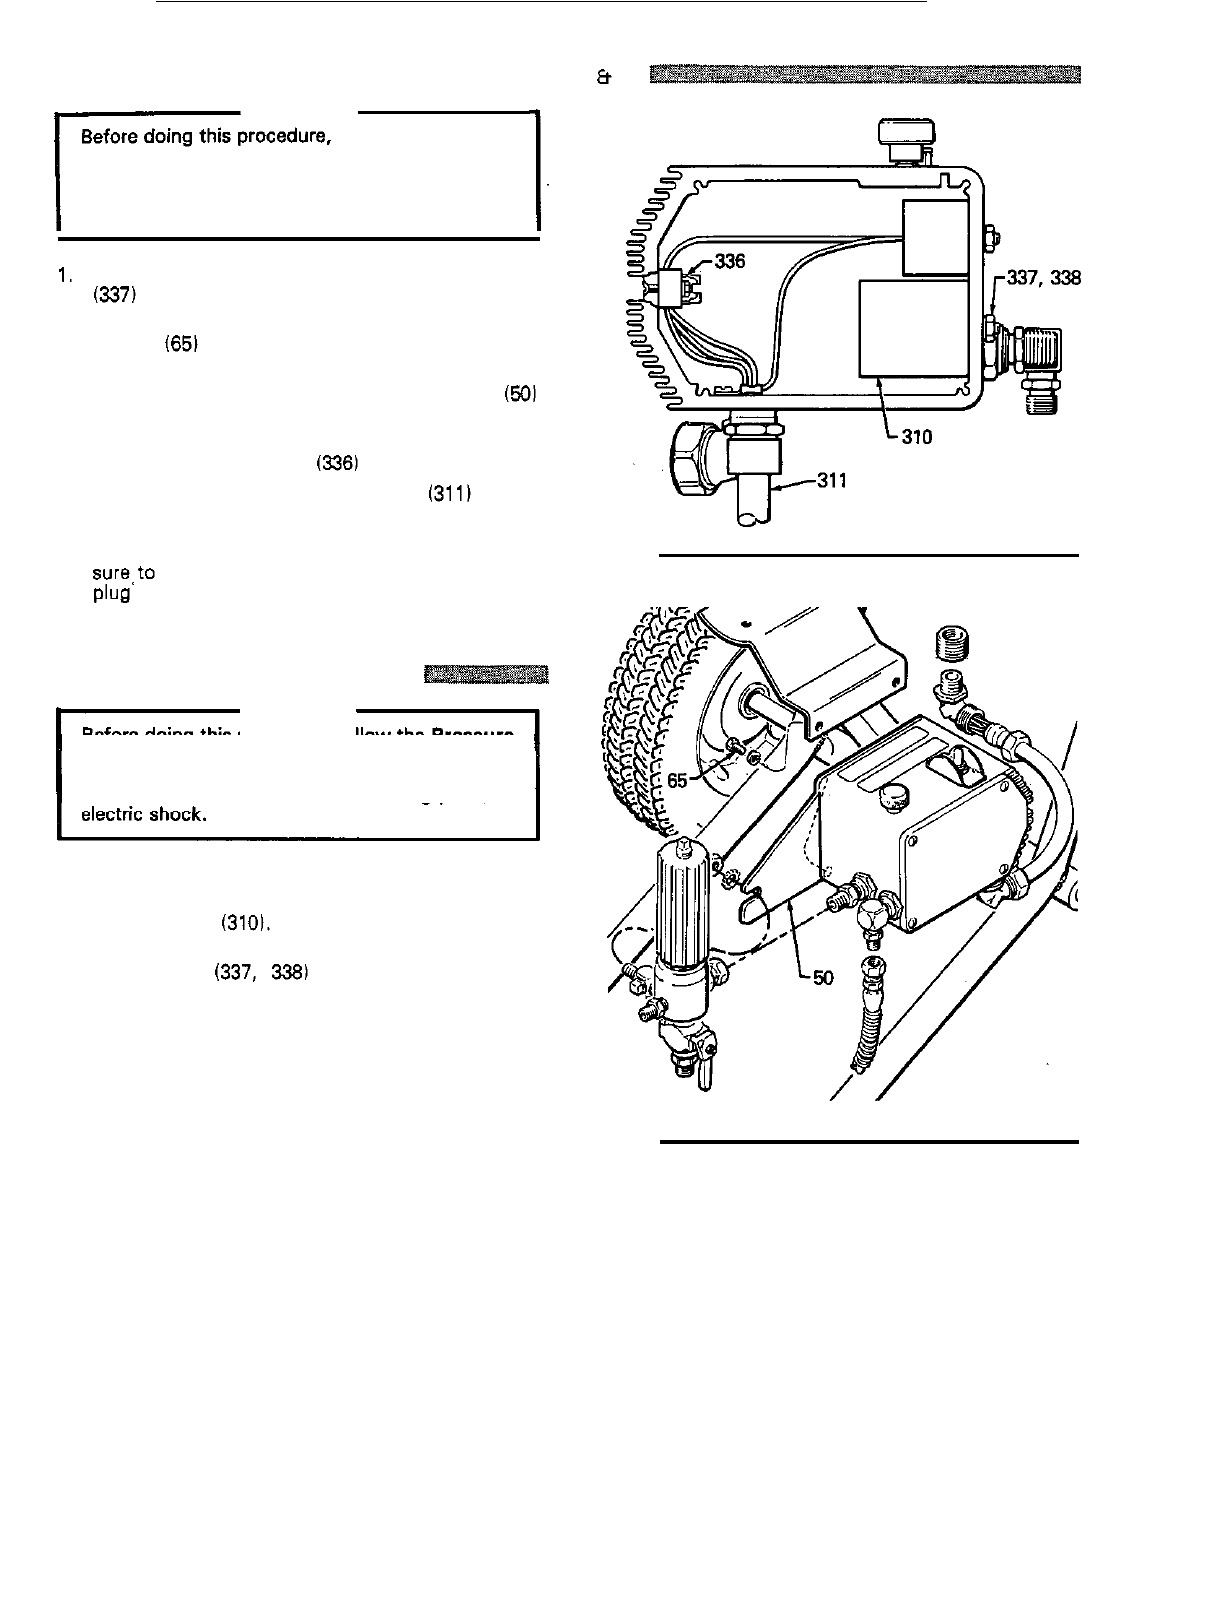
Fig 12
Et
131
WARNING
follow the Pressure
Relief Procedure Warning on page 17 to reduce
the risk of
a
fluid injection injury, splashing in the
eyes or on the skin, injury from moving parts, or
electric shock.
1. Use the
19
mm open end wrench to remove the nut
(337)
from the filter stud (310).
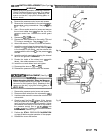
2.
Use
the
13 mm socket wrench to remove the
two
screws (651 holding the pressure control to the
frame.
3. Remove the pressure control mounting bracket
(50)
using
a
Phillips screwdriver.
4.
Disconnect the power supply cord wires from the
control box terminal strip
(336) using
a
screwdriver.
5. Install the new power supply cord
(3111 in the
reverse order of disassembly.
Install
a
new plug on the other end
of
the cord. Be Fig
12
sure,to follow
all
local codes regarding the type of
olua to use.
.I
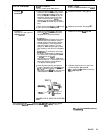
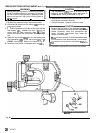
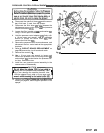
FILTER REPLACEMENT
(See Fig 12)
WARNING
Before doing this procedure, follow the Pressure
the risk of
a
fluid injection injury, splashing in the
Relief
Procedure Warning on page 17 to reduce
eyes or on the skin, injury from moving parts, or
1. Remove the pressure control cover and screws.
2.
Use
a
needle nose pliers to remove the four wires
from the filter (3101.
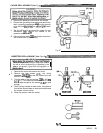
3.
Use the
M8
wrench to remove the lower nut and
lockwashers
(337,
338)
on the outside of the
pressure control box.
4.
Remove the old filter and install a new one in the
reverse order of disassembly.
Fig
13
18
307
-
671