-70-
Model G0773 (Mfd. Since 12/14)
Tensioning &
Replacing V-Belts
V-belts stretch and wear with use, so it is impor-
tant that tension is routinely checked and adjusted
as needed. Improperly tensioned V-belts will slip
or poorly transmit power from the motor. We rec-
ommend checking the tension on a monthly basis
to ensure optimal power transmission. Replace
the V-belt if it becomes cracked, frayed, or glazed.
Keep belts and pulleys clear of exposure to oil,
grease, or cutting fluids that will cause them to
slip.
Tool Needed Qty
Hex Wrench 4mm .............................................. 1
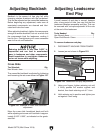
Pulley
Deflection
Pulley
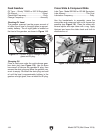
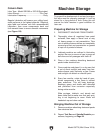
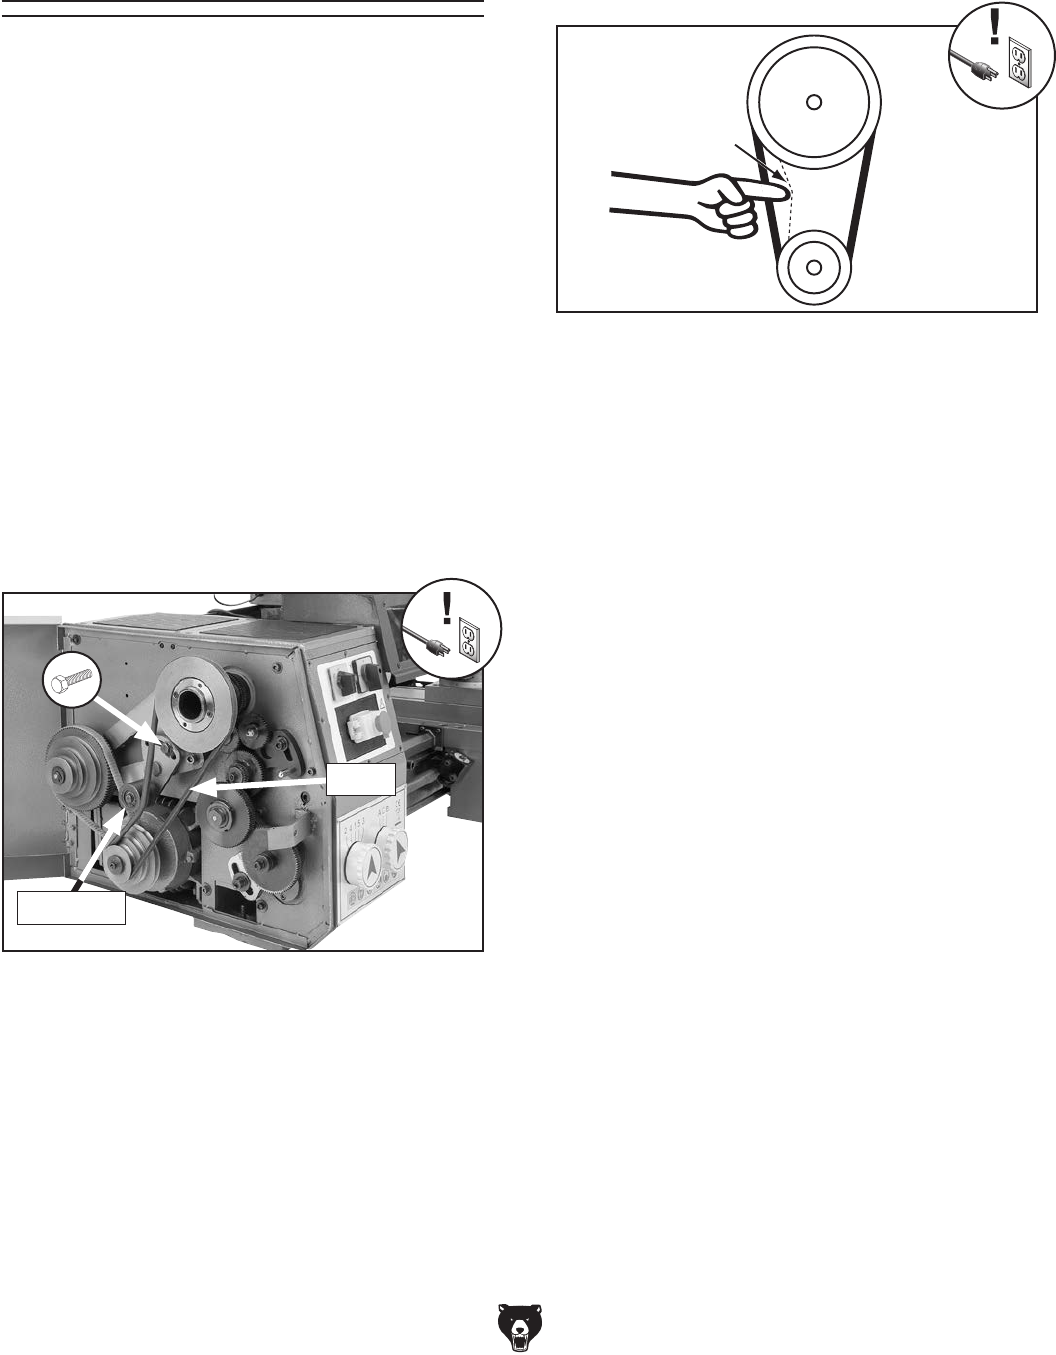
Figure 120. Correct V-belt deflection.
1
⁄8"
The V-belt is correctly tensioned when there
is approximately
1
⁄8" deflection when pushed
with moderate pressure between the pulleys,
as shown in Figure 120.
—If there is more than
1
⁄8" deflection, adjust
tension until it is correct.
5. Close end cover.
Replacing V-Belts
1. DISCONNECT MACHINE FROM POWER!
2. Open end cover.
3. Loosen tensioner bolt (see Figure 119) to
relieve tension on V-belt.
4. Carefully roll V-belt off of pulleys.
5. Install new V-belt, then tension as described
in Tensioning V-Belts.
Tensioning V-Belts
1. DISCONNECT MACHINE FROM POWER!
2. Open end cover.
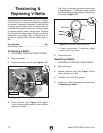
3. Loosen tensioner hex bolt (see Figure 119).
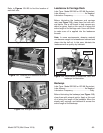
Figure 119. Tensioner bolt and V-belt.
Tensioner
V-Belt
4. Pivot tensioner (see Figure 119) against
V-belt to increase belt tension, then re-tighten
tensioner hex bolt.


