


-34- G0501 Sliding Table Saw
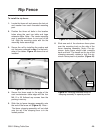
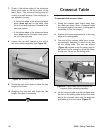
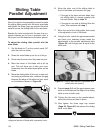
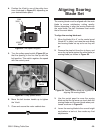
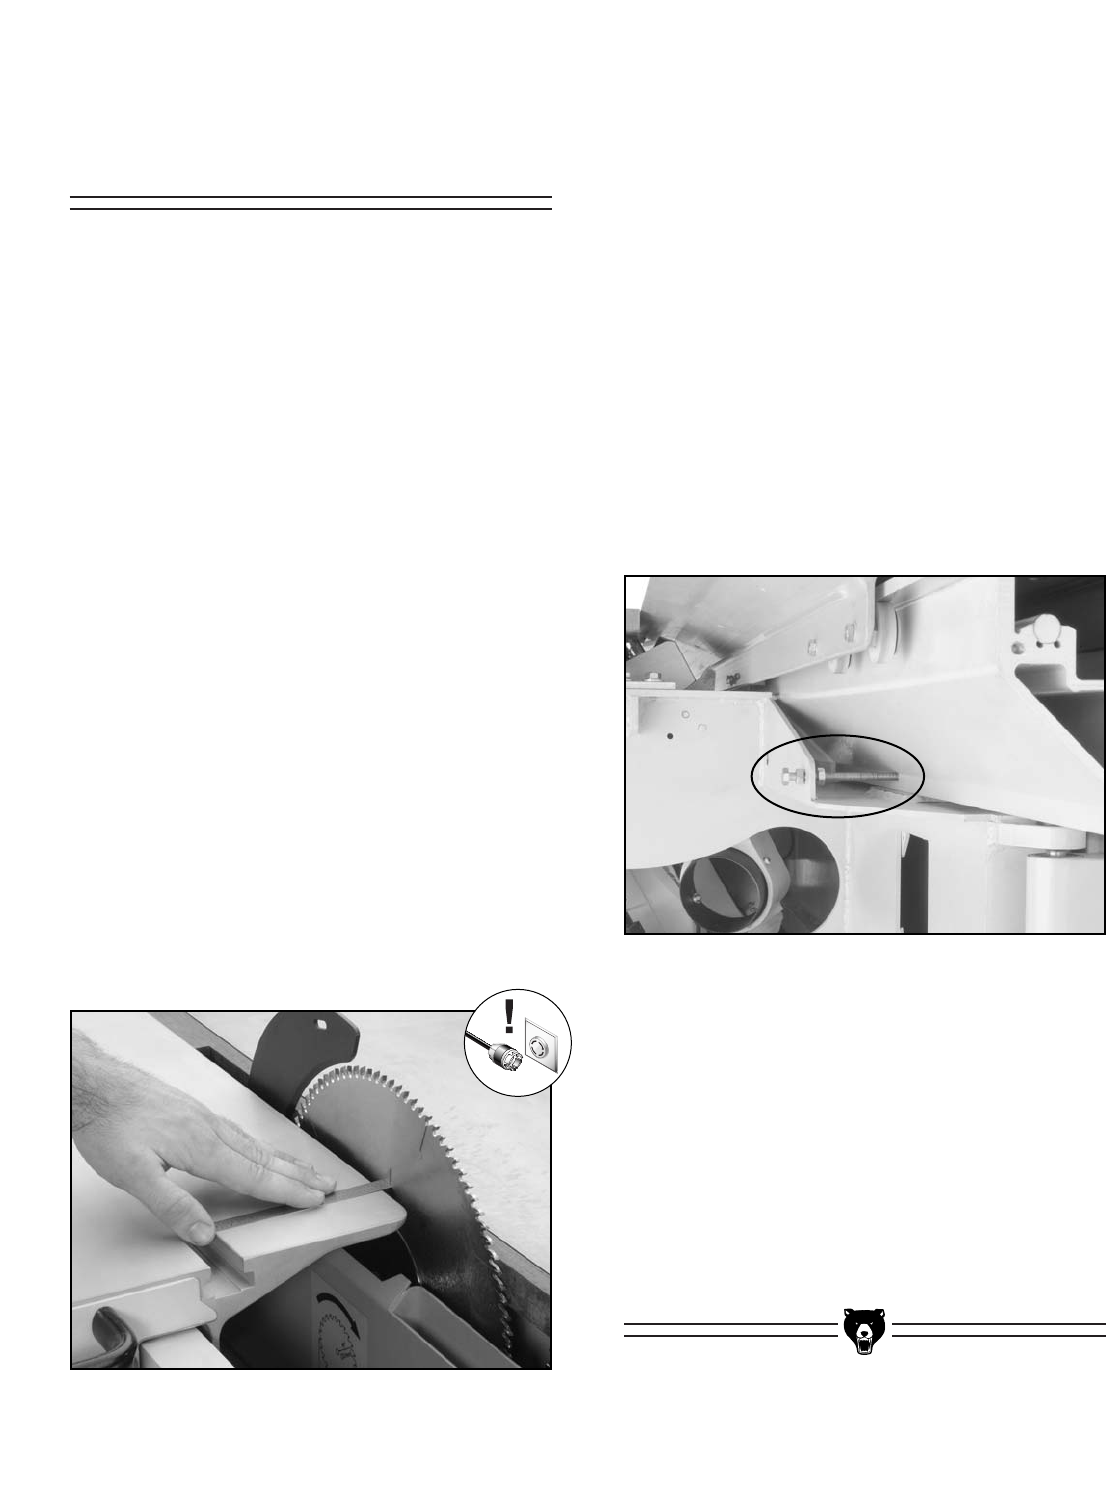
Figure 55. Sliding table parallel adjustment bolt
(other side not shown).
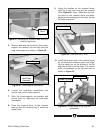
9. Repeat steps 5–6 until the gap between your
mark on the blade and the edge of the sliding
table is even at both ends.
10. Tighten the jam nuts on the parallel adjust-
ment bolts to secure them in place
11. Now tighten the three large cap screws
(Page 23, Figure 25) that secure the sliding
table to the base.
Sliding Table
Parallel Adjustment
Now is the point in the assembly process to make
the sliding table parallel with the main saw blade
and tighten the three large cap screws that were
used to secure the sliding table to the saw base.
Besides the tools included with the saw, this pro-
cedure requires you to have a precision ruler, a
felt tip pen, and the assistance of another person.
To adjust the sliding table parallel with the
main blade:
1. Set the blade to 0˚ on the control panel (90˚
with the cast iron table).
2. Raise the main blade up as far as it will go.
3. Disconnect the saw from the power source!
4. Mark the center of the blade with a felt tip
pen. This will allow you to take your mea-
surements from the exact same place on the
blade.
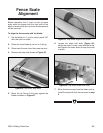
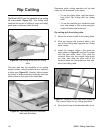
5. Move the sliding table all the way to one end,
and using a precision ruler, measure the gap
between the edge of the table and your mark
on the blade as shown in Figure 54.
Figure 54. Measuring gap between sliding table
edge and center of blade with a precision ruler.
6. Move the other end of the sliding table in
front of the blade and measure the gap.
— If the gap is the same on both sides, then
the sliding table is already parallel with
the main blade. Skip to step 10.
— If the gap on one side is different than the
other, then continue with step 7.
7. Move the end of the sliding table that needs
to be adjusted in front of the blade.
8. Using the ruler, watch the gap measurement
and have your assistant slowly make the
adjustments at the parallel adjustment bolts
(Figure 55) until the gap size is equal to the
other side.