G0501 Sliding Table Saw -49-
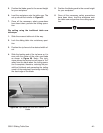
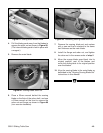
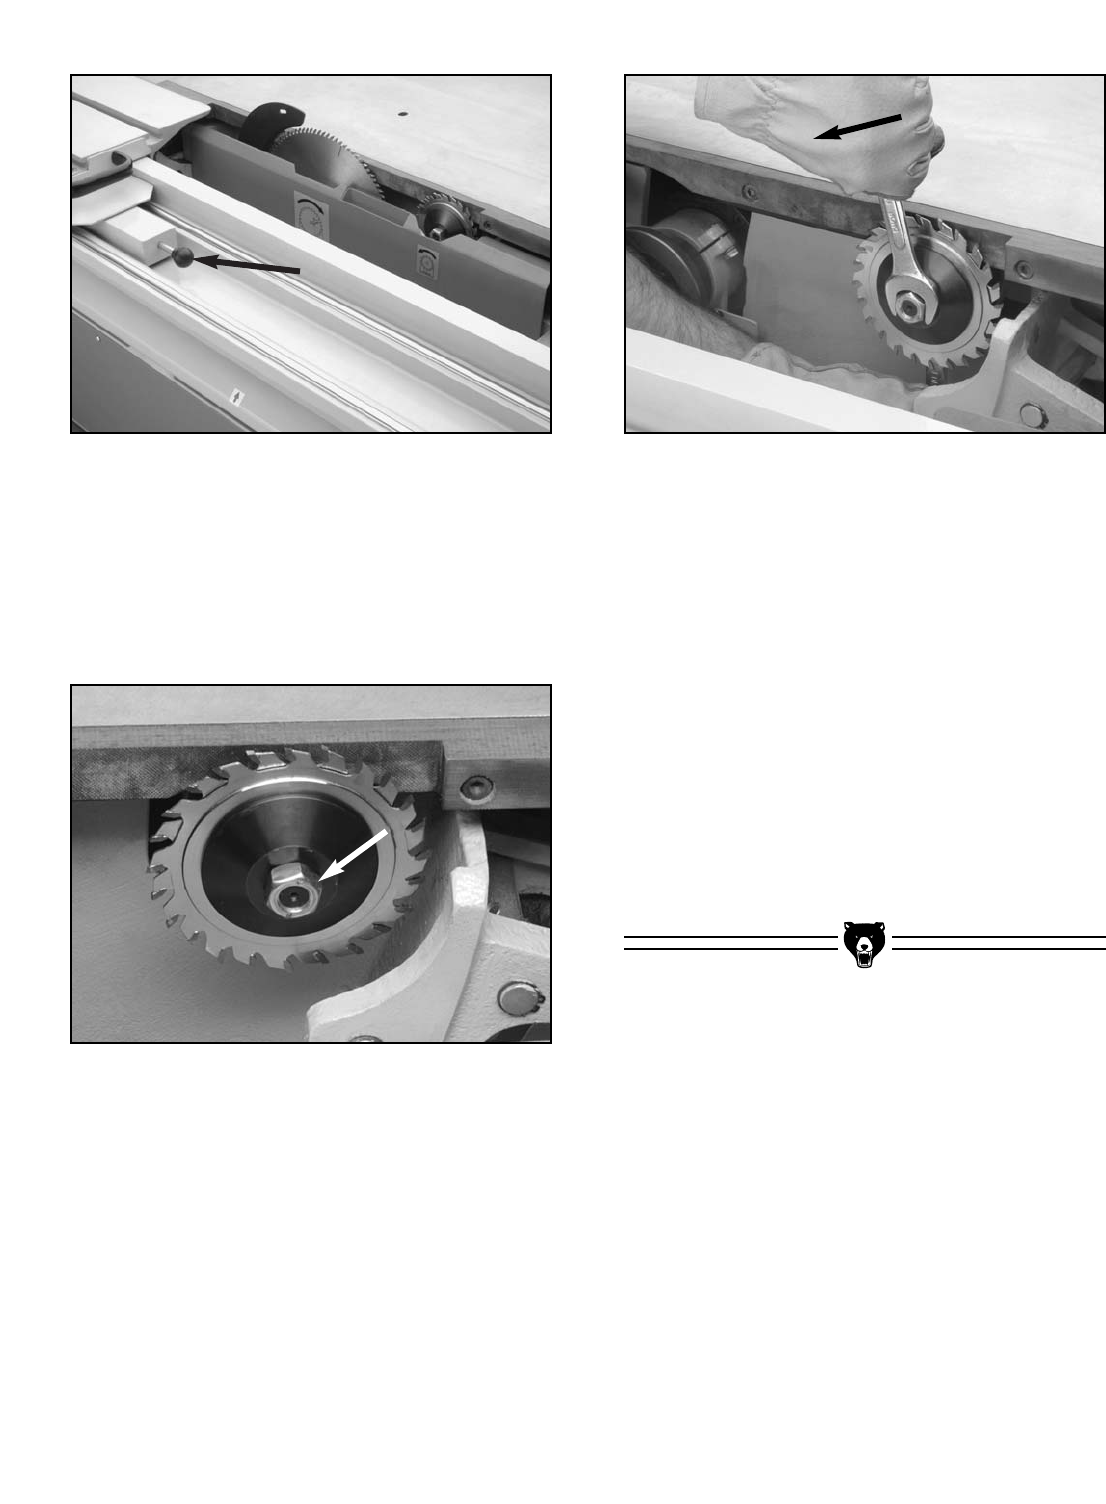
4. Pull the blade guard away from the blades to
expose the arbor nut as shown in Figure 88.
(The internal blade guard is held in place with
a magnet.)
5. Remove the main blade.
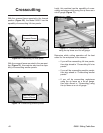
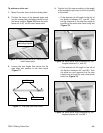
Figure 89. Loosening scoring blade arbor nut.
Figure 88. Scoring blade arbor nut.
6. Place a 23mm wrench behind the scoring
blade on the flats of the arbor shaft, and use
a 22mm wrench at the front to remove the
arbor nut and flange, as shown in Figure 89
(turn counter-clockwise).
7. Remove the scoring blade set and replace
with a new set that is stacked to the same
kerf thickness as the main blade.
8. Install the flange and arbor nut, and tighten
the arbor nut in the reverse order of step 5.
9. Move the orange blade guard back into its
original position, next to the blades, and
move the sliding table to its original position
over the blades.
10. Align the scoring blade to the main blade as
described in the “Aligning Scoring Blade Set”
instructions in this manual.
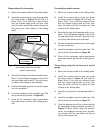
Figure 87. Sliding table release knob.


