


CHAPTER 17
Maintenance and Troubleshooting
220 DL.3 Digital Light User Manual
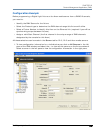
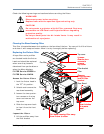
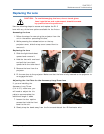
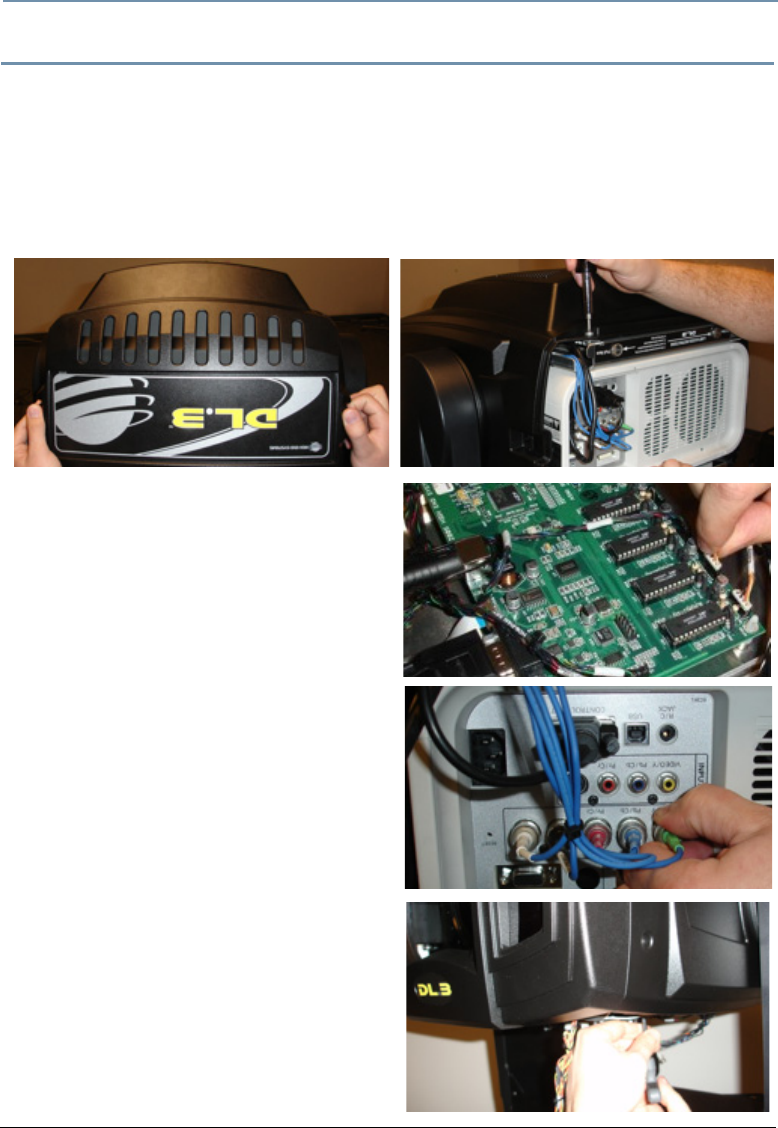
Removing the Projector
In the event that you need to remove the projector to return for service or to access the lens,
use the following steps.
1. Douse the projector lamp and allow the projector to go through its cool down procedure.
Disconnect the fixture from power.
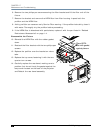
2. Disengage the two latches on the bezel and remove the back cover.
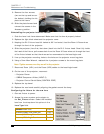
3. Loosen the two captive screws that hold the top bezel and remove it from the unit.
4. Disconnect Zoom (HD1) and the Focus
(HD2) plugs from the head-logic board.
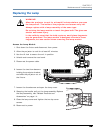
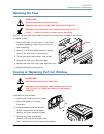
5. Tilt and lock the head at 90° horizontal with
the head-logic card facing toward the
fixture's yoke.
6. On the rear of the projector, disconnect the
following:
• Projector Power
• RGBHV Component Video (INPUT 2)
• Projector Control Serial Cable (CONTROL
PORT)
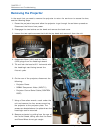
7. Using a 5mm allen wrench, reach under the
unit and remove the four screws mounting
the projector to the projector plate. The
screws are located above the plate where the
head logic card is mounted.
8. Remove projector by pulling from the rear of
the fixture's head, taking care that the Zoom
and Focus Wires do not get caught.