


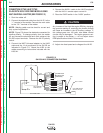


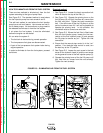
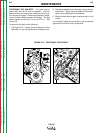
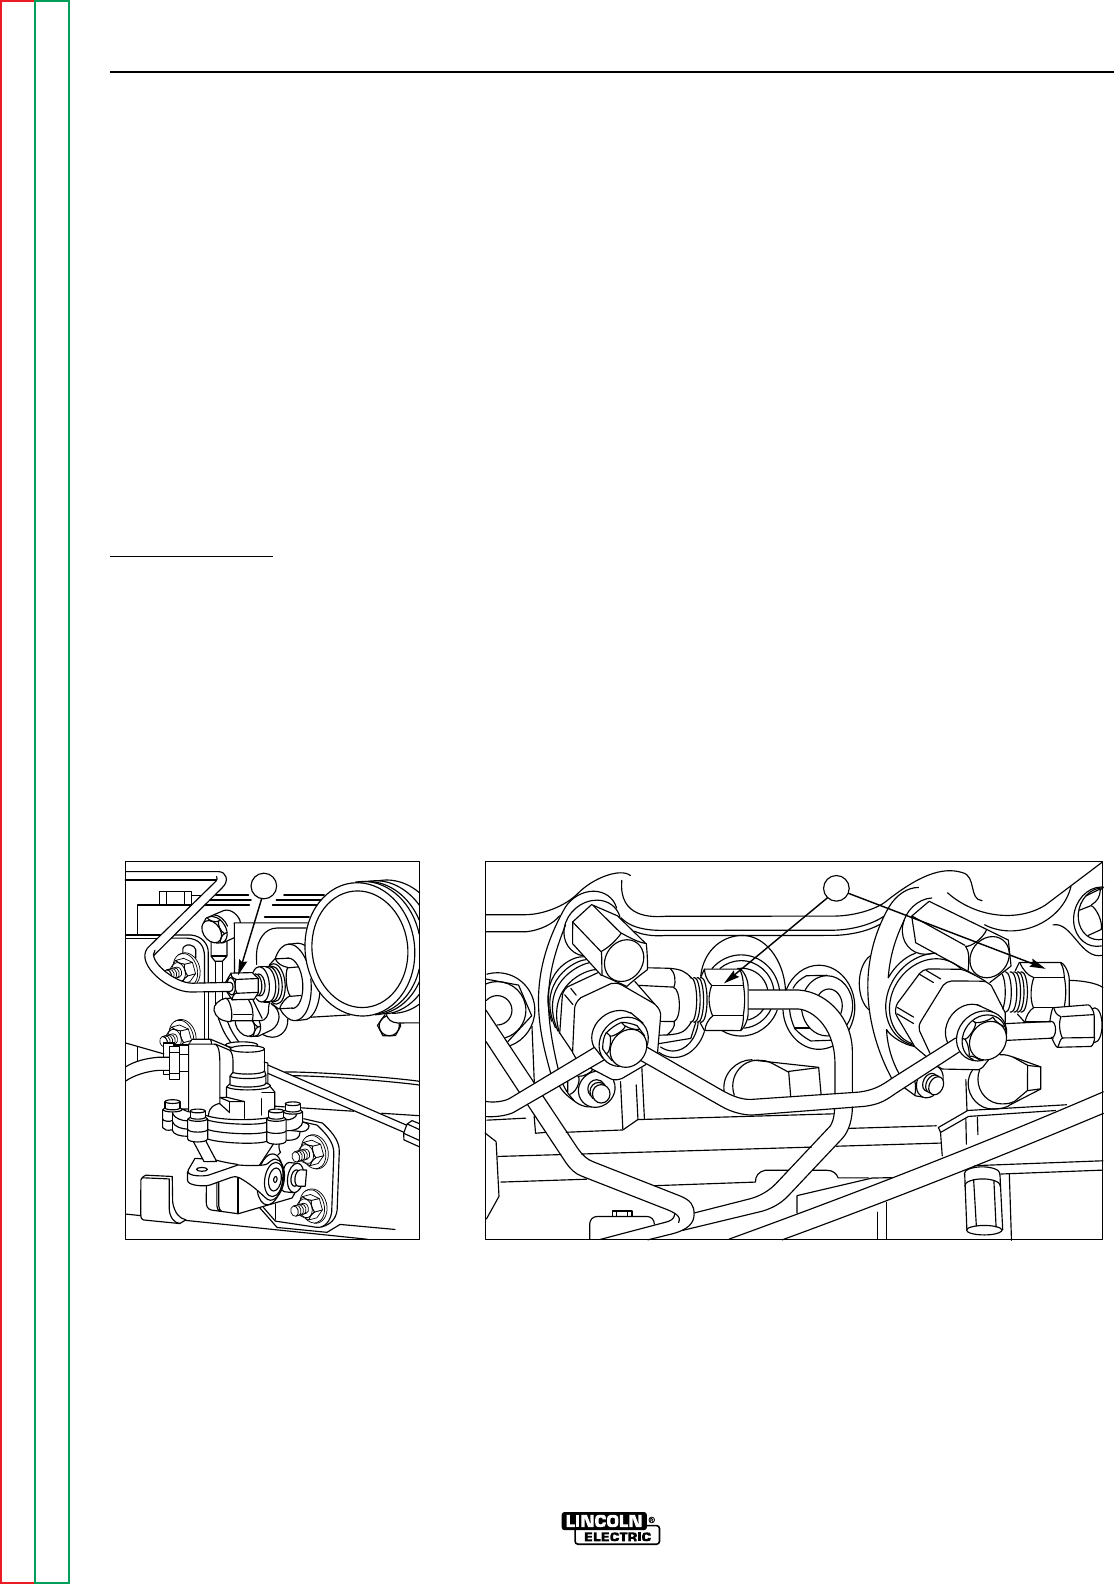
7. See Figure D.4. Loosen the union nut (1) at the
fuelled starting aid (if one is fitted) and operate the
lift pump until fuel, free from air, comes from the
connection. Tighten the union nut at the starting
aid.
8. See Figure D.4. Loosen the union nuts of the high-
pressure pipes (2) at two of the atomisers. Operate
the starter motor until fuel, free from air, comes from
the pipe connections. Tighten the high-pressure
pipe connections.
9. The engine is now ready to start. If the engine runs
correctly for a short time and then stops or runs
roughly, check for air in the fuel system. If there is
air in the fuel system, there is probably a leakage in
the low pressure system.
Self-vent method
If the engine has been stopped by air in the fuel sys-
tem:
Ensure that fuel has been added to the tank or that the
leakage has been corrected.
1. If a manual stop control is fitted, ensure that it is in
the “run” position.
2. Operate the starter motor until the engine starts.
If the system or a component in the system has been
drained:
1. Turn the start key to the “R” position. If a manual
stop control is fitted, ensure that it is in the “run”
position.
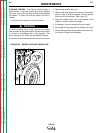
2. Operate the lever of the fuel lift pump slowly for
approximately two minutes. If the drive cam of the
fuel lift pump is at the point of maximum cam lift, it
will not be possible to operate the priming lever. In
this situation, the crankshaft must be turned one
revolution.
3. Operate the starter motor until the engine starts.
If the engine runs correctly for a short time and then
stops or runs roughly, check for air in the fuel system.
If there is air in the fuel system, there is probably a
leakage in the low pressure system.
MAINTENANCE
D-6 D-6
SA-250
Return to Section TOC Return to Section TOC Return to Section TOC Return to Section TOC
Return to Master TOC Return to Master TOC Return to Master TOC Return to Master TOC
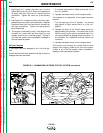
FIGURE D.4 – ELIMINATING AIR FROM THE FUEL SYSTEM
(continued)
1
2