Pick Programs to Record
25
2
Setting Recording Options
Recording options let you customize each recording, so you always get the results you want.
You can set recording options when you first schedule a recording, or by selecting a program
title from the To Do List or the Season Pass Manager. To view or change recording options:
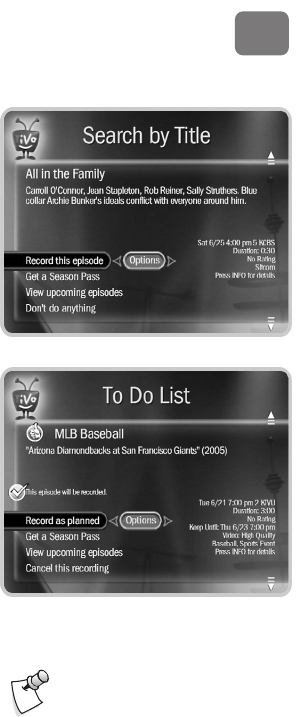
1. On the Program Information screen, select either Record This Episode or Get a Season Pass.
Then use RIGHT arrow to highlight Options, and press SELECT.
2. On the Recording Options screen, use the UP/DOWN arrows to highlight an option, then the
RIGHT and LEFT arrows to change the setting.
3. When you’re done, press SELECT or highlight Record With These Options. Press SELECT
again to schedule the recording with the new options.
4. To cancel your changes, press LEFT arrow, or highlight Don’t Change Recording Options
and press SELECT.
Recording Options include:
Record Quality. Choose from Basic, Medium, High, or Best. The default setting is High. Best
looks great, but keep in mind that it takes up more space. See page 52 for more.
Keep At Most. Set the maximum number of episodes to be saved. (This option is available
only for a repeating recording.)
Show Type. Skip reruns or watch them all? Choose from Repeats & First Run, First Run
Only, or All (With Duplicates).
Keep Until. For a repeating recording, choose how long to keep each episode. Space Needed
is the default setting, or choose Until I Delete.
Keep At Least. For a one-time recording, set the minimum amount of time to keep the
program. The default setting is Until Space Needed, but you can choose to keep it longer.
The Record Quality option is
available only before the DVR
begins recording.
