


Digital Dosing Units
37
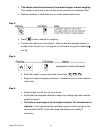
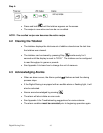
Step 7:
• Press a fifth time to return to the totalizer.
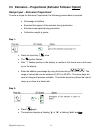
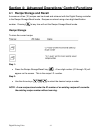
Operation – Extrusion – Proportional (Extruder Follower Option)
; Ensure that the unit is properly installed (Section 3.1)
; A recipe is entered (“Recipe Input-Extrusion Proportional” Section )
; The feeder is calibrated (Section 3.6), before attempting to begin operations.
1. If desired, clear the totalizer by pressing continuously for 5 seconds until
the display is reset to “00.00.”
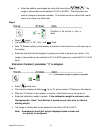
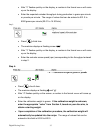
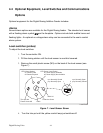
2. Place the Digital Dosing unit into operation by pressing the Run key ( ).
The green LED will light when the unit is ready to dose, but will not feed until
the extruder begins operation.
3. Start the extruder. The Digital Dosing unit will begin dosing material as soon as
the extruder starts. If the unit is installed properly, the process machine symbol
will light on the controller when the extruder starts. The disc symbol will
light when the Digital Dosing is dosing material
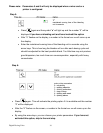
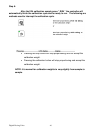
4. To stop the dosing process while the extruder is operating, press . The
Digital Dosing unit will automatically stop dosing when the extruder stops.
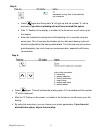
5. While the unit is dosing, depending on software revision, the current recipe can
be viewed but not modified, by pressing . In some software versions, the
percent additive can be changed while the unit is dosing. The actual extruder
screw speed will be displayed in the third recipe register.