


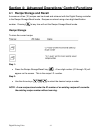

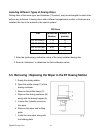
Digital Dosing Units
49
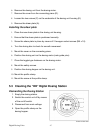
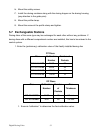
5.4 Changing the Dosing Disc in the “DT” Digital Dosing Station
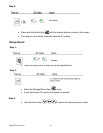
Removing the Dosing Disc
1. Empty the dosing station.
2. Switch the control unit off by means of the on/off switch.
3. Dismantle the dosing unit and remove the shear plate.
4. Loosen the two hexagon socket screws (M6 x 30) on the top side of the dosing
disc.
5. Loosen the center hexagon socket screw (M6 x 12) and replace by a M6 x 60
screw.
6. Lift the dosing disc from the dosing unit housing by this screw.
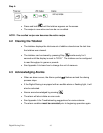
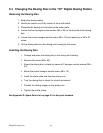
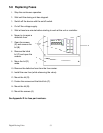
Installing the Dosing Disc
1. Change and place the dosing disc in the dosing unit housing.
2. Remove the screw (M6 x 60).
3. Screw the dosing disc in place by means of 2 hexagon socket screws (M6 x
30).
4. Mount the center hexagon socket screw (M6 x 12).
5. Install the shear plate and then the dosing unit.
6. Turn the dosing disc to check for smooth movement.
7. Position the dosing hopper on the dosing unit.
8. Tighten the profile clamp.
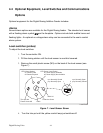
See Appendix D: Spare Parts List on page 61 for disc part numbers.