


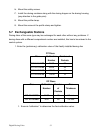
Digital Dosing Units
47
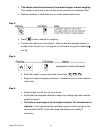
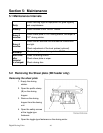
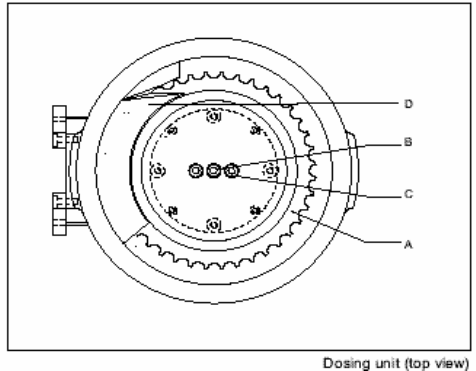
6. Remove the dosing unit from the dosing motor.
7. Remove the cover from the connecting piece (D).
8. Loosen the two screws (C) on the underside of the dosing unit housing (E).
9. Remove the shear plate (A).
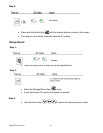
Installing the shear plate
1. Place the new shear plate in the dosing unit housing.
2. Ensure that the shear plate is positioned correctly.
3. Screw the shear plate in place by means of 2 hexagon socket screws (M5 x 16).
4. Turn the dosing disc to check for smooth movement.
5. Mount the cover on the connecting piece.
6. Position the dosing unit on the dosing motor (note guide pins).
7. Close the toggle-type fasteners on the dosing motor.
8. Mount the safety screws.
9. Position the dosing hopper on the dosing unit.
10. Mount the profile clamp.
11. Mount the screw at the profile clamp.
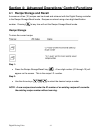
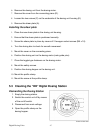
5.3 Cleaning the “DD” Digital Dosing Station
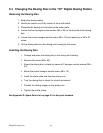
Dismantling the Dosing Station
1. Empty the dosing station.
2. Switch the control unit off by means
of the on/off switch.
3. Disconnect from main voltage.
4. Open the profile clamp on the
dosing hopper.