


44 308584
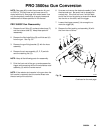
PRO 3500sc Gun Conversion
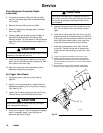
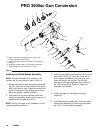
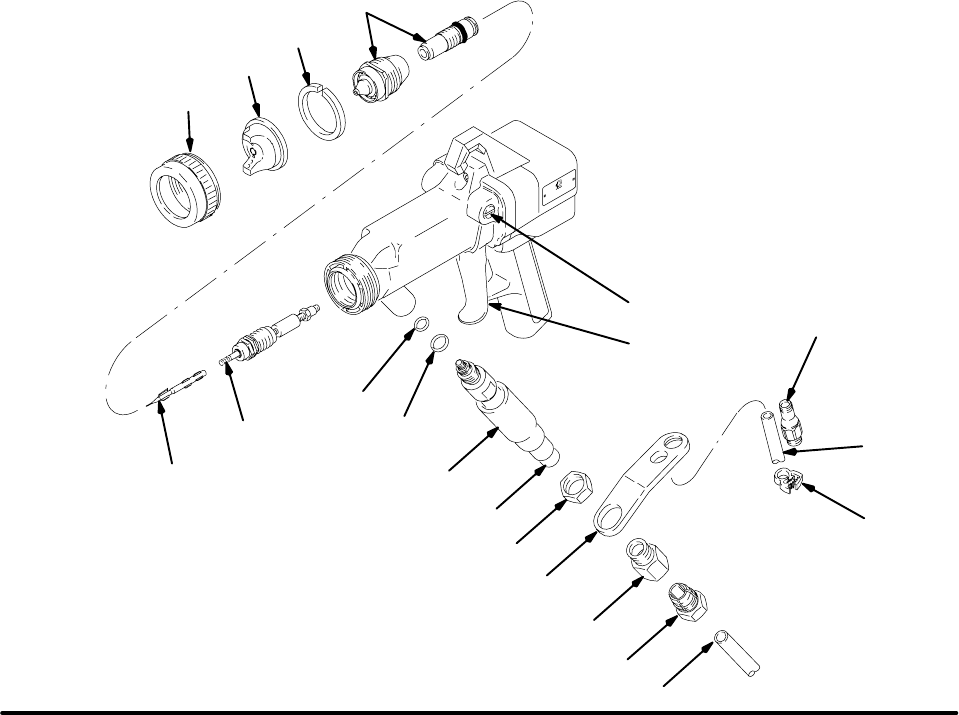
Fig. 31
8*
H
20*
L
28*
N
P
M
*80
91
*75
*78
*76
*79
*77
D
E
F
Apply a very light coat of lubricant to the o-ring on the
outside of the fluid packing rod (28).
Apply dielectric grease to the o-rings (80, 81) and tube (75)
threads.
Apply high strength Loctiter to the air fitting (D) threads.
Torque the fitting to 35 to 45 in-lbs (4 to 5.1 NSm).
Z
*81
05164B
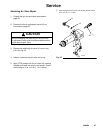
Installing the Fluid Needle Assembly
NOTE: The parts marked with an asterisk (*) are
included with the conversion kit, part no. 223114.
1. Before installing the new fluid packing rod assem-
bly (28*), clean the internal surfaces of the barrel
with a soft brush or cloth. Check the inside of the
barrel for marks from high voltage arcing. If the
marks are present, replace the barrel.
2. Lubricate the o-ring on the outside of the fluid
packing rod assembly. Make sure the spring is in-
stalled on the fluid packing rod nut.
NOTE: See Fig. 20, page 34, for information on indi-
vidual fluid packing rod parts.
3. Install the fluid packing rod assembly (28*) into the
gun barrel. See Fig. 31. Using the 9 mm hex nut
driver, tighten the assembly until just snug, then
check the drag on the fluid rod. The fluid rod
packing nut is properly tightened when there is 2
lbs. (9 N) of drag force. Tighten or loosen the
packing nut as needed.
4. Install the trigger (L) and tighten the trigger
screws (K).
5. Install the electrode needle (20*), fluid nozzle and
resistor stud assembly (H) and the air cap assem-
bly (P, 8*, Z) as instructed on page 32.