


15
ENGLISH
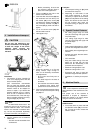
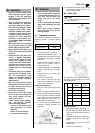
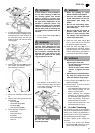
8.1 Standard Crosscuts
For standard crosscuts the maximum
dimension (inches) of the work pieces
are:
Starting position:
Transport locking pin pulled out.
Sawhead assembly fully raised.
Cutting depth limit screw set to max-
imum depth. Limit screw is securely
tightened.
Rotating table in 0° position, the lock
screw of the rotating table is
securely tightened.
Sawhead assembly is in vertical (0°)
position, bevel tilt lock lever tight-
ened.
Hinged fence on top of the fence
and secured.
Track arm not extended.
Lock screw of the track arm loos-
ened (only if required, such as when
cutting a wide work piece).
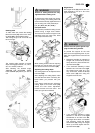
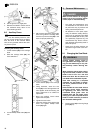
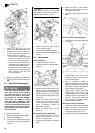
Cutting the work piece:
1. Hold the work piece against the
fence.
2. Press and hold the ON/OFF switch .
3. Slowly swing the sawhead assembly
all the way down, holding the handle
firmly. When sawing exert only mod-
erate pressure. This keeps the
motor speed from dropping.
4. For wider work pieces pull sawhead
assembly forward (towards the
operator).
5. Cut work piece in a single pass.
6. Release the ON/OFF switch and let
the sawhead slowly return to its
upper starting position.
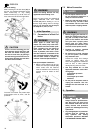
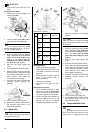
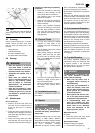
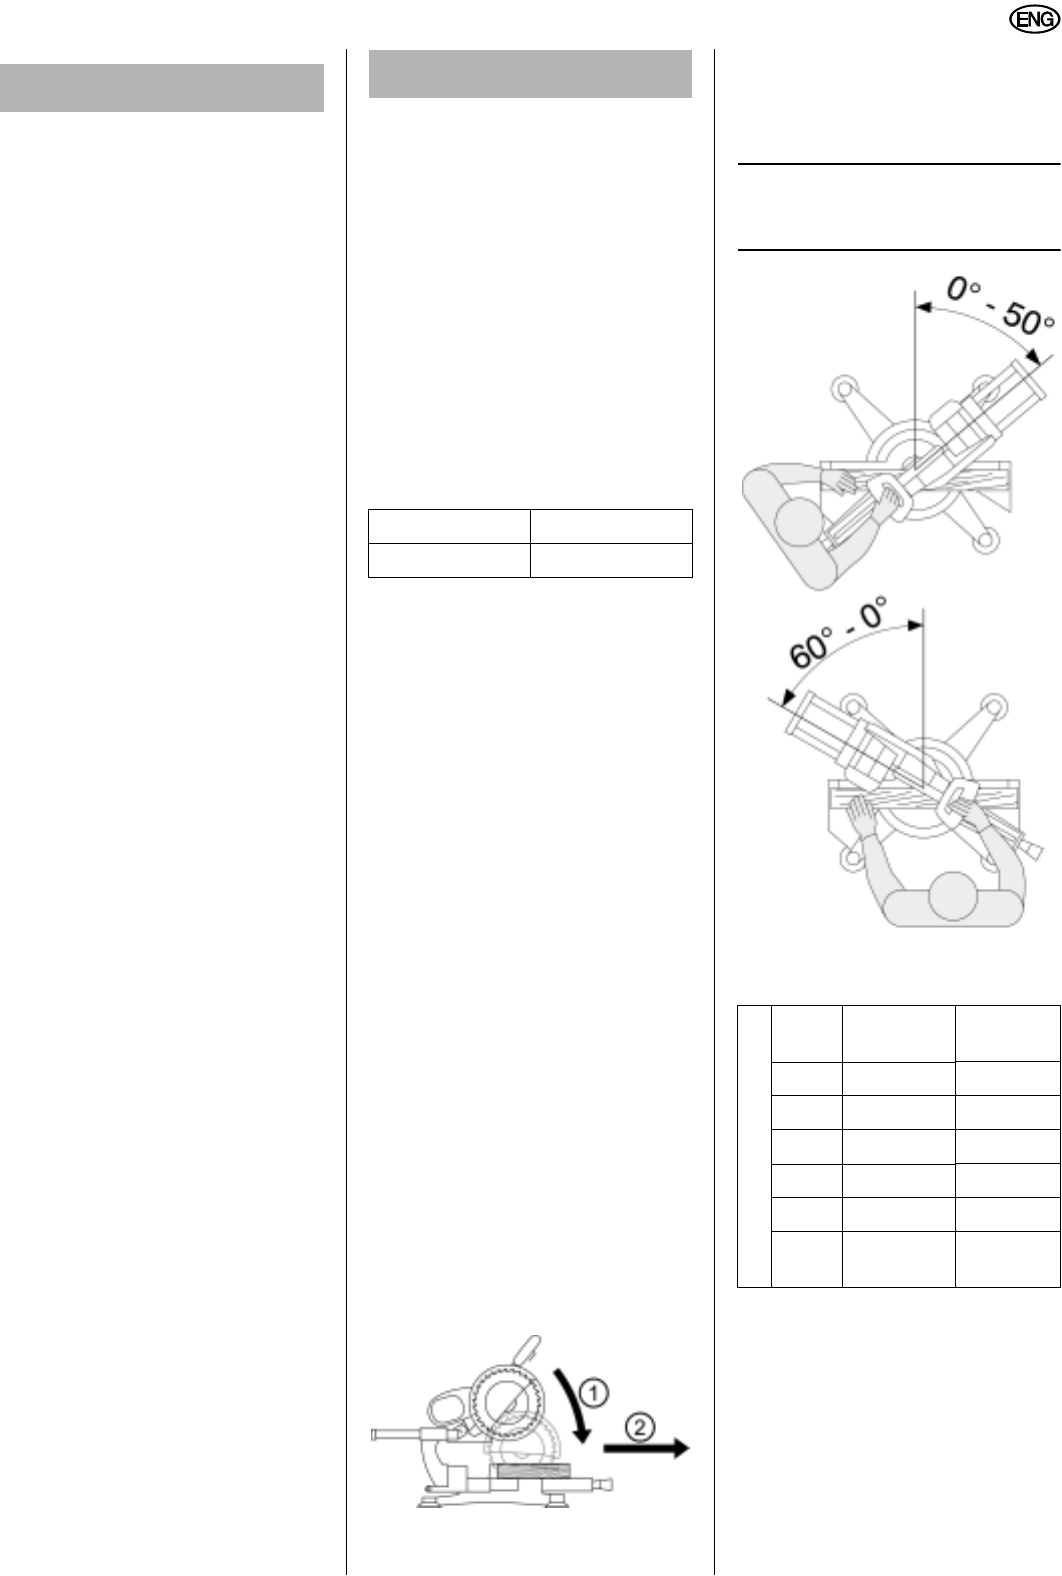
8.2 Miter Cuts
3
Note:
A miter cut cuts the work piece at
an angle to the fence.
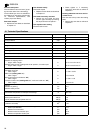
The maximum work piece dimensions
for miter cut angles are shown in inches
in the table below:
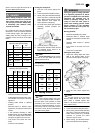
Starting position:
Sawhead assembly fully raised.
Cutting depth limit screw set to max-
imum depth. Limit screw is securely
tightened.
Sawhead assembly is in vertical (0°)
position, bevel tilt lock lever tight-
ened.
Hinged fence on top of the fence
and secured.
Track arm not extended.
A WARNING
x Use eye protection. Always wear
ANSI approved impact safety
goggles. If you are producing
metal filings or wood chips, wear
a full face shield.
x Use ear protection. Always wear
ANSI approved ear protection
such as ear plugs or ear muffs.
x Use respiratory protection when
working around metal, wood,
especially treated wood, chemi-
cal dusts or mists. Always wear
an ANSI approved dust mask or
respirator or other respiratory
protection in accordance with
current OSHA, MSHA and NIOSH
regulations.
x Wear head protection if required
by your type of work or by regu-
lations applying to the job site.
x Wear protective, electrically non-
conductive clothes and non-skid
foot wear.
x Safeguard your work piece and
secure it against unintended
movement and slipping during
cutting. Use support for long
work pieces which would other-
wise fall off the machine’s rotat-
ing table after the cut. Use the
auxiliary fence for cutting small
pieces.
x If possible, work with a suitable
dust collector connected to the
saw. The dust collector must
comply with the data stated in
chapter 15, entitled "Technical
Specifications".
x Cut only work pieces that have
dimensions which allow them to
be safely and securely held (or
clamped) during cutting.
x Do not jam work pieces.
x Never try to slow the saw blade
down or stop it by pushing the
work piece against the saw
blade from the side.
x Avoid strained body positions
and over-reaching. Assume
proper operating position:
in front of the machine with
body positioned for normal
operation;
directly in front of the saw;
to the side of the machine.
x When tilting the sawhead assem-
bly to the side, hold the sawhead
by the handle and keep your fin-
gers away from the track arm
holder and out of its tilting
range.
x Do not reach under the rotating
table when adjusting the miter
angle.
x After each cutting operation
return the track arm to its rear
starting position.
Width approx.11 7/32
H
eight approx.3 3/16
A WARNING
Rotating table position
Width
approx.
Height
approx.
15° 10 13/16 3 3/16
22.5° 10 1/4 3 3/16
30° 9 5/8 3 3/16
45° 7 7/8 3 3/16
50° 7 1/16 3 3/16
60 °
right
5 1/2 3 3/16