Return to Section TOC Return to Section TOC Return to Section TOC Return to Section TOC
Return to Master TOC Return to Master TOC Return to Master TOC Return to Master TOC
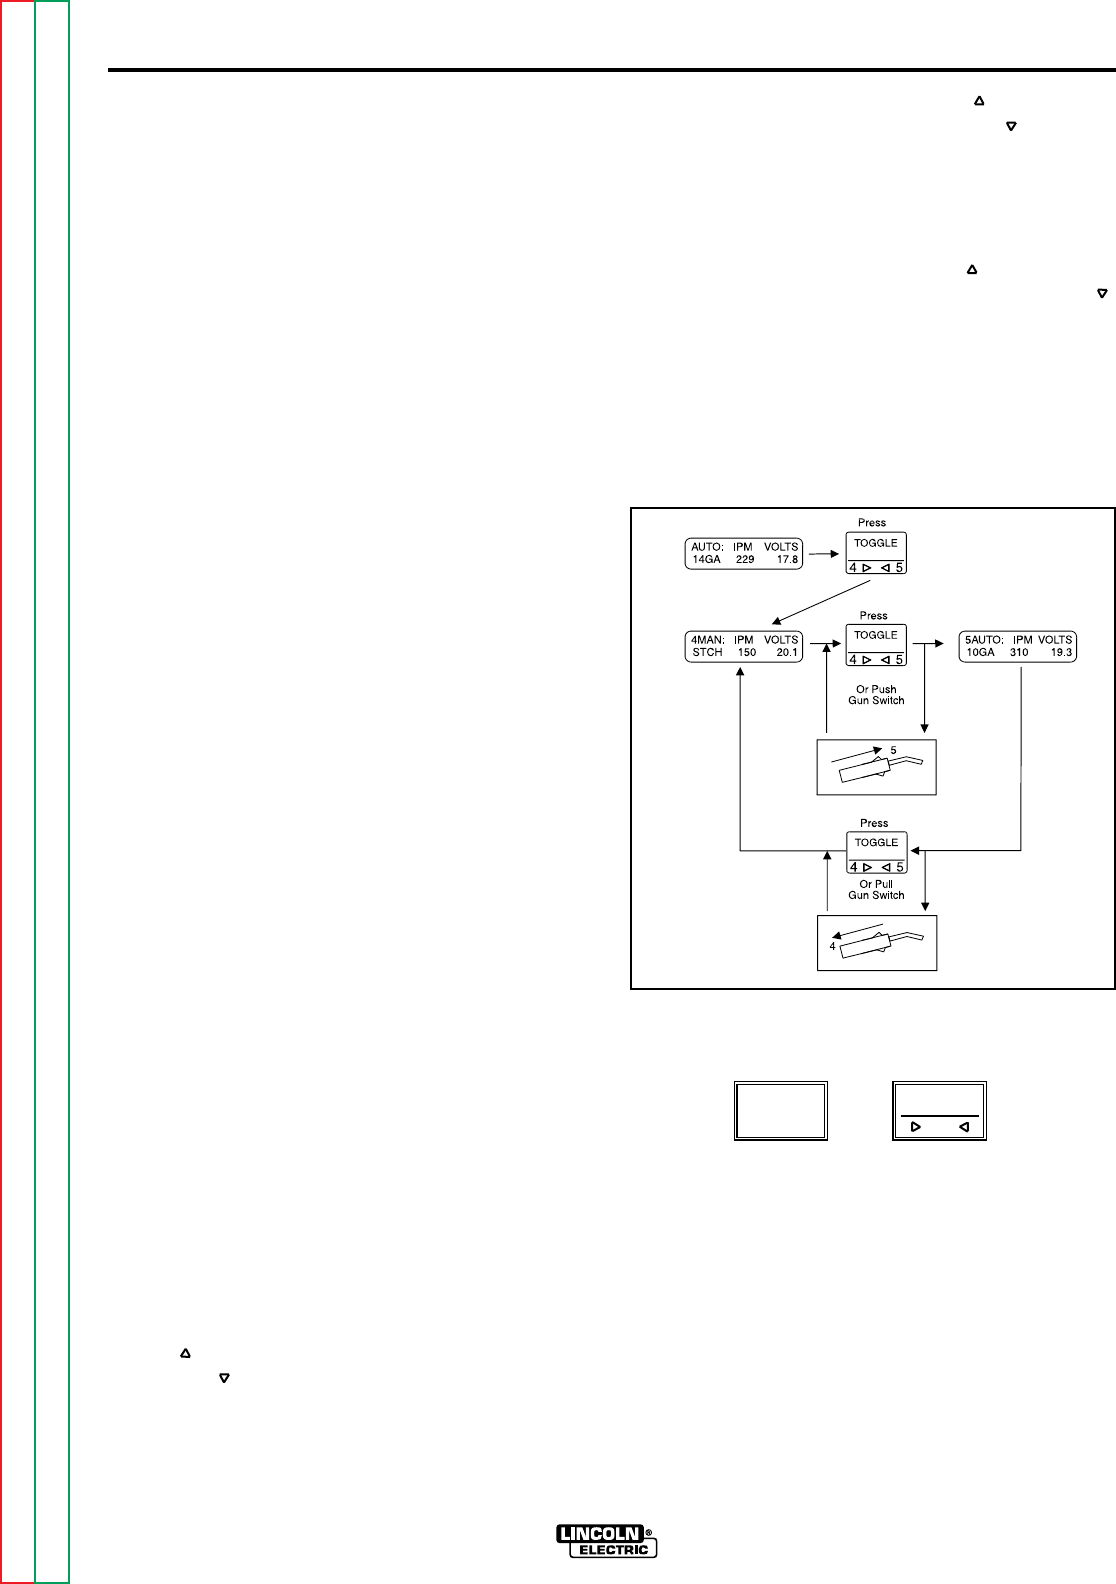
12.TOGGLE KEY: When first pressed, this key
turns ON the TOGGLE MODE and recalls the weld
setup in memory 4. Pressing the key again switch-
es to the weld setup in memory location 5. Each
time the key is pressed, it alternates between the
two memory locations. When the TOGGLE key is
pressed, the LED screen displays the memory
number the current setup was recalled from, indi-
cates automatic (AUTO:) or manual (MAN:) mode,
displays wire gauge (Auto Mode), wire feed speed,
and arc voltage. The cursor underlines the mem-
ory number currently selected.
If in AUTO mode, an up or down arrow shows
whether the arc voltage has been adjusted above
or below the recommended level. Spot or Stitch
timer status is displayed in the lower left-hand cor-
ner if either timer is active.
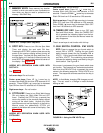
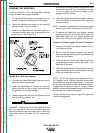
The gun thumb switch functions as a Toggle key in
Toggle mode. Pushing the gun thumb switch for-
ward (toward the tip) selects the setup in memory
5. Pulling gun thumb switch back selects the setup
in memory 4. The gun thumb switch also functions
with the trigger closed for "on the fly" changes dur-
ing a weld. See Figure B.5.
To turn the toggle mode off, press the AUTO, MANU-
AL, or any MEMORY Number key.
NOTE: Any changes made to settings in toggle mode
are not automatically saved when power is removed,
or if toggle mode is turned off. To save these changes
Press the SAVE key
Press the MEMORY number key that is currently dis-
played on the screen (4 or 5)
Press the SAVE key
Press other MEMORY Number key that was displayed
after the toggle (5 or 4).
When power is returned, the machine will not be in the
toggle mode. However, the weld setting placed in
memory when power was removed will return so you
may continue to weld right where you left off. Press the
TOGGLE key to return to toggle mode.
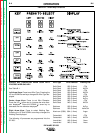
ARROW KEY OPERATION WHEN USED WITH THE
TOGGLE KEY (See Table B.1.)
Left arrow keys: If metal thickness is displayed, Press
the UP ( ) arrow key to increase metal thickness. Press
the DOWN ( ) arrow key to decrease metal thickness.
The Left arrow keys do not perform any function in any
other mode.
Center arrow keys: Press the UP ( ) arrow key to
increase wire feed speed. Press DOWN ( ) arrow key
to decrease wire feed speed setting. If in Auto Mode,
increasing or decreasing wire feed speed simultane-
ously causes an increase or decrease in the arc volt-
age and can change the metal thickness setting.
Right arrow keys: Press the UP ( ) arrow key to
increases arc voltage setting. Press the DOWN ( )
arrow key to decrease the arc voltage setting. When
in the Auto Mode, an up arrow indicator appears below
the V in VOLTS if the arc voltage has been set higher
than the recommended value. A down arrow indicator
appears below the V in VOLTS if the arc voltage is
below the recommended value. No arrow indicates
that you are set to the recommended value.
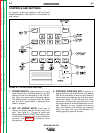
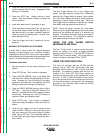
FIGURE B.5 - Using the TOGGLE Function.
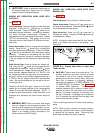
4-STEP TRIGGER INTERLOCK KEYS
Pressing and
Controls whether 4-step trigger interlock is activated or
deactivated. (See
“Using 4-Step Trigger Interlock
Function”
section)
Note: 4-step Trigger is automatically deactivated if
either the spot or stitch timer mode is being used.
B-9
OPERATION
B-9
IDEALARC SP-250
PROCESS
WIRE/GAS
TOGGLE
4 5
1/96


