F-44
TROUBLESHOOTING & REPAIR
F-44
IDEALARC SP-250
PROCEDURE
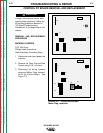
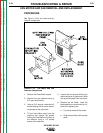
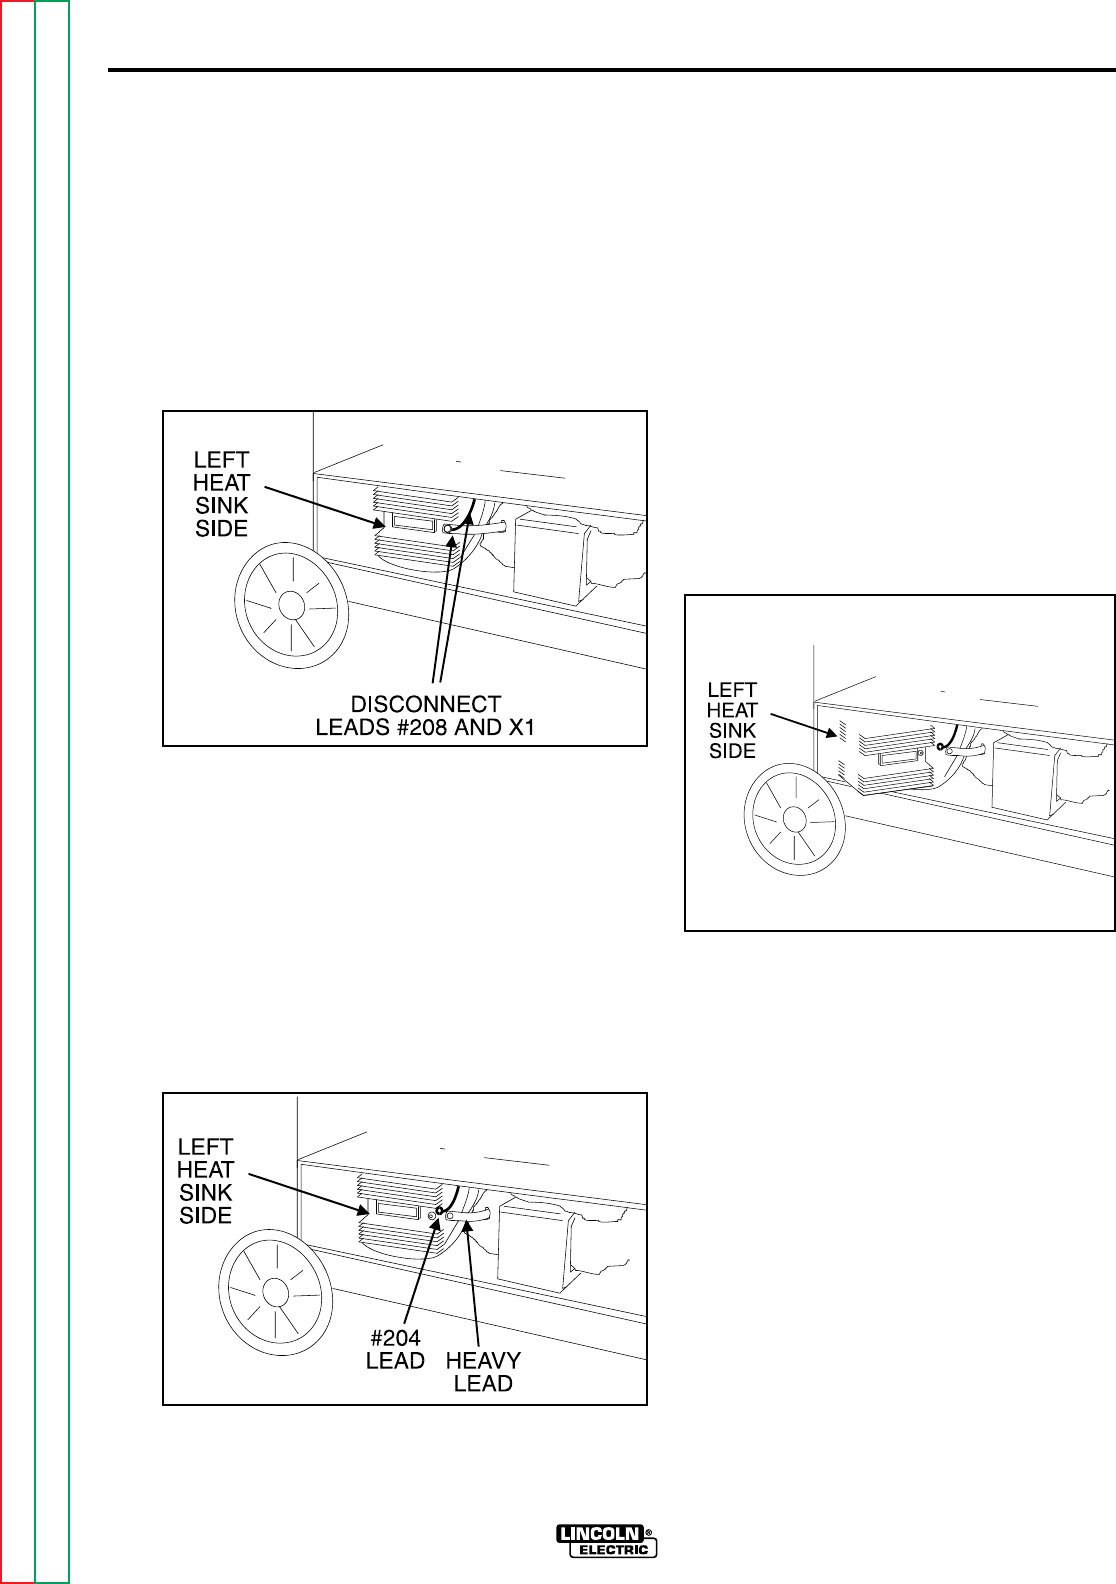
1. Disconnect lead #208 and
Transformer Lead X1 from the heat
sink on the left side of the machine
(facing the front) using a 1/2" socket
wrench. See Figure F.14.
a. Thin lead is always on the out-
board side of the connection.
FIGURE F.14 - Heat Sink lead discon-
nection.
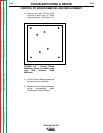
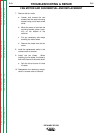
2. Disconnect lead #204 and heavy
lead from the middle heat sink with a
1/2" socket wrench and 1/2" open
end wrench. See Figure F. 15.
3. Remove the diode lead from the
negative capacitor band buss bar on
the right side of the machine using a
slot head screwdriver and 3/8" open
end wrench.
FIGURE F.15 - Heat Sink lead discon-
nection.
4. Cut the SCR gate leads G1 and G2
(see wire markers and wiring dia-
gram) using wire cutters.
a. The easiest access to these
leads is from the right side of the
machine.
b. Cut any necessary cable ties.
5. Remove the four screws holding the
SCR Assembly to the floor of the
machine using a 5/16" nut driver.
6. Pivot the SCR Assembly counter-
clockwise to provide access to the
right side heat sink.
See Figure F.16.
FIGURE F.16 - Heat Sink Lead
Disconnection
7. Remove lead #209 and Transformer
Lead X4 from the right side heat sink
using a 1/2" socket wrench and 1/2"
open end wrench.
8. Clear the leads and carefully
remove the SCR Rectifier Assembly.
NOTE: When installing the SCR
Rectifier Assembly, apply a thin coating
of Dow Corning #340 Compound to the
electrical connections.
SCR OUTPUT RECTIFIER REMOVAL
Return to Section TOC Return to Section TOC Return to Section TOC Return to Section TOC
Return to Master TOC Return to Master TOC Return to Master TOC Return to Master TOC


