Torsion idrive™ Installation
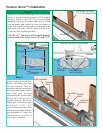
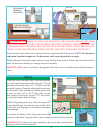
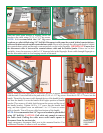
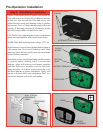
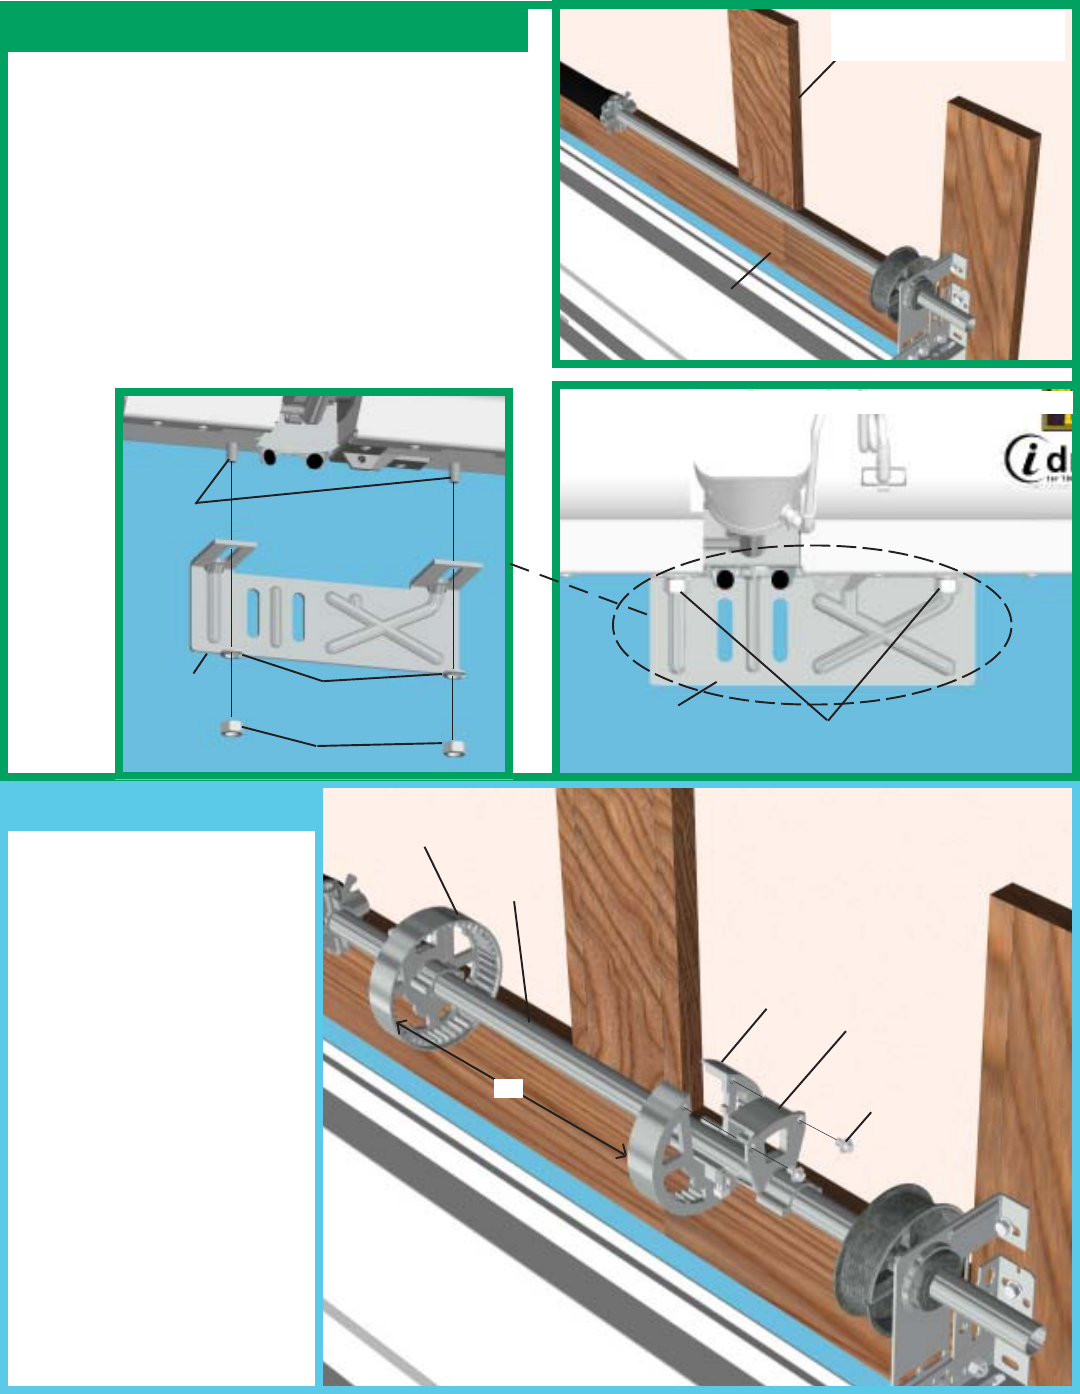
Locate both gear assemblies.
Remove the bridge gear from
the gear assembly. Place the
main gear onto the torsion tube.
Orient the bridge gear so that it
can slide into position
surrounding the torsion tube.
Ensure that both pieces fit
together properly. Secure the
bridge gear to the main gear
with the (2) 1/4-20 x 3/8"
screws. Repeat procedure with
second gear assembly. Slide the
gear assemblies 19" apart. See
illustration for position of
driven gear assemblies.
7
Step 1
Step 2
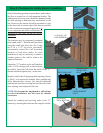
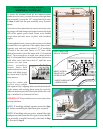
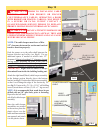
If there are no suitable mounting surfaces to mount the
opener, a strong mounting support will be needed.
Securely fasten a wood (2" x 6" recommended)
mounting surface for the opener. Make sure it is flush
with the header and located to allow the opener to
secure to it. Install the adjustable wall bracket to the
studs in the wall plate. Loosely secure with the 5/16-
18 nuts and lock washers provided.
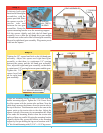
IMPORTANT! This opener will not install properly
on doors with offsets other than 3-3/8” and 2-1/2”.
BRACKET INSTALLED ON OPENER
BRIDGE
GEAR
GEAR ASSEMBLY
MAIN GEAR
19”
1/4-20 X 3/8”
SCREWS
MOUNTING LOCATION
(2” X 6” RECOMMENDED)
HEADER
TORSION
TUBE
OPENER
WALL
BRACKET
5/16-18 NUTS &
LOCK WASHERS
WALL
BRACKET
STUDS
5/16-18 NUTS
5/16-18
LOCK WASHERS
OPENER


