


A WARNING." Before performing anyadjustment,
make sure the tool is unpluggedfrom the power
suppty.Failureto heed thiswaTn'lngcoutdresu)tin
seriouspersona_injury.
A WARNING: Blades coast after turn off. Possib}e
serious injury can occur if hands come in contact
with blade.
The table sew has been adjusted at the factoryfor mak-
ingveryaccurate cuts. However,some ofthe components
mighthavebeen jarred out of alignmentduringshipping.
ALso,overa period oft'rne,rsediustmentwillprobably
become necessary due towear.
3"0avoidunnecessary setups and adjustmen*.s,a good
practiceisto check yoursetupscarefullywith a fram-
ingsquareand make practicecutsin scrapwood before
making finishcuts in goodworkpiaces.Do not start any
adjustments untilyou havechecked with a squareand
made test cuts to be sure adjustments are needed.
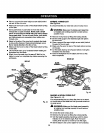
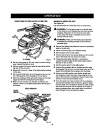
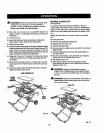
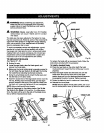
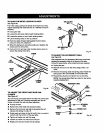
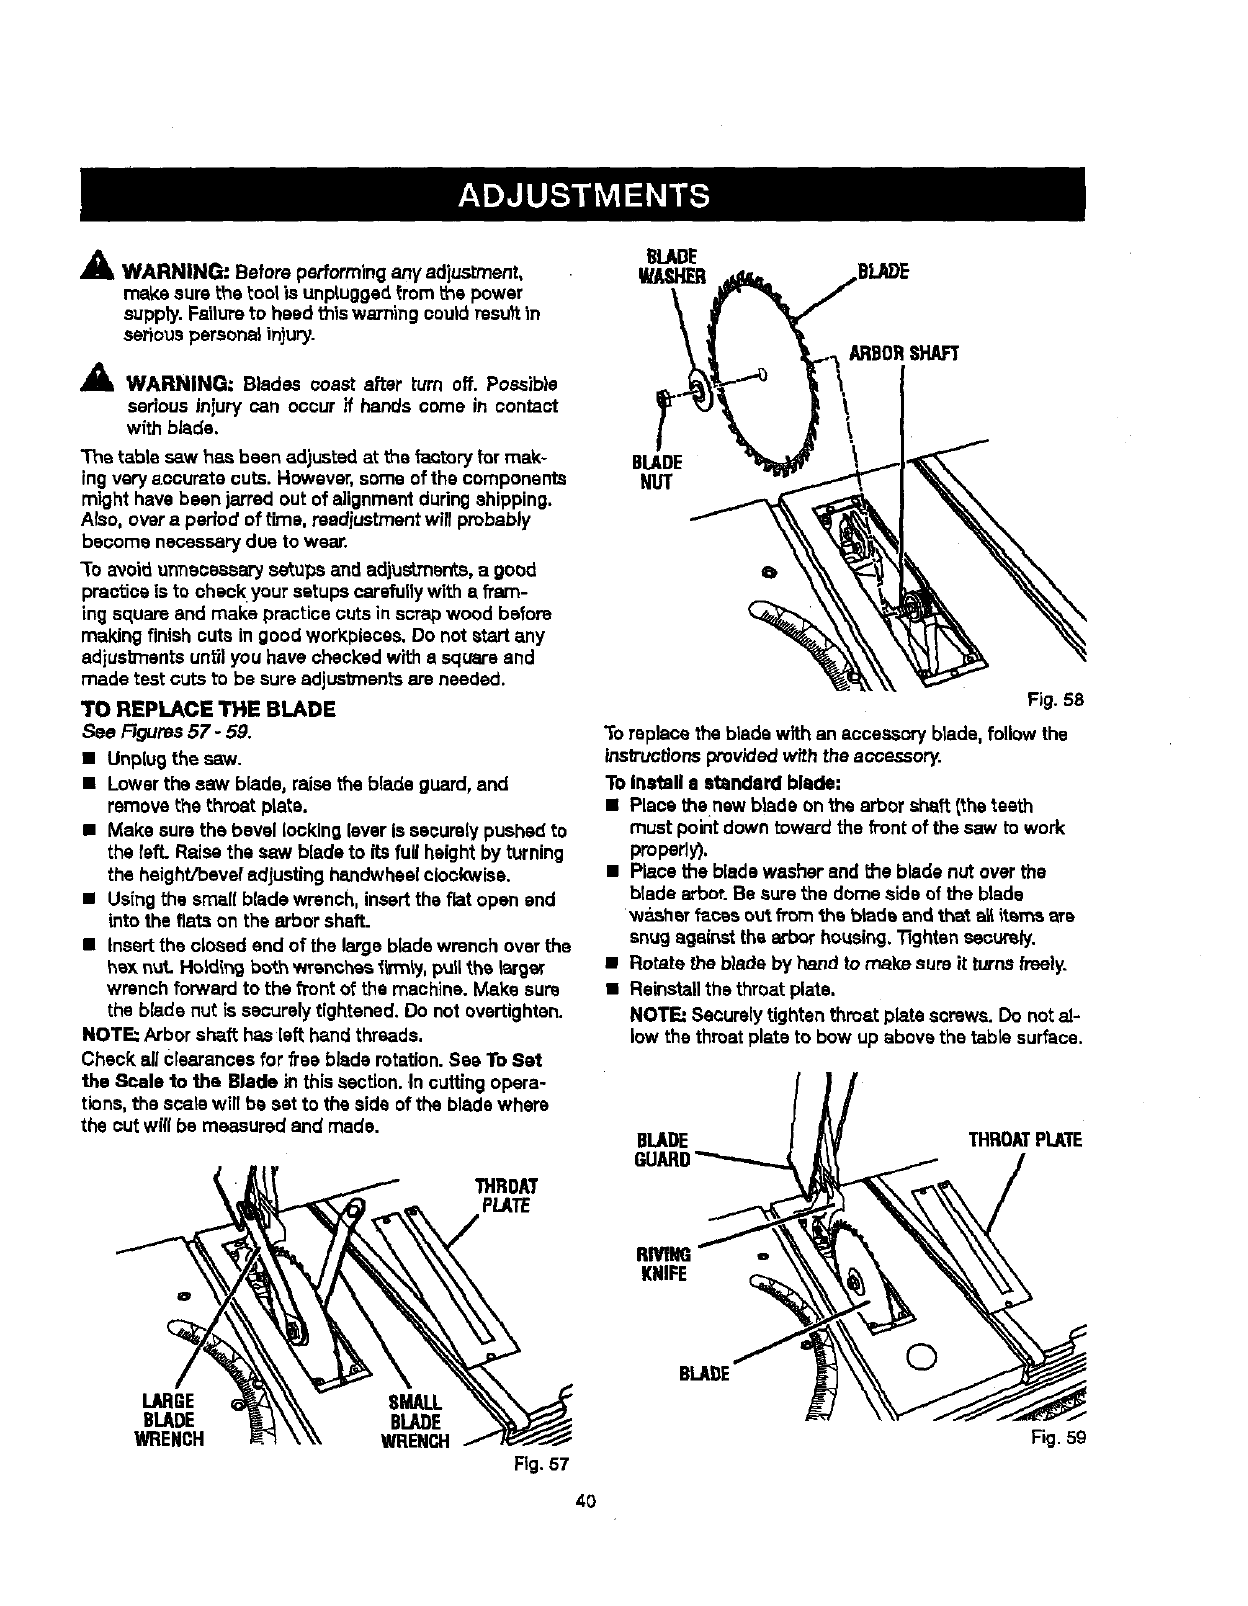
TO REPLACE THE BLADE
See Figures57 - 59.
• Unplugthe saw.
• Lowerthe saw blade, raisetheblade guard,and
remove the throet plate.
• Make surethe bevel lockingleverissecurelypushed to
the felt. Raise the sew bladeto itsfull heightbyturning
the haight/beve_ adjusting handwheelclockwise.
• Usingthe smallblade wrench, inserttheflat open and
intothe fiats on the arbor shaft.
• Insertthe closed and of the largebladewrench overthe
hax nut. Holdingbo_.hwrenches li_nly, pull_.h_larger
wrenchforward to the f1"ontof the machine.Make sure
the blade nut is securelytightened. De not overtighten.
NOTE: Arborshaft hasleft handthreads.
Check allcrearancesfor freebladerotation.See ToSet
the Scale to the Blade in thissection.In cutting opera-
tions,the scarewilt be set to the side ofthe bladewhere
the cut will be measuredand made.
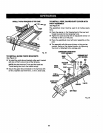
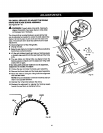
THROM
PLATE
BLADE
NUT
Fig. 58
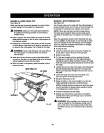
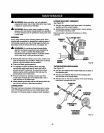
To replacethe bladewith an accessoryblade, followthe
instructionsprov'_ed with theaccessory.
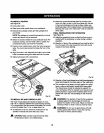
To Inatall e standard blade:
• Placethenew blade onthe arbor shaft(theteeth
mustpointdown towardthe fi'ontof thesaw towork
properly),
• Placethe bladewasher and the bladenut over the
bladearbor.Be surethe dome side of the blade
washer f_cas ou_.from _a bladeand that all items ere
snugagainst thearbor housing,13ghtensecurely.
• Rotate the bladeby handto make sure it turnsfreely.
• Reinstallthethroat plate.
NOTE: Seaurelytightenthroat plate screws. Do notal-
low thethroatplate to bow up above the table surface.
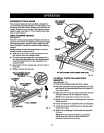
BLADE THROATPLATE
RMNG
KNIFE
LARGE SMALL
BLADE BLADE
WRENCH WRENCH
Fig.57
40
BLAI)E
©
Fig. 59