


CHAPTER 4: Installing Components
40
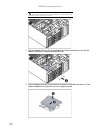
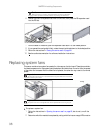
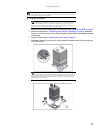
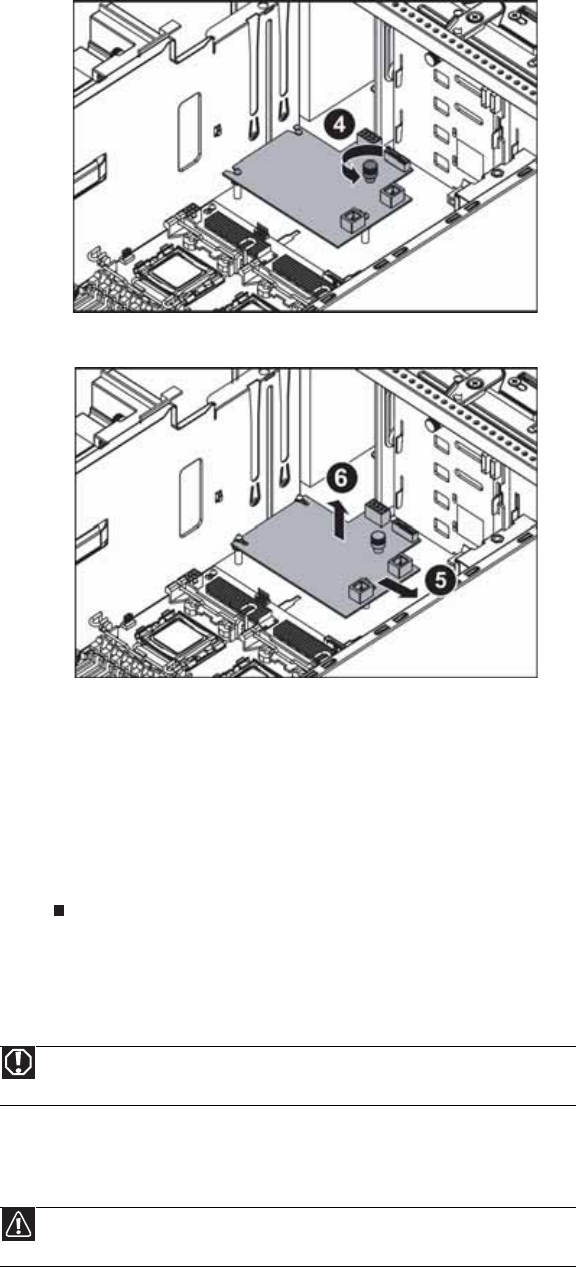
6 Loosen the thumbscrew (4) holding the fan board in the chassis.
7 Slide the fan board away from the power supply (5), then remove it from the chassis (6).
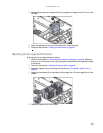
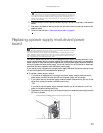
8 Place the new fan board on the standoffs in the chassis, then slide it toward the power
supply to lock it down.
9 Tighten the thumbscrew to secure the fan board in place.
10 Connect the cables to the fan board.
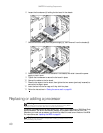
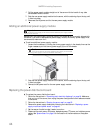
11 Place the fan cage on the fan board, then tighten the two screws (previously loosened) to
secure the fan cage in place.
12 Insert the fans into the fan cage until they click into place.
13 Follow the instructions in “Closing the server case” on page 26.
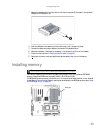
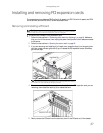
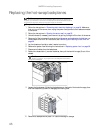
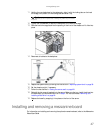
Replacing or adding a processor
The server is compatible with as many as two Intel
®
Xeon™ 5100 (Dual Core) or 5300 (Quad Core)
Series processors. The server automatically detects the processors each time you turn it on.
Whenever you install new processors, you should first install the most current version of the BIOS.
For instructions, see “Updating the BIOS” on page 52.
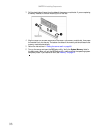
Warning
Processors and heat sinks may be hot if the computer has been running. Before
replacing a processor or heat sink, allow them to cool for several minutes.
Caution
A heat sink must be installed on the processor. Installing a processor without a heat
sink could damage the processor.