


CHAPTER 5: Using the BIOS Setup Utility
54
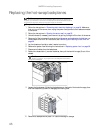
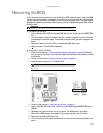
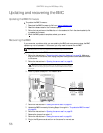
10 Follow the instructions in “Opening the server case” on page 25.
11 Remove the jumper from pins 1-2.
12 Follow the instructions in “Closing the server case” on page 26.
13 Plug in the AC power cords and turn on the server, then verify that the recovery was
successful.
Resetting the BIOS
You can use two methods to clear all BIOS Setup settings and return them to the factory defaults:
• Press the power and reset buttons on the front of the server.
• Move the Clear CMOS jumper on the system board.
To reset the BIOS using the power and reset buttons:
1 Print the appendix for “BIOS Settings” on page 87 in this guide.
2 Restart your server, then press F2 at any time after you see the LEDs on your keyboard
flash or turn off. The BIOS Setup utility opens.
3 Record any custom BIOS settings on your printout.
4 Press the reset button and hold it down for four seconds or more, then press the power
button while continuing to hold down the reset button.
5 Release both buttons at the same time. The BIOS is reset.
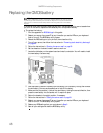
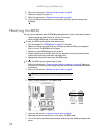
To reset the BIOS using the system board jumper:
1 Follow the instructions in “Preventing static electricity discharge” on page 24. Make sure
that you turn off the server, then unplug the power cord(s) and all other cables connected
to the server.
2 Follow the instructions in “Opening the server case” on page 25.
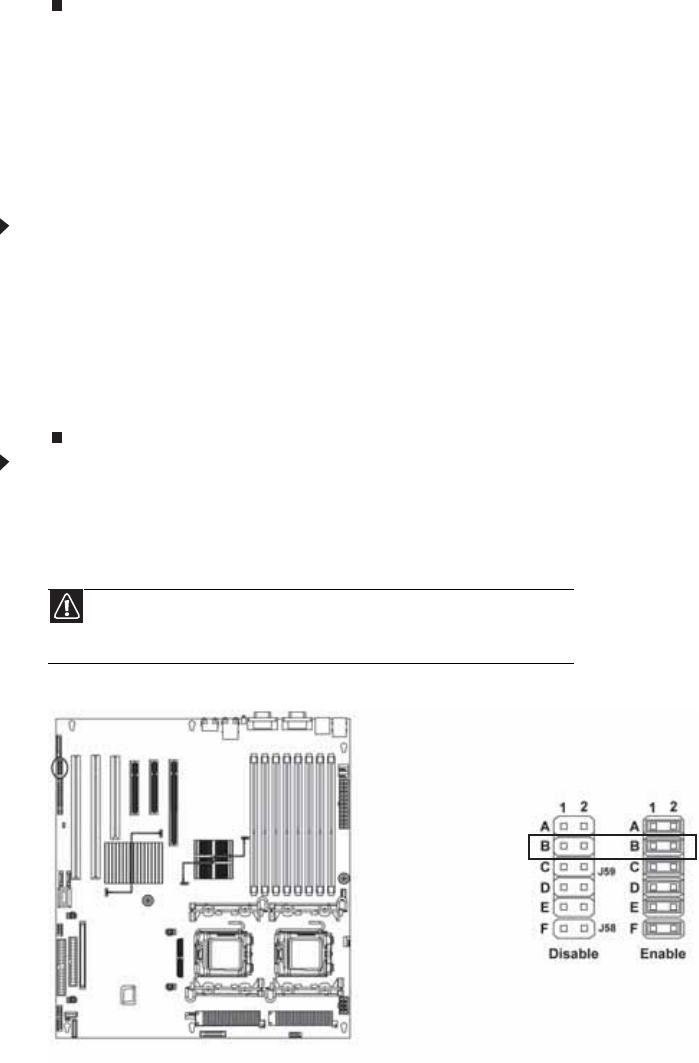
3 Install a jumper across pins 1-2 of header J59-B.
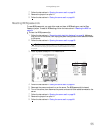
4 Follow the instructions in “Closing the server case” on page 26.
5 Reconnect the power cords and turn on the server. The BIOS is reset.
6 Turn off the server, then disconnect the power cords and all other cables connected to the
server.
Caution
Moving the jumper while the power is on can damage your server. Always
turn off the server and unplug the power cords and all other cables before changing
the jumper.