


62 Operating the Meter
To set the meter for a specific frequency...
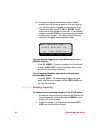
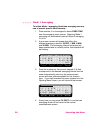
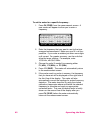
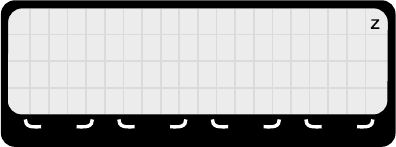
1. Press F4 (FREQ) from the measurement screen. A
new screen will appear to allow you to enter a
frequency.
2. Enter the frequency that you want to use for the time-
averaged measurements. Make sure you fill in all four
positions. If you make a mistake just enter more digits
until correct. For greater accuracy, use the units that
allow the larger number. For example, enter
10.00 kHz, not 00.01 MHz.
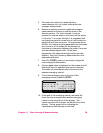
3. Change the units (if needed) by pressing either
F1 (kHz), F2 (MHz), or F3 (GHz).
4. Press F4 (SAVE). The meter will automatically return
to the measurement screen.
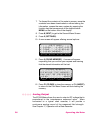
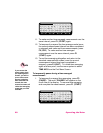
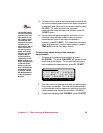
5. If the probe used is a probe in memory, the frequency
that you have set will be displayed on the right side of
the third line of the display. The meter will also
automatically correct the readings for probe frequency
deviation. The meter does this by using the closest
calibration frequencies above and below the selected
frequency to calculate and apply an appropriate
correction factor. This new correction factor is briefly
shown on the second line of the display after you
press F4 (SAVE) before the meter automatically
returns to the measurement screen.
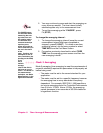
FREQUENCY : __ . __ GH
CORRECT. FACTOR:1.00
Hkz z z MH GH SAVE
F1 F2 F3 F4