


98 Operating the Meter
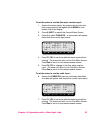
8. Press F4 (CABLE) to change to the cable input. The
meter will return to the First Menu Screen. Press Esc to
return to the measurements screen.
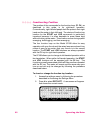
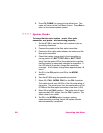
System Checks
To insure that the entire system – meter, fiber optic
transmitter, and probe – are functioning properly...
1. Set the 8718B to use the fiber optic receiver input as
previously described.
2. Connect the probe to the fiber optic transmitter.
3. Connect a fiber optic cable between the meter and the
fiber optic transmitter.
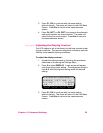
4. Check the battery charge level in the transmitter by
turning switch S1 (BATT TEST–ON)toBATT TEST.
Verify that the green LED is illuminated which signifies
that the battery is adequately charged for operation. If
the LED fails to illuminate, charge the transmitter
overnight. A full-battery charge takes approximately 16
hours.
5. Set S1 to the ON position and S2 to the NORM
position.
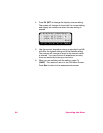
6. Zero the 8718B using the standard procedure.
7. Move S2 ( CAL1–NORM–CAL2) to the CAL1 position.
The meter should read 45-55% of the full scale rating of
the probe. The actual error from the combination of the
8718B and the fiber optic transmitter is less than (±3%).
8. Move S2 to the CAL2 position. The meter should read
approximately 25% higher than the CAL1 position. The
exact value is not critical.
9. Set S2 to the NORM position to begin making
measurements providing that all the system checks
were successfully completed.