Attaching Blank Insert
Wings and blank insert must be installed in
o
rder to use the table saw. Wings and blank
i
nsert create the complete table and support the workpiece.
U
se the jigsaw insert without the jigsaw attached for the
second blank insert. Never use the sander or router insert in
table saw mode.
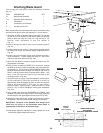
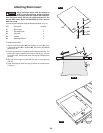
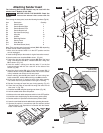
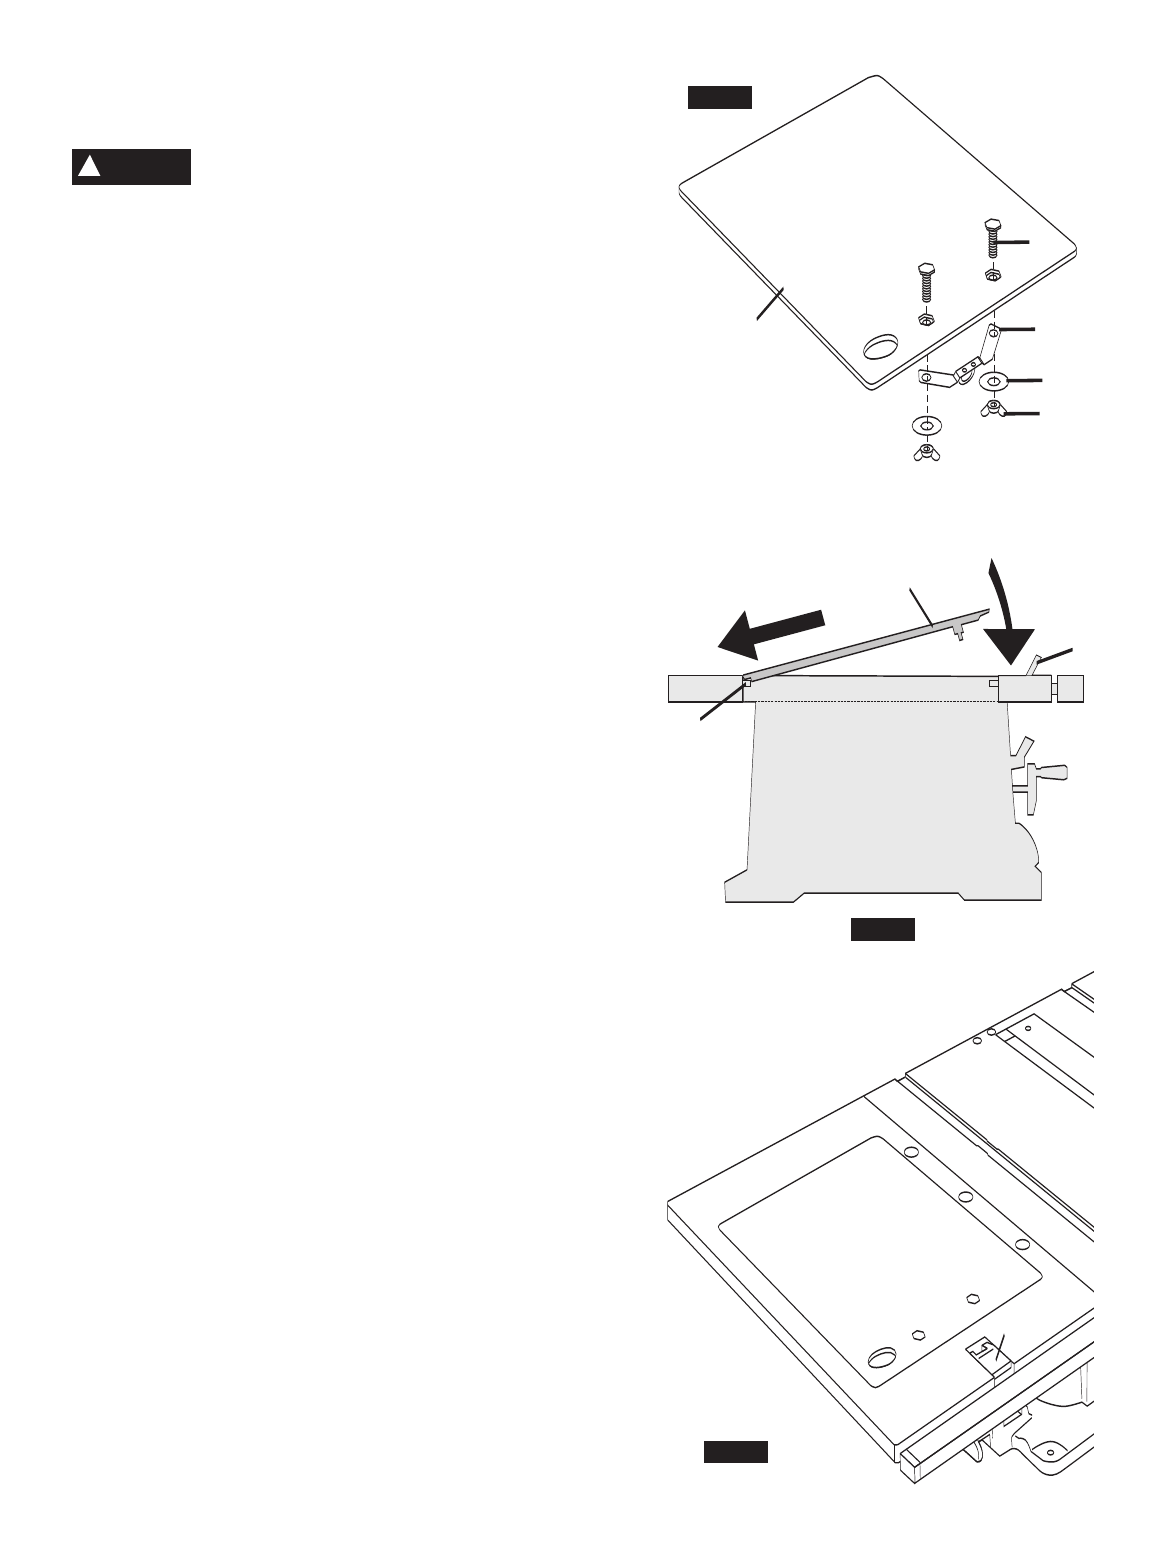
From among the loose parts, locate the following hardware. (Fig. 19)
Item Description Quantity
B
1 Blank Insert 1
B2 Hex-head Screw 2
B3 Wing Nut 2
B4 Washer 2
B5 Retaining Bracket 1
To install a blank insert:
1. Attach retaining bracket B5 onto bottom of insert B1 using
2 hex-head screws
B2, 2 washers B4, and 2 wing nuts B3 as
shown (Fig. 19).
2. Lift the red latch lever Y located at front of the wing opening. The
blank insert may be installed in the right or left wing. If you plan
to use the router, note that the router can only be installed on the
left wing.
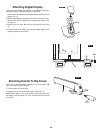
3. Slip tabs on the edge of insert
B1 into rear of wing opening
(Fig. 20).
4. Lower front edge of insert into wing and lower the red latch lever
Y. (Fig. 21)
52
.
1
2
B2
B1
B5
B4
B3
Y
B1
X
Y
FIG. 19
FIG. 20
FIG. 21
WARNING
!
FIG. 20
FIG. 19
FIG. 21


