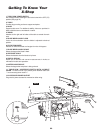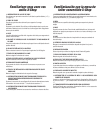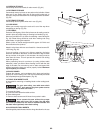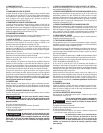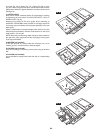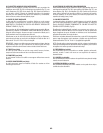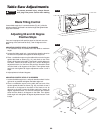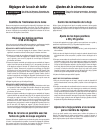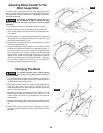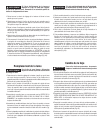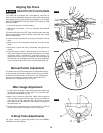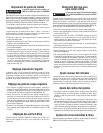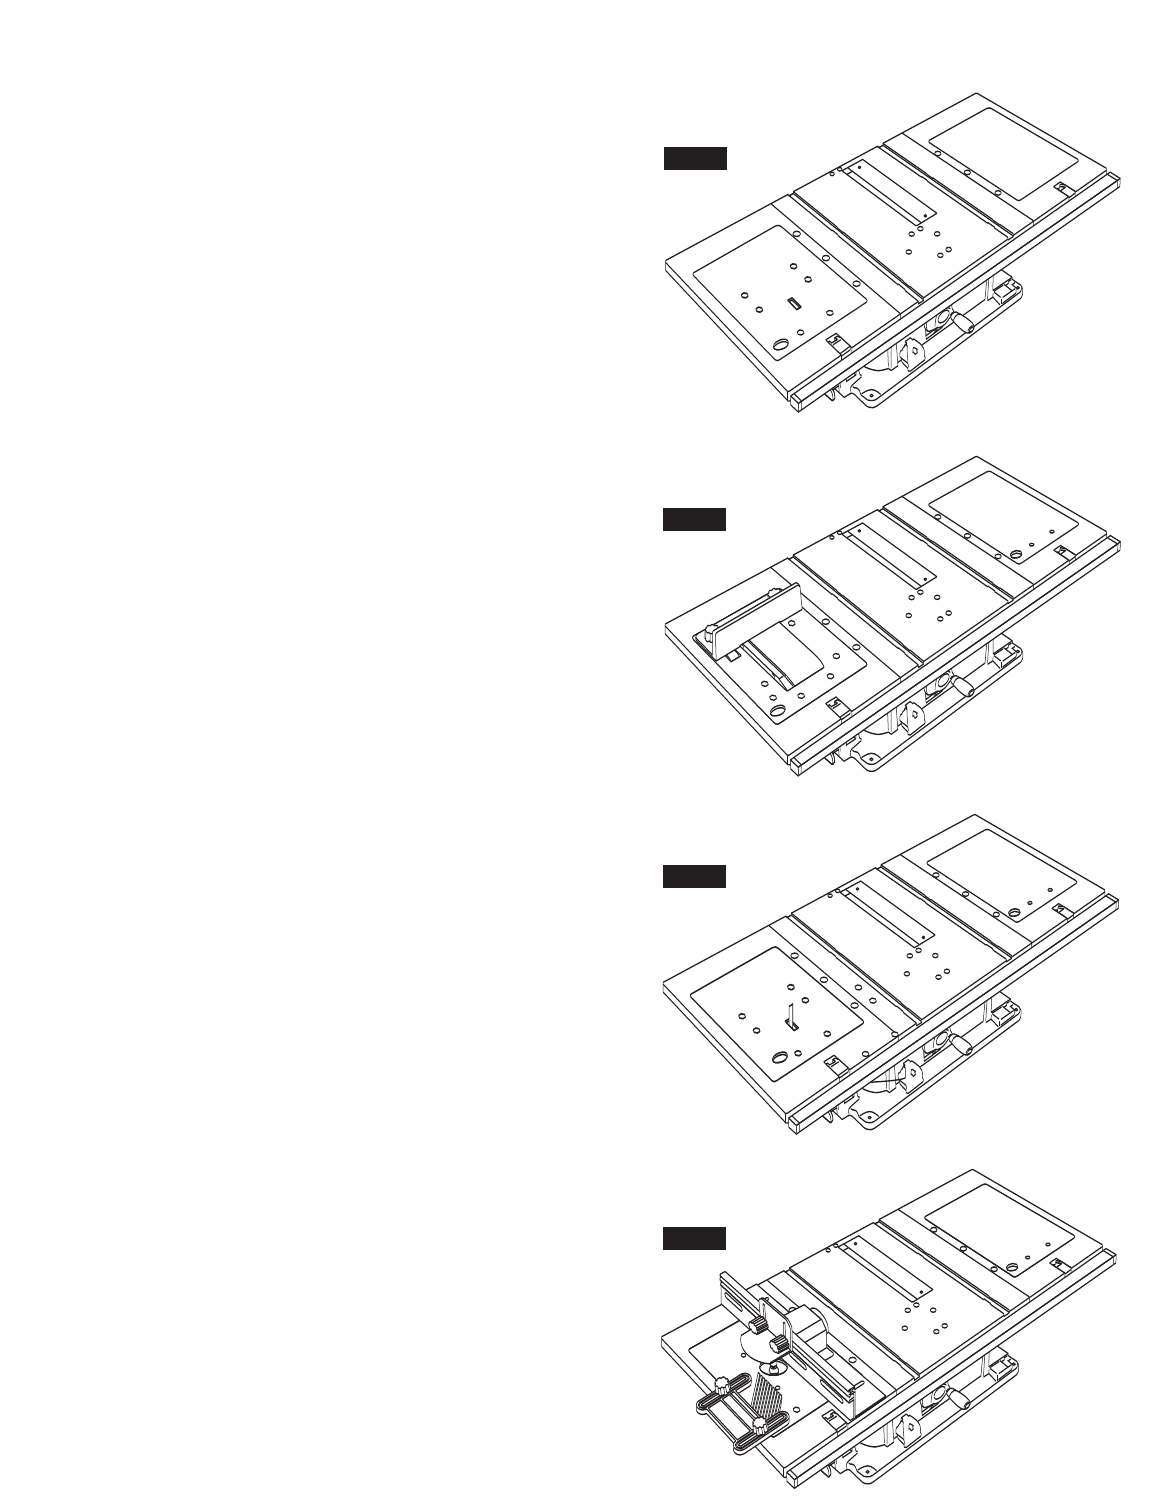
of no tool (Fig. 36), a sander (Fig. 37), a jigsaw (Fig. 38), a router
(
Fig. 39). When using the table saw, use the blank insert and the
jigsaw insert without the jigsaw attached to provide a flat and clean
working area.
21. MITER GAUGE
H
ead can be locked in desired position for crosscutting or mitering
by tightening the lock handle. ALWAYS SECURELY LOCK IT
WHEN IN USE. (Fig. 35)
Notches are provided in the miter gauge
16 for attaching an
AUXILIARY FACING
20 to make it easier to cut longer pieces. Be
sure facing does not interfere with the proper operation of the saw
blade guard.
Select a suitable piece of smooth straight wood 3/4" thick, drill two
holes through it and attach it with two round head #10 or #12 round
head screws 1-1/4" long
21.
NOTE: When bevel crosscutting, attach facing so that it extends to
the right of the miter gauge and use the miter gauge in the groove
to the right of the blade.
22 ROUTER (not included)
A tool with the aide of a rotary cutter that will shape, mill, cut or
create a groove in a wood surface or decorate edges.
23. SANDER (not included)
A tool for smoothing or resurfacing a work piece using an abrasive
belt.
24. JIGSAW (not included)
A tool intended for cutting material with the aide of a reciprocating
blade.
64
.
FIG. 36
FIG. 37
FIG. 38
FIG. 39


