


23
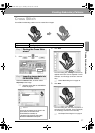
Creating Embroidery Patterns
Creating Embroidery Patterns
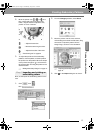
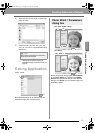
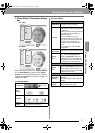
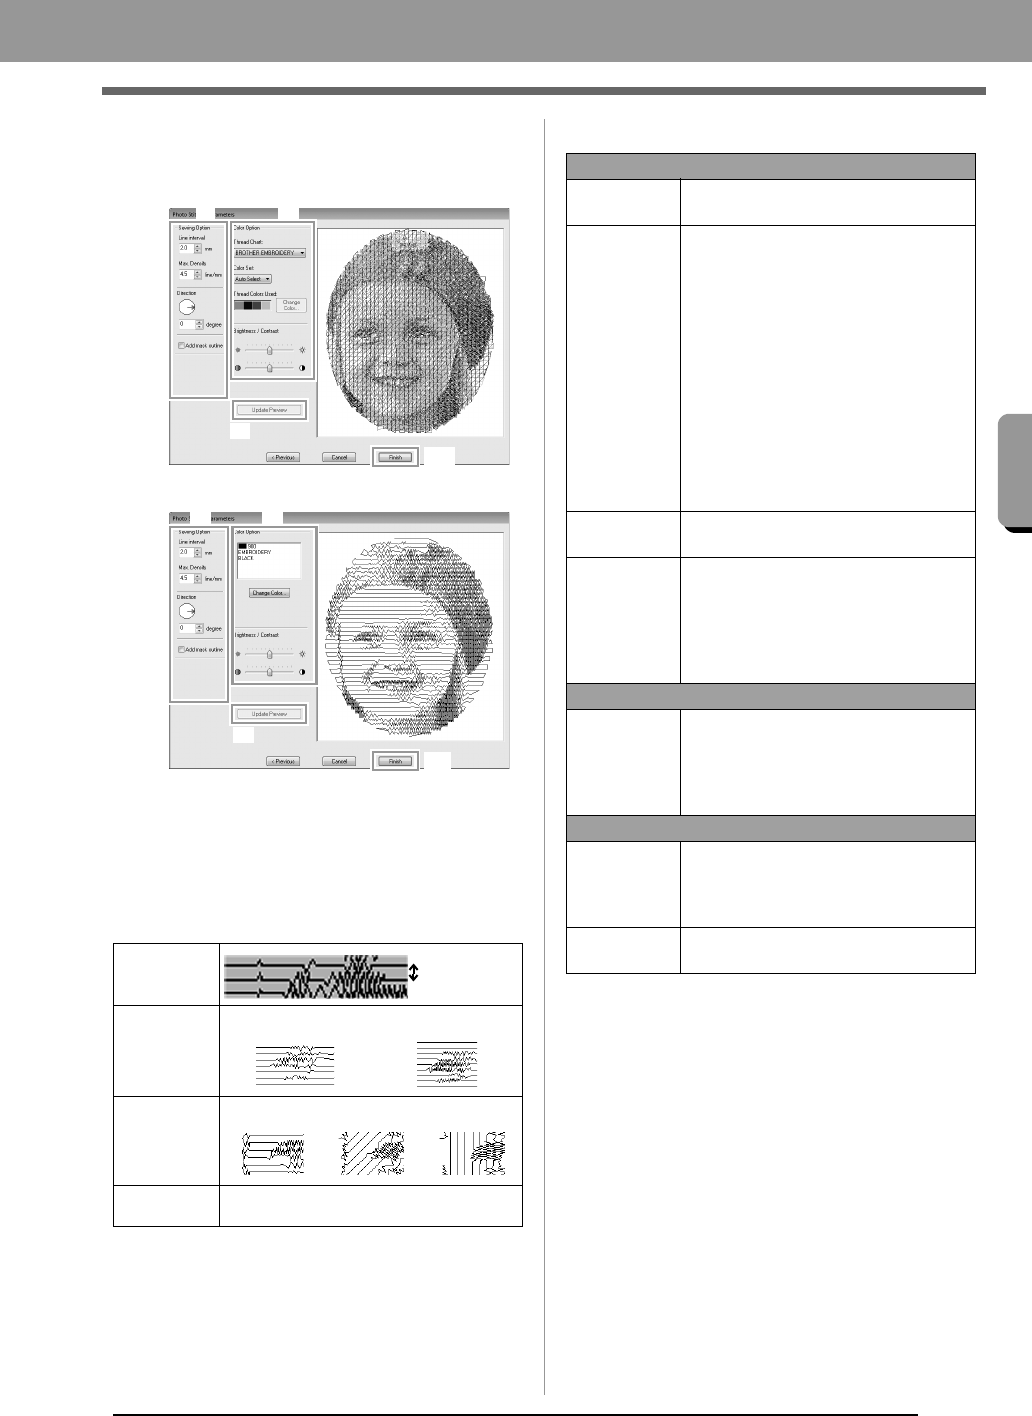
■ Photo Stitch 2 Parameters dialog
box
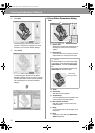
With Color:
With Mono:
Specify the desired settings under Sewing Option
(1) and Color Option (2), and then click Update
Preview (3) to preview the effects of the specified
settings. Click Finish (4) to convert the image to an
embroidery pattern.
(1) Sewing Option
(2) Color Option
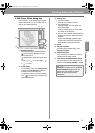
Line interval
Line interval
Max.
Density
Lower value Higher value
Direction
0° 45° 90°
Add mask
outline
If this check box is selected, line data is
created from the mask outline.
(3)
(4)
(1) (2)(1)
(3)
(4)
(1) (2)
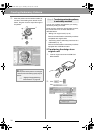
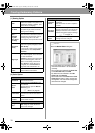
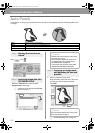
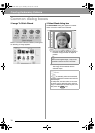
Color
Thread Chart
You can select the brand of thread to
use with the Color Set function.
Color Set
If Auto Select is selected, the most
appropriate four colors will automatically
be selected.
Selecting a different option specifies the
four colors used when creating the
embroidery pattern.
The color choices are: cyan (C),
magenta (M), yellow (Y), black (K), red
(R), green (G) and blue (B). Select one
of the following combinations that
contains the colors most used in the
image.
Color combinations: CMYK, RGBK,
CRYK, BMYK
Thread
Colors Used
Displays the four selected thread colors.
Change
Color
Under Thread Colors Used, click a
color. Then, click Change Color to
display the Thread Color dialog box.
Select the new color and click OK. The
selected thread color will be applied to
the image shown in the preview box.
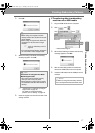
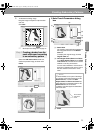
Mono
Change
Color
Click on the Change Color button to
open the Thread Color dialog box if you
wish to change the color of the photo
stitching. Select the color and click
OK
to make the color change.
Color/Mono
Brightness /
Contrast
The top slider is used to adjust the
brightness.
The bottom slider is used to adjust the
contrast.
Update
Preview
Updates the previewed image after
settings have been changed.
XE8656-001.book Page 23 Thursday, June 30, 2011 2:56 PM