


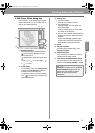
29
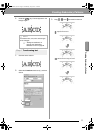
Creating Embroidery Patterns
Creating Embroidery Patterns
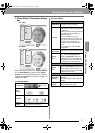
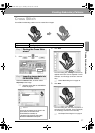
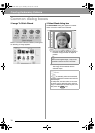
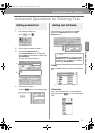
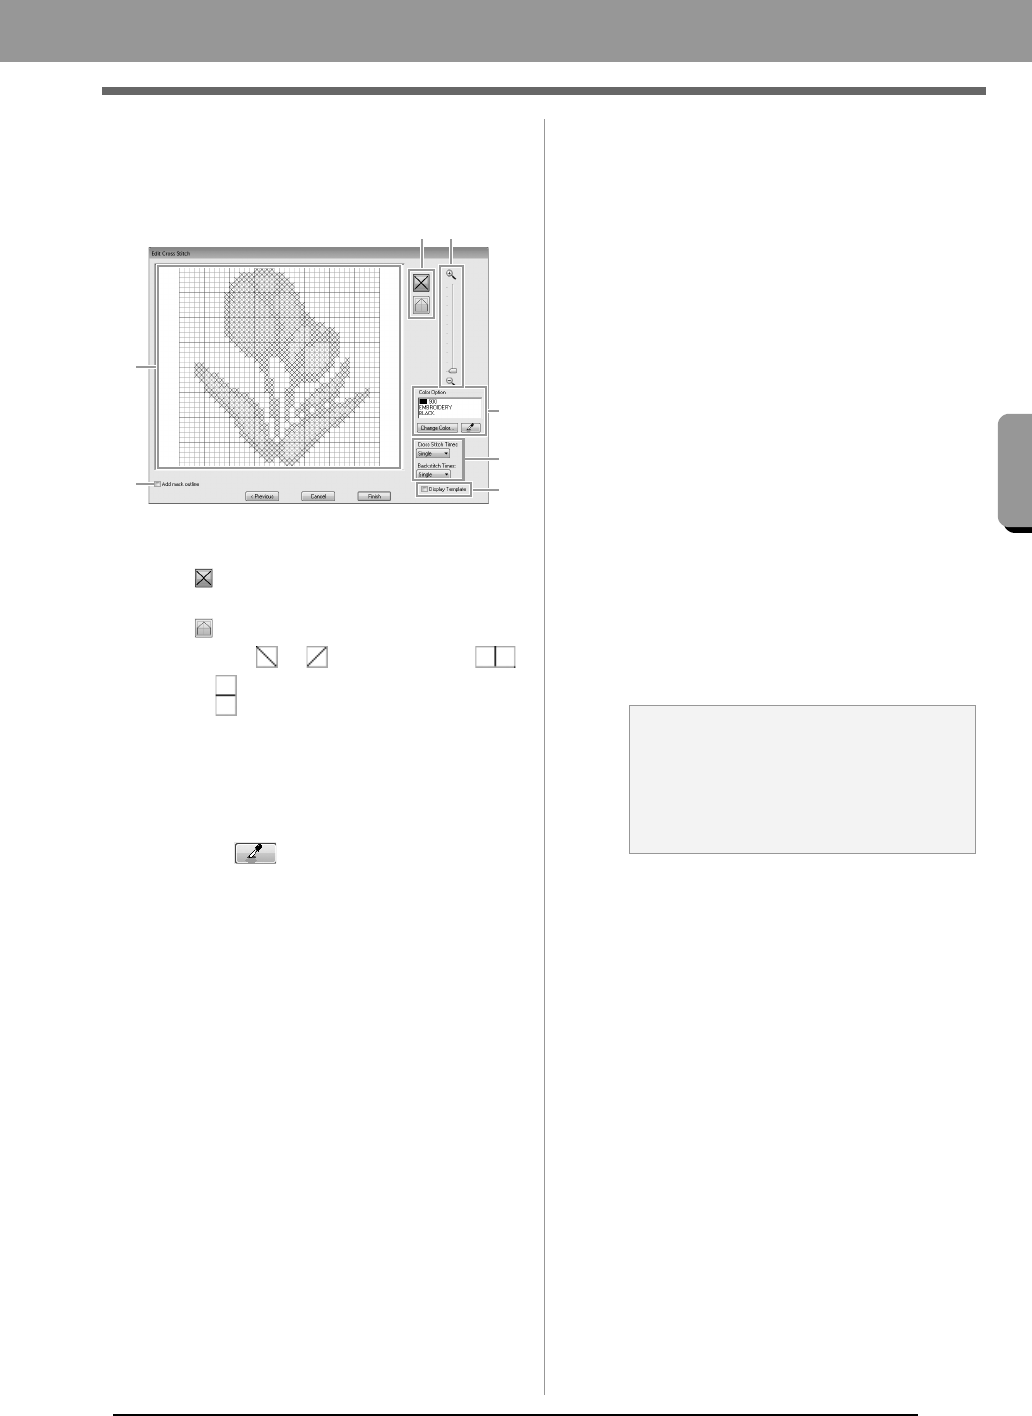
■ Edit Cross Stitch dialog box
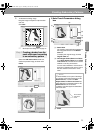
Click a button in (1) to select the type of stitch,
select a thread color in (2), and then click or
drag in (3) to edit the stitches.
(1) Selecting stitches
Selecting stitches to be added/deleted
(cross-stitches): Specifies a cross-
stitch inside a box.
(backstitches): Specifies a back stitch
inside ( or ) or on the edge (
or ) of a box.
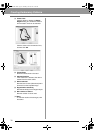
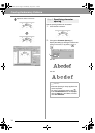
(2) Color Option
To change the color, click Change Color
to display the Thread Color dialog box,
and then click the desired color.
To select the color to be used for a stitch,
click , and then click the stitch to be
sewn with that color.
(3) Editing area
For cross-stitches
Clicking a box: Adds one stitch.
For backstitches
Clicking an edge of a box: Adds one
stitch at the edge.
Clicking a diagonal line in a box: Adds
one stitch on the diagonal.
For both cross-stitches and backstitches
Dragging the pointer: Adds consecutive
stitches.
Right-clicking/dragging with the right
mouse button held down: Deletes one
stitch/deletes consecutive stitches.
(4) Zoom
(5) Display Template
To display the imported image, click
Display Template.
(6) Add mask outline
If this check box is selected, line data is
created from the mask outline.
(7) Cross Stitch Times/Backstitch Times
For the number of times each stitch is to
be sewn, select Single, Double or Triple.
(6)
(7)
(2)
(3)
(4)(1)
(5)
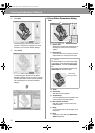
a Note:
If
Previous
is clicked to return to the
Cross
Stitch Parameters
dialog box after the
stitches have been edited, the edited
stitches are reset to their previous
arrangement.
XE8656-001.book Page 29 Thursday, June 30, 2011 2:56 PM