56
Arranging Embroidery Designs
Specifying the Design Page Size and Color
The color and size of the Design Page can be changed. You can select a Design Page size according to the
size of hoop that you will be using with your embroidery machine.
1. Click , then .
2. Specify the settings for the Design Page, and
then click OK.
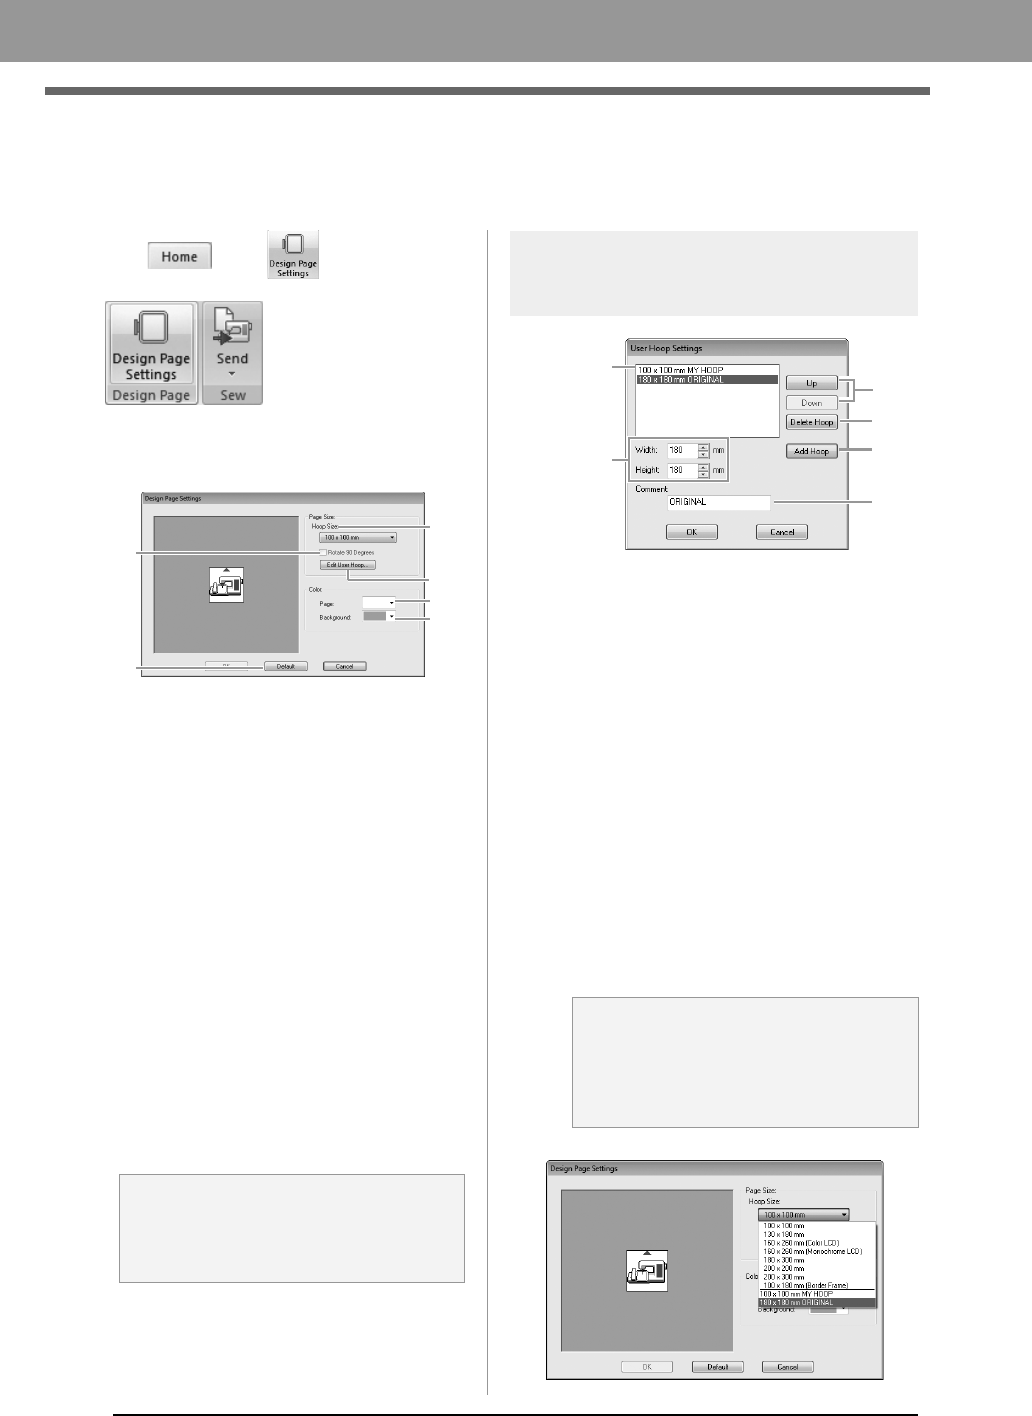
(1) Hoop Size:
Select the desired hoop size from the
selector.
(2) Rotate 90 Degrees:
Select this check box to arrange the
pattern in a Design Page rotated 90°.
(3) Page:
Select the desired color for the Design
Page.
(4) Background:
Select the desired color for the work area.
(5) Default:
To return to the default settings, click this
button.
(6) Edit User Hoop:
Click this button to display the User Hoop
Settings dialog box, where a user hoop
size can be added. The added user hoop
size appears at the bottom of the list.
User Hoop Setting
(1) Width, Height:
Type in the size of the hoop to be added.
(2) Comment:
If text was entered in this box, that text
appears beside the size.
(3) Add Hoop:
Click this button to add the hoop size.
(4) User Hoop List:
The added hoop size appears in the list.
Select a hoop size in this list to change the
display order or to delete it.
(5) Up, Down:
Click these buttons to move the selected
hoop size up or down in the display order.
(6) Delete Hoop:
Click this button to delete the selected
hoop size.
a Note:
Do not select a hoop size larger than the
embroidery hoop that can be used with your
machine.
(5)
(1)
(4)
(3)
(6)
(2)
a Note:
• A User Hoop cannot rotate 90°.
• Do not create a Custom Hoop larger than
the embroidery hoop that can be used with
your machine.
(1)
(4)
(5)
(6)
(3)
(2)
XE8656-001.book Page 56 Thursday, June 30, 2011 2:56 PM


