


Return to Section TOC Return to Section TOC Return to Section TOC Return to Section TOC
Return to Master TOC Return to Master TOC Return to Master TOC Return to Master TOC
TROUBLESHOOTING & REPAIR
F-14 F-14
CLASSIC II
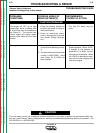
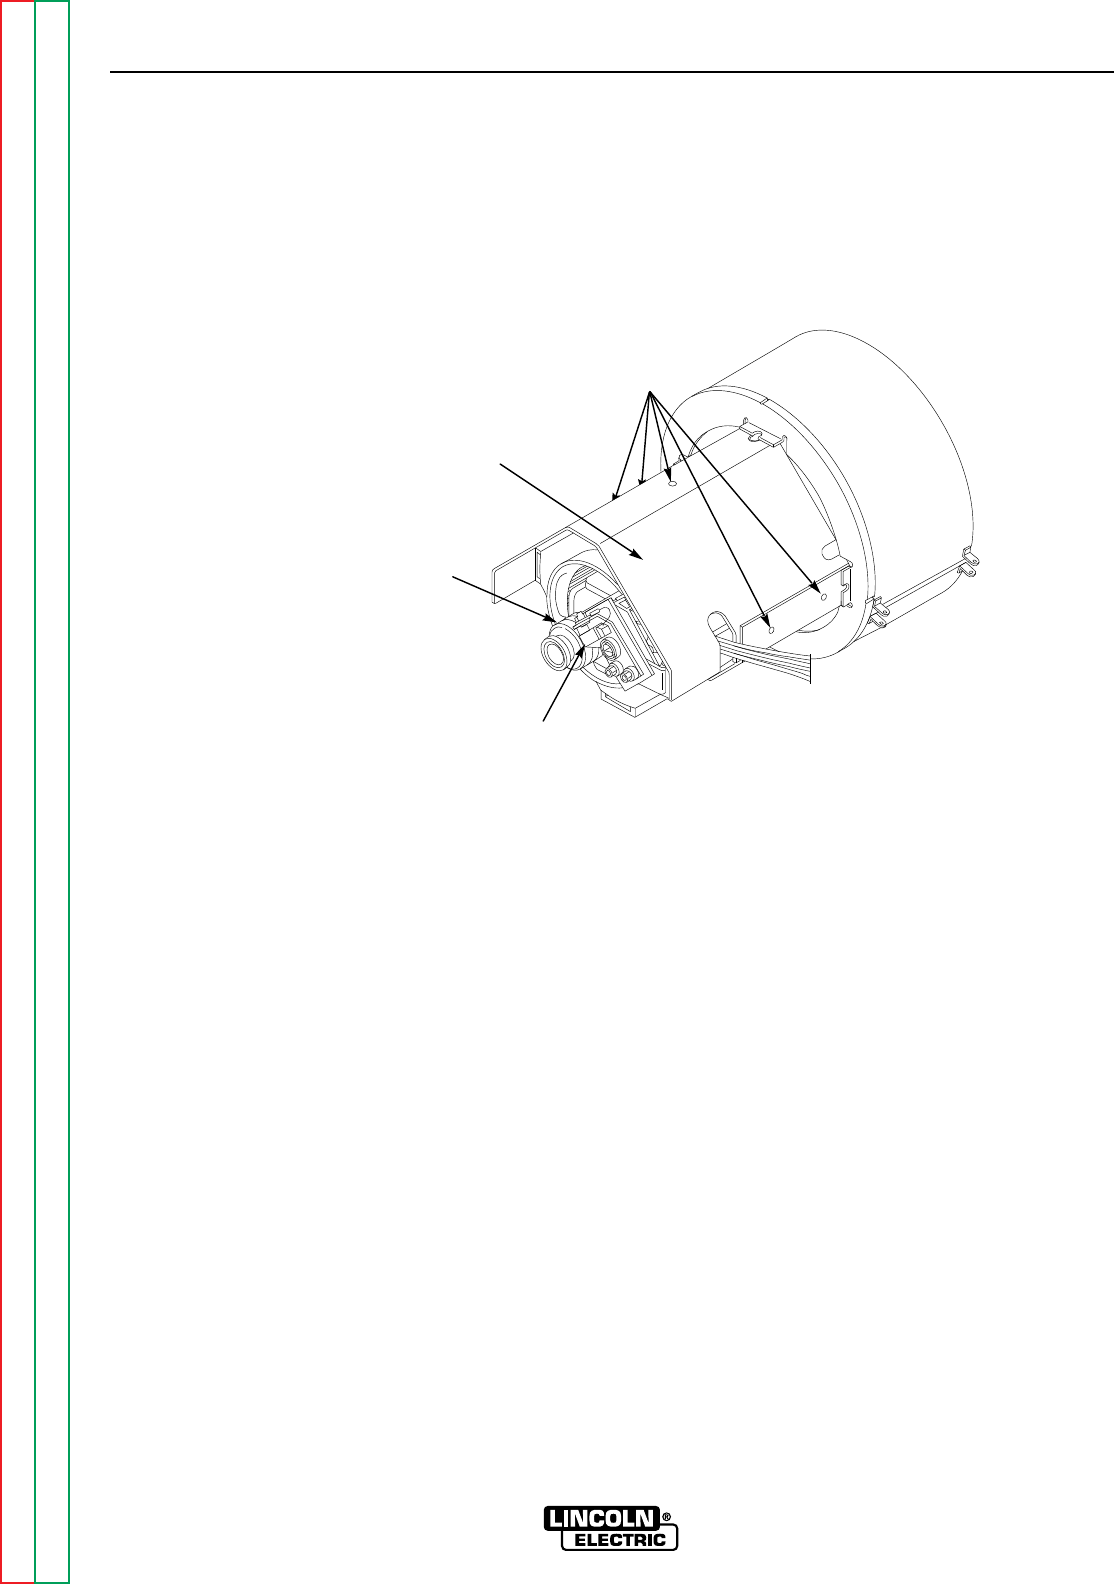
LOOSEN 5
SCREWS
ALTERNATOR
COVER
SLIP
RINGS
BRUSHES
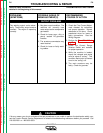
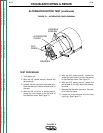
FIGURE F.1 – ALTERNATOR COVER REMOVAL
ALTERNATOR ROTOR TEST (continued)
TEST PROCEDURE
1. Turn engine off.
2. With the 3/8" socket wrench, remove the
left case side.
3. Unlatch, lift and secure the right side door.
Note that there are latches at both ends of
the door.
4. With the 3/8" nut driver or socket wrench,
loosen the two screws on the left side of
the alternator cover. See Figure F.1.
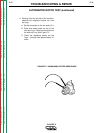
5. With the 3/8" socket wrench, remove the
screw and lock washer from the top center
of the alternator cover. See Figure F.1.
6. With the 3/8" socket wrench, loosen the
two screws on the right side of the alterna-
tor cover.
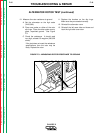
7. Remove the alternator top cover. Be care-
ful to clear the leads.
8. Locate and lift the brushes off of the rotor
slip rings. See Figure F.1.