


SECTION
10
AUTO
BODY
REPAIR
APPLICATION
CAUTION:
WELDING
CURRENT
can
dam
age
vehicle
computers
and
other
electronic
components.
Disconnect
both
battery
cables
before
weld
ing
on
a
vehicle.
Place
work
clamp
as
close
to
the
weld
as
pos
sible
to
avoid
long
electrical
paths.
Be
sure
gun
to
power
source
as
well
as
cable
connections
to
work
clamp
are
clean
and
tight.
To
minimize
risk,
disconnect
the
computer(s)
from
the
vehicle.
10-1.
POINTERS
FOR
WELDING
AUTO
BODY
SHEET
METAL
Before
using
this
equipment
to
weld
on
a
finished
piece
of
work,
make
a
few
practice
welds
on
a
sample
piece
of
material
the
same
as
that
of
the
finished
workpiece.
Whenever
possible,
weld
in
the
flat
position
since
this
is
the
easiest
position
to
learn.
Be
sure
that
the
material
to
be
welded
is
clean
and
free
of
paint
and
rust.
The
work
cable
clamp
must
be
attached
to
the
parts
being
welded.
Clean
surface
to
ensure
proper
grounding
and
to
com
plete
the
current
path.
Use
a
.030
or
.023
in.
(0.8
or
0.6
mm)
E7OS-6
wire
and
argon/carbon
dioxide
shielding
gas.
Use
direct
current
straight
polarity
for
reduced
burn
through.
To
obtain
straight
polarity
(electrode
wire
to
negative-work
lead
to
positive),
place
the
Negative/
Positive
weld
output
selector
plug
in
the
NEGATIVE
WELD
OUTPUT
RECEPTACLE
and
connect
the
work
(ground)
lead
to
the
POSITIVE
WELD
OUTPUT
RE-
CE
PTACLE.
IMPORTANT:
For
maximum
penetration
on
thicker
ma
terials
such
as
18
gauge
(1.22
mm)
and
thicker,
recon
nect
for
direct
current
reverse
polarity
(work
lead
to
negative,
electrode
wire
to
positive).
10-2.
PROCEDURE
FOR
WELDING
MILD
STEELS
The
following
are
some
basic
guidelines
that
can
be
used
when
using
this
welding
power
source
to
weld
mild
or
high
strength
steels:
1.
Use
a
power
wire
brush
or
sander
to
remove
paint
to
bare
metal
in
the
area
to
be
repaired.
Two
to
three
inches
(51-76mm)
on
either
side
of
the
weld
area
should
be
cleaned
for
applying
body
filler
af
ter
welding
is
completed.
2.
Remove
damaged
metal
using
hand
cutters,
shears,
or
a
power
hand
grinder
equipped
with
a
cutting
wheel.
3. Fit
a
new
piece
of
sheet
steel
over
the
section
which
was
removed.
The
new
material
should
overlap
the
cut
away
section
by
one
inch
(25
mm).
4.
Clamp
the
new
metal
in
place,
and
prepare
to
spot
weld.
5.
Rotate
the
FINE
TUNING
WIRE
SPEED
control
to
50%,
the
weld
timer
at
30
to
40
percent,
the
burnback
at
40
to
50
percent
and
the
selector
switch
to
the
SPOT
position.
6.
Install
the
spot
nozzle
on
the
gun.
7.
With
the
shielding
gas
and
power
source
turned
on,
place
the
spot
nozzle
and
press
firmly
against
the
new
material
about
1/2
to
3/4
in.
(12-18
mm),
from
the
edge.
Fit
up
must
be
tight
to
assure
good,
repeatable
spot
welds.
8.
Begin
spot
welding
from
the
center
Out
on
each
side.
Distortion
may
occur
if
welding
begins
at
the
corners.
9.
Space
spot
welds
1
to
1/2
in.
(25-38
mm)
apart
around
repair.
Spot
welds
should
be
about
3/16
in.
(5
mm)
in
diameter.
IMPORTANT:
Do
not
make
continuous
welds
around
the
repair
as
this
will
promote
distortion
and
warpage.
10.
After
welding,
remove
the
clamp
and
grind
spot
flush
to
surface.
11.
Smooth
the
joints
with
body
filler
and
finish.
10-3.
PROCEDURES
FOR
WELDING
DOOR
PAN
ELS
IMPORTANT:
Every
experienced
autobody
repairman
will
ha
ye
his
own
methodofperforming
the
following
pro
cedures.
However,
this
in
formation
is
presented
to
show
how,
in
most
cases,
this
welding
powersource
can
make
the
job
easier
and
less
time
consuming.
If
the
door
is
severely
damaged,
but
the
damage
is
pri
marily
in
the
outer
panel,
or
skin,
the
door
can
be
easily
repaired
without
necessarily
installing
a
whole
new
door.
1.
Remove
exterior
molding
and
hardware.
It
is
not
necessary
to
remove
window
regulator,
remote
control
mechanisms,
lock
or
runs.
2.
Remove
door
assembly,
and
place
on
flat
surface
with
edges
of
door
extending
over
edges
of
sur
face
to
provide
room
to
work.
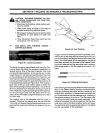
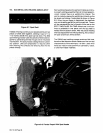
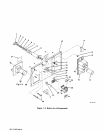
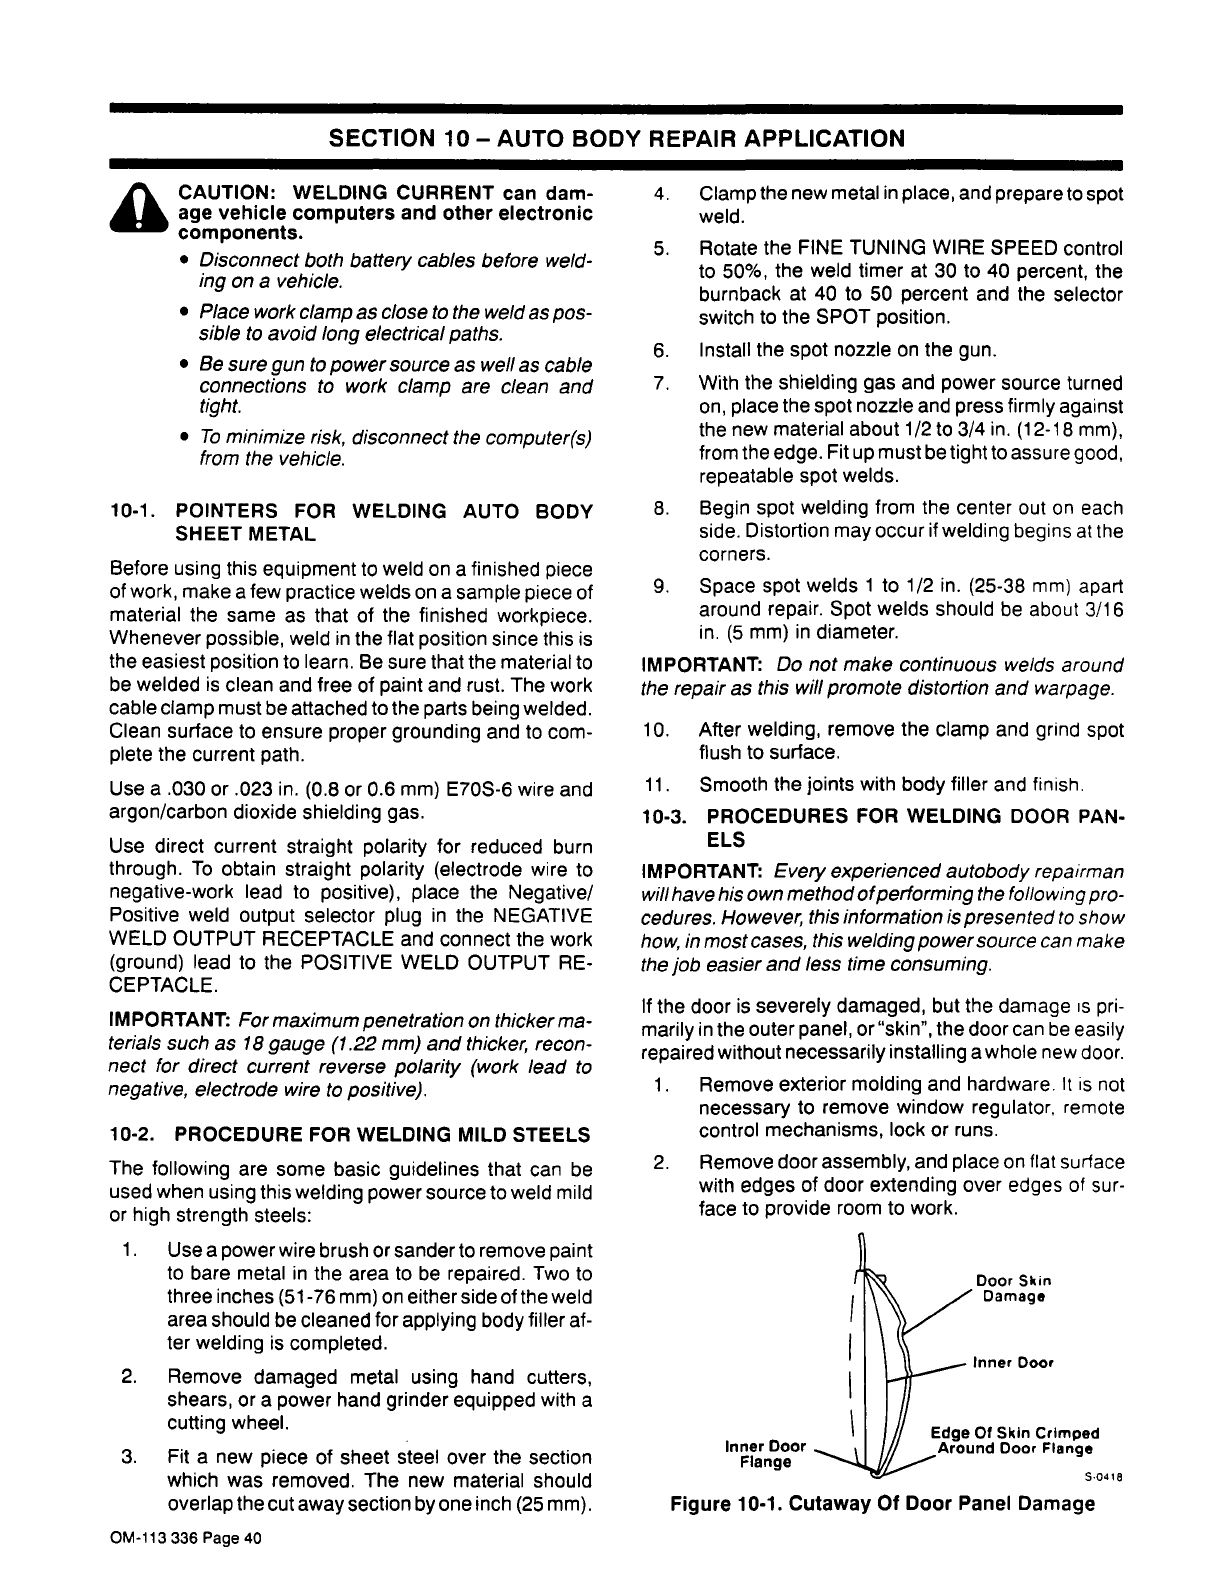
a
Door
Skin
Damage
Inner
Door
Inner
Door
Flange
Figure
10-1.
Cutaway
Of
Door
Panel
Damage
S
.~J4
18
OM-113
336
Page
40