


882.00207.00 Chapter 3: Installation 36 of 102
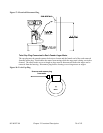
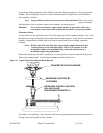
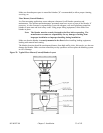
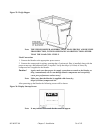
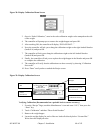
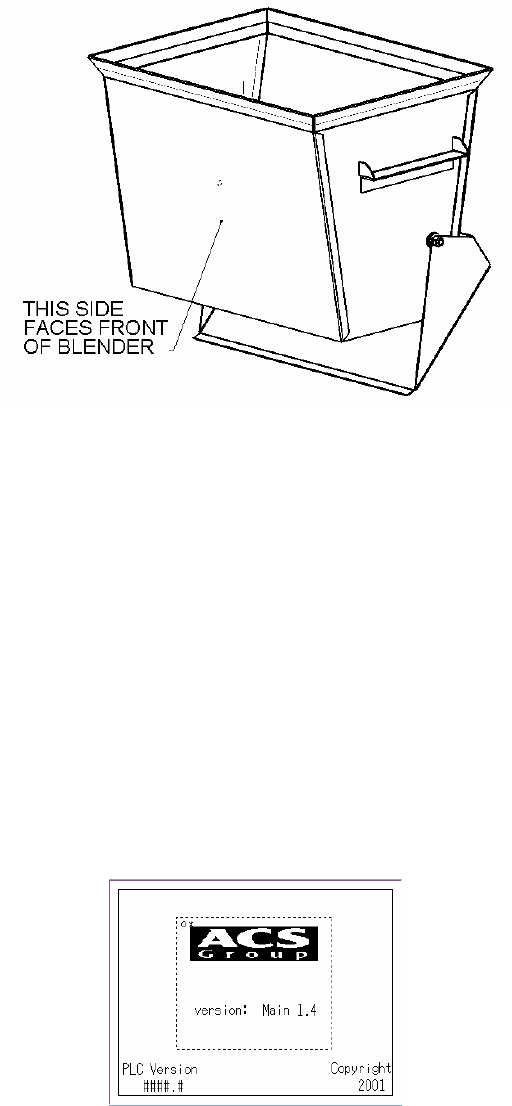
Figure 25: Weigh Hopper
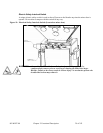
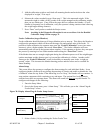
Final Connections
1. Connect the blender to the appropriate power source.
2. Connect the compressed air piping, ensuring that a 5-micron air filter is installed, along with the
proper water trap, and lubrication unit, if required. Verify that 60 psi (4.14 bar) of clean, dry
compressed air is supplied to the blender.
Caution! Again, make sure that proper air supply connections are made to the blender, as
dirty, contaminated, wet air can damage blender components and can quickly
cause poor performance and accuracy!
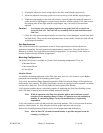
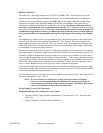
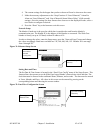
After powering up the blender the following screen will be shown:
Figure 26: Display Startup Screen
Note: THE WEIGH HOPPER ASSEMBLY MUST HANG FREELY AND BE FREE
FROM FRICTION, WITH NO MECHANICAL OBSTRUCTIONS OTHER
THAN THE LOAD CELL ITSELF.
Note: Make sure that the blender is supplied with clean, dry,
60 psi (4.14 bar) compressed air.
Note: It may take 45-50 seconds for the screen to appear.