


OPERATION
B-33 B-33
POWER FEED® 25M
Return to Section TOC Return to Section TOC Return to Section TOC Return to Section TOC
Return to Master TOC Return to Master TOC Return to Master TOC Return to Master TOC
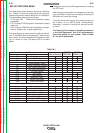
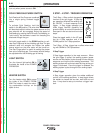
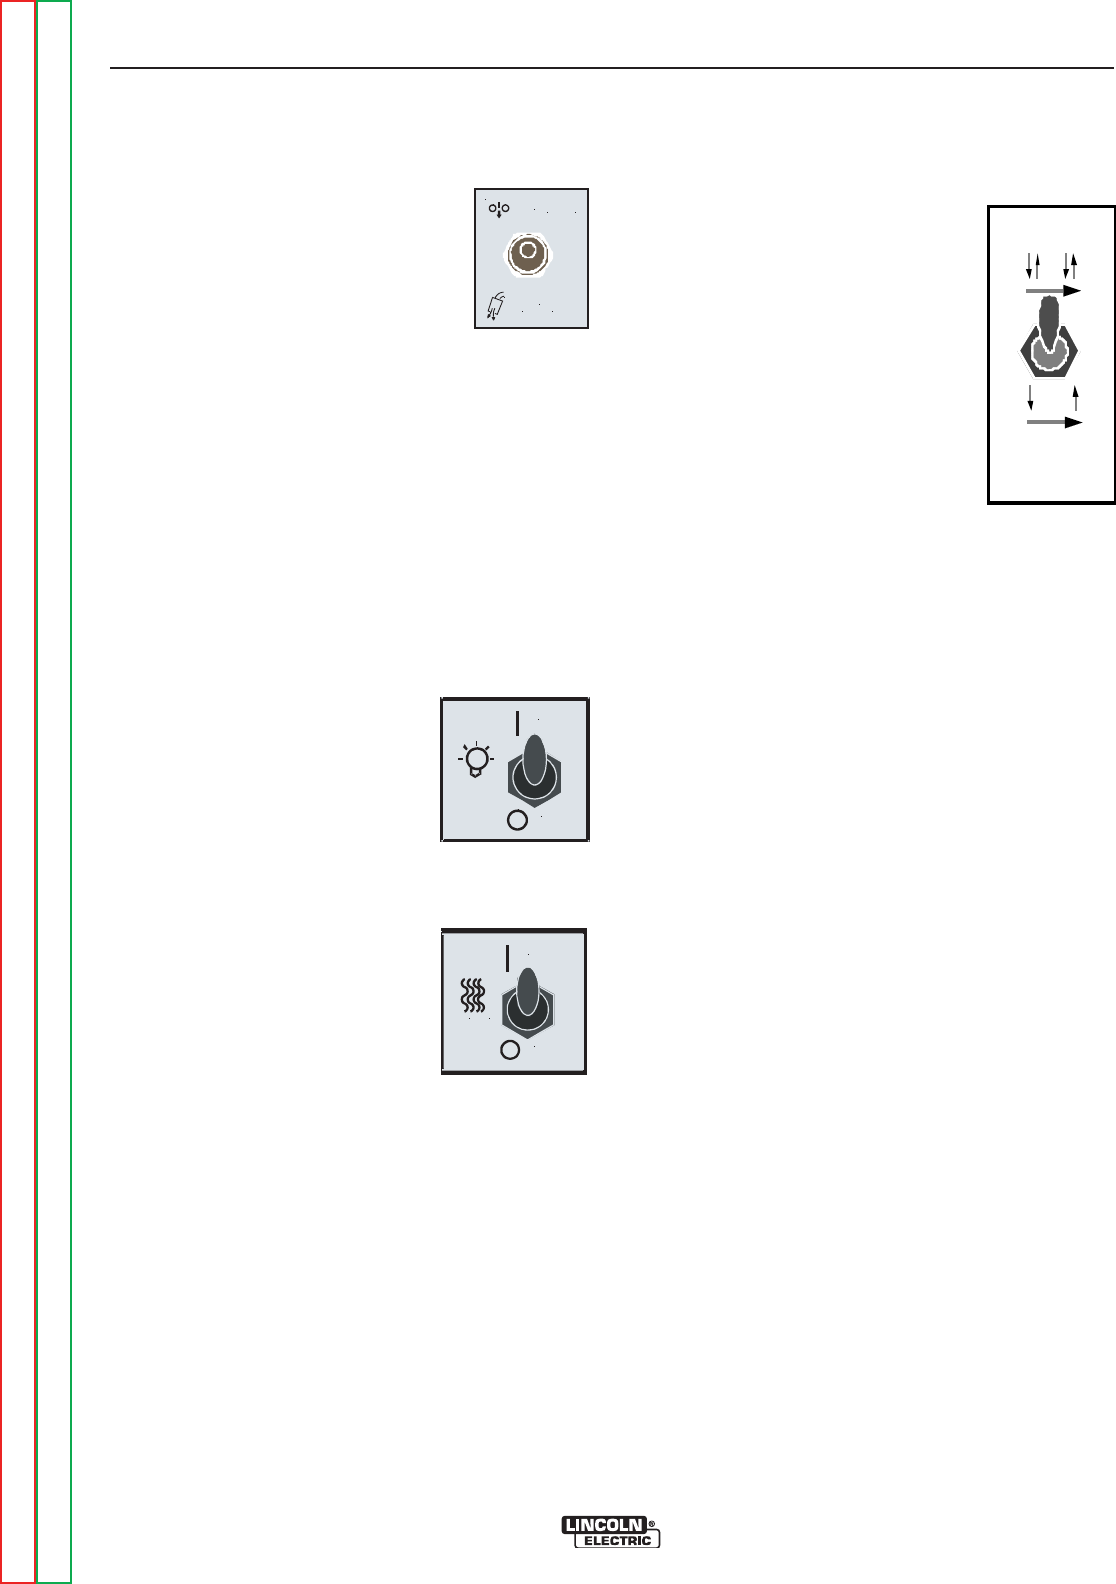
COLD FEED/GAS PURGE SWITCH
Cold Feed and Gas Purge are combined
into a single spring centered toggle
switch.
To activate Cold Feeding, hold the
switch in the UP position. The wire drive
will feed electrode but neither the power source nor the
gas solenoid will be energized. Adjust the speed of
cold feeding by rotating the WFS knob. Cold feeding, or
"cold inching" the electrode is useful for threading the
electrode through the gun.
Hold with toggle switch in the DOWN position to acti-
vate Gas Purge and let the shielding gas flow. The gas
solenoid valve will energize but neither the power
source output nor the drive motor will be turned on.
The Gas Purge switch is useful for setting the proper
flow rate of shielding gas. Flow meters should always
be adjusted while the shielding gas is flowing.
LIGHT SWITCH
Turn the internal light switch ON to
illuminate the inside of the POWER
FEED® 25M.
HEATER SWITCH
Turn the heater switch ON to warm
the inside of the POWER FEED®
25M. The heater is useful for reduc-
ing condensation build-up on the
spool of wire.
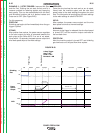
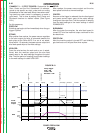
2 STEP - 4 STEP - TRIGGER OPERATION
The 2 Step - 4 Step switch changes the
function of the gun trigger. 2 Step trig-
ger operation switches the welding out-
put ON-OFF in direct response to the
trigger. 4 Step trigger operation pro-
vides 'trigger interlock' capability and
gives the ability to control the amount of
time spent in the arc start and arc crater
steps.
Place the toggle switch in the UP posi-
tion for 4 Step operation and in the
DOWN position for 2 Step operation.
The 2 Step - 4 Step trigger has no effect when weld-
ing with SMAW or CAG procedures.
2 Step Trigger
2 Step trigger operation is the most common. When
the gun trigger is pulled, the welding system (power
source and wire feeder) cycles through the arc starting
sequence and into the main welding parameters. The
welding system will continue to weld as long as the gun
trigger is activated. Once the trigger is released, the
welding system cycles through the arc ending steps.
4 Step Trigger
4 Step trigger operation gives the welder additional
control in the welding sequence. 4 step trigger allows
the welder to choose the arc start, weld and arc end
time. It may also be set-up to work as a trigger inter-
lock.
2-STEP
4 STEP
C
OLD FEED
G
AS PURGE
ON
OFF
LIGHT
HEATER
OFF
ON
NOTE: All switches described on this page will func-
tion only when power source is ON.