ProSecure Unified Threat Management UTM10 or UTM25 Reference Manual
Virtual Private Networking Using IPsec Connections 7-13
v1.0, September 2009
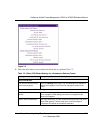
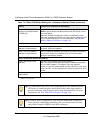
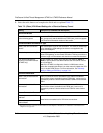
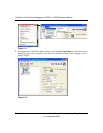
3. Enter the settings as explained in Table 7-4.
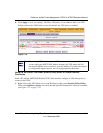
4. Click on the disk icon to save the configuration, or select File > Save from the Security Policy
Editor menu.
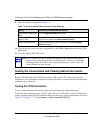
Table 7-4. Security Policy Editor: Remote Party Settings
Setting Description (or Subfield and Description)
Connection Security Select the Secure radio button. If you want to connect manually only, select the
Only Connect Manually checkbox.
ID Type From the pull-down menu, select IP Subnet.
Subnet Enter the LAN IP subnet address of the UTM that is displayed on the UTM’s
VPN Policies screen (see Figure 7-10 on page 7-11). In this example, the
subnet address is 192.168.1.0.
Mask Enter the LAN IP subnet mask of the UTM that is displayed on the UTM’s VPN
Policies screen (see Figure 7-10 on page 7-11). In this example, the subnet
mask is 255.255.255.0.
Protocol From the pull-down menu, select All.
Use Select the Use checkbox. Then, from the pull-down menu, select Secure
Gateway Tunnel.
ID Type
Left pull-down menu From the left pull-down menu, select Domain Name.
Then, below, enter the local FQDN that you entered on
the UTM’s VPN Wizard screen (see Figure 7-9 on
page 7-9). In this example, the domain name is
utm_local.com.
Right pull-down menu From the right pull-down menu, select Gateway IP
Address. Then, below, enter the IP address of the
WAN interface that you selected on the UTM’s VPN
Wizard screen (see Figure 7-9 on page 7-9). In this
example, the WAN IP address is 192.168.50.61.
Note: You can find the WAN IP address on the
Connection Status screen for the selected WAN port.
For more information, see “Viewing the WAN Ports
Status” on page 11-27.


