


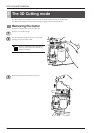
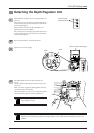
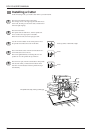
23
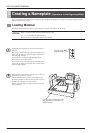
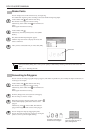
3 Creating a Nameplate (Operations in the Engraving Mode)
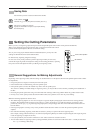
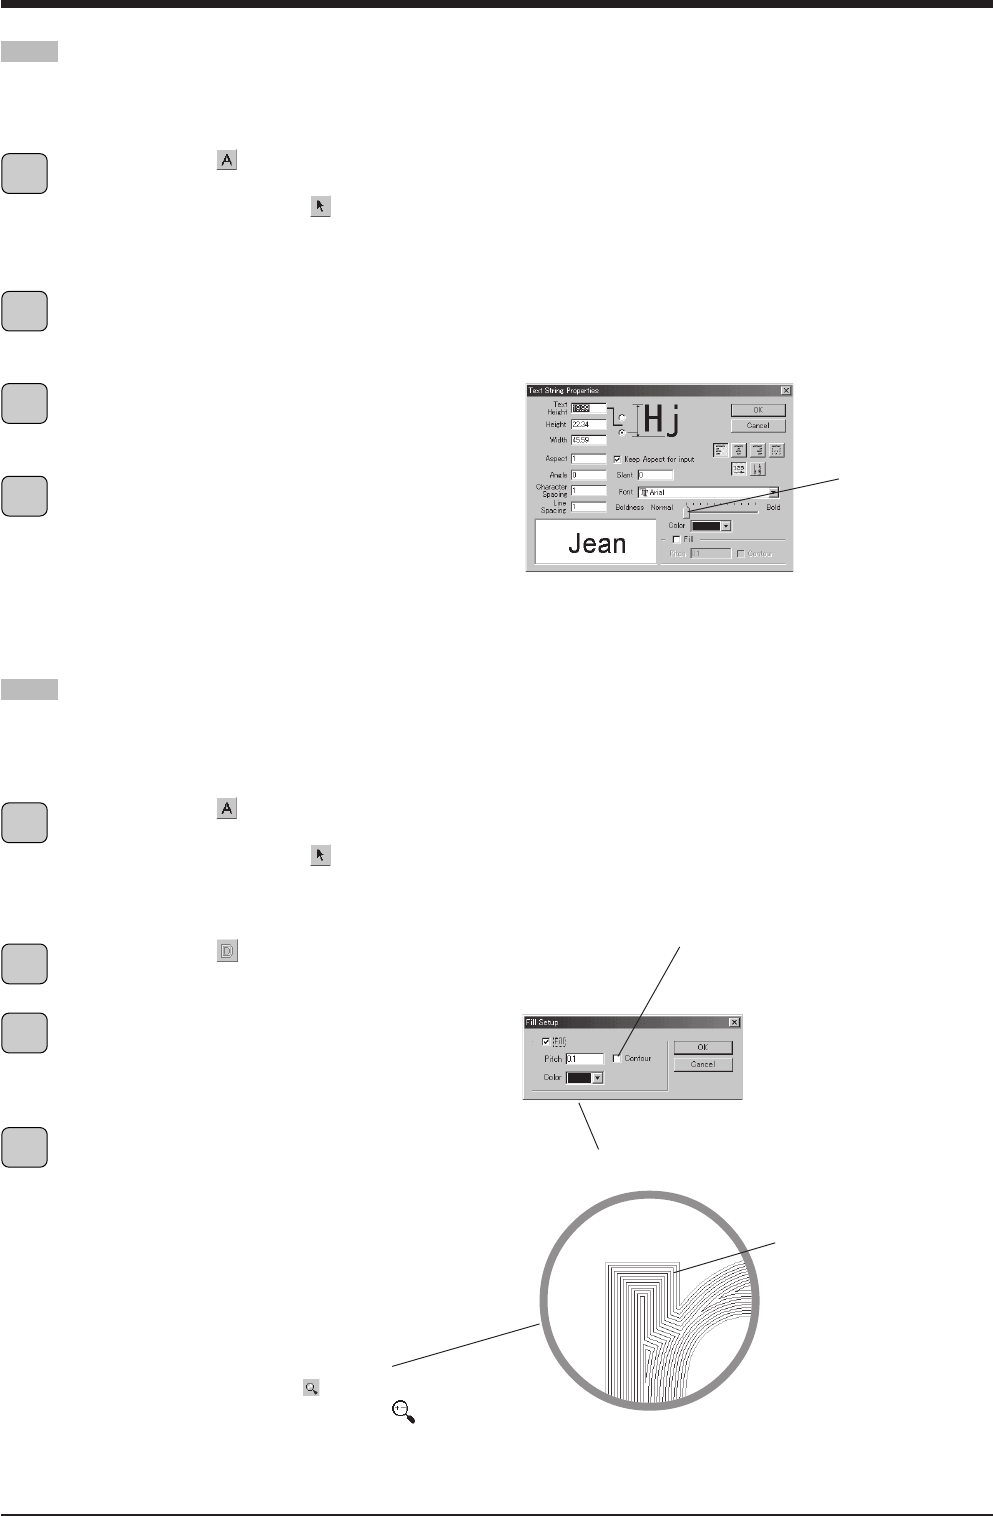
Text-string Settings
You can specify numerical value for rotation, slanting, character pitch, and so on in a dialog box.
At the toolbar, click , then click the text string.
The character cursor appears in the text string.
Alternatively, at the toolbar click
, then click the text
string.
Points appear around the text string.
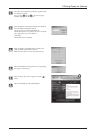
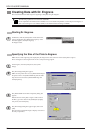
From the [Format] menu, select [Properties].
The [Text string Properties] dialog box appears.
Changing the settings for any of the items updates the
settings for the text shown in the preview field.
When you have finished making the settings, click [OK].
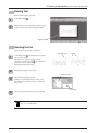
You can change the
character boldness.
Filling a Text String
If the Fill setting is not made, only the outlines of characters are engraved.
When the Fill setting is made, the interiors of characters are all engraved by flat-dragging.
At the toolbar, click , then click the text string.
The character cursor appears in the text string.
Alternatively, at the toolbar click
, then click the text
string.
Points appear around the text string.
At the toolbar, click
.
Alternatively, from the [Shape] menu, select [Fill].
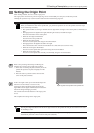
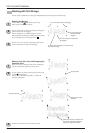
The [Fill Setup] dialog box appears.
Click [Fill] to select the check box.
[Pitch] is the engraving spacing of the cutter.
When you're using the included cutter, set this to [0.1].
When you have finished making the settings, click [OK].
Pitch lines appear in the characters.
The cutter moves along these lines as it engraves.
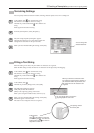
When you click this to select the check
box, flat-drag engraving of the interiors of
the character outlines is performed, then
the contour lines of the characters are
engraved.
You can specify colors and vary the
engraving depth for each color.
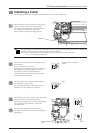
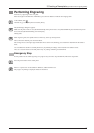
Enlarged area
Click on the toolbar to make the
pointer change to , then click the
location where you want to zoom in.
Right-click to zoom out.
The spacing of these
lines is the pitch.
1
2
3
4
1
2
3
4