


39
5
Important Notes, Limitations, and Other Information
Important Notes and Limitations
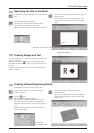
The depth regulator nose cannot overcome a difference in level.
• When you load more than one plate at a time, make sure there are no gaps between them.
• Plates that are not quadrilateral or are of irregular shape may not be suitable for engraving with the EGX-20.
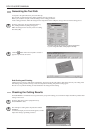
Fill engraving over a broad area is not possible.
• Processing such as performing a fill operation over the entire surface of a large plate to cut raised characters cannot be performed in
the Engraving mode. This is because the depth regulator nose drops below the difference in levels.
When you want to perform a fill operation over a width that is broader than the diameter of the depth regulator nose, use the 3D
Cutting mode.
Note, however, that in the 3D Cutting mode, line width is not uniform unless considerable care is taken to ensure a constant cutting
depth, and so it may be impossible to obtain attractive engraving results. This is because the depth regulator nose is not used in the
3D Cutting mode, so there is more variation in cutting depth from one location to another.
Using different depth regulator noses for different purposes
• The machine comes with two types of depth regulator noses, one large in size and one small, but normally you use the medium-size
depth regulator nose installed in the depth regulator unit.
In cases like those described below, change the depth regulator nose.
- Use the large-size one when characters are relatively large and the fill width is broad.
- Use the small-size one when you are engraving a surface with a relatively large curve, such as a cylindrical object.
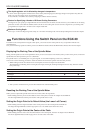
Changing the Depth Regulator Nose
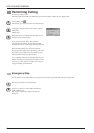
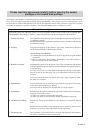
The depth regulator nose is installed in the depth regulator unit. To change it, first detach the depth regulator unit.
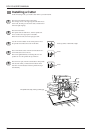
To Detach
Turn the depth regulator nose counterclockwise
to line up the notches on the depth regulator unit
with the tabs on the depth regulator nose,
allowing you to pull out the depth regulator nose.
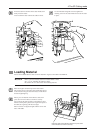
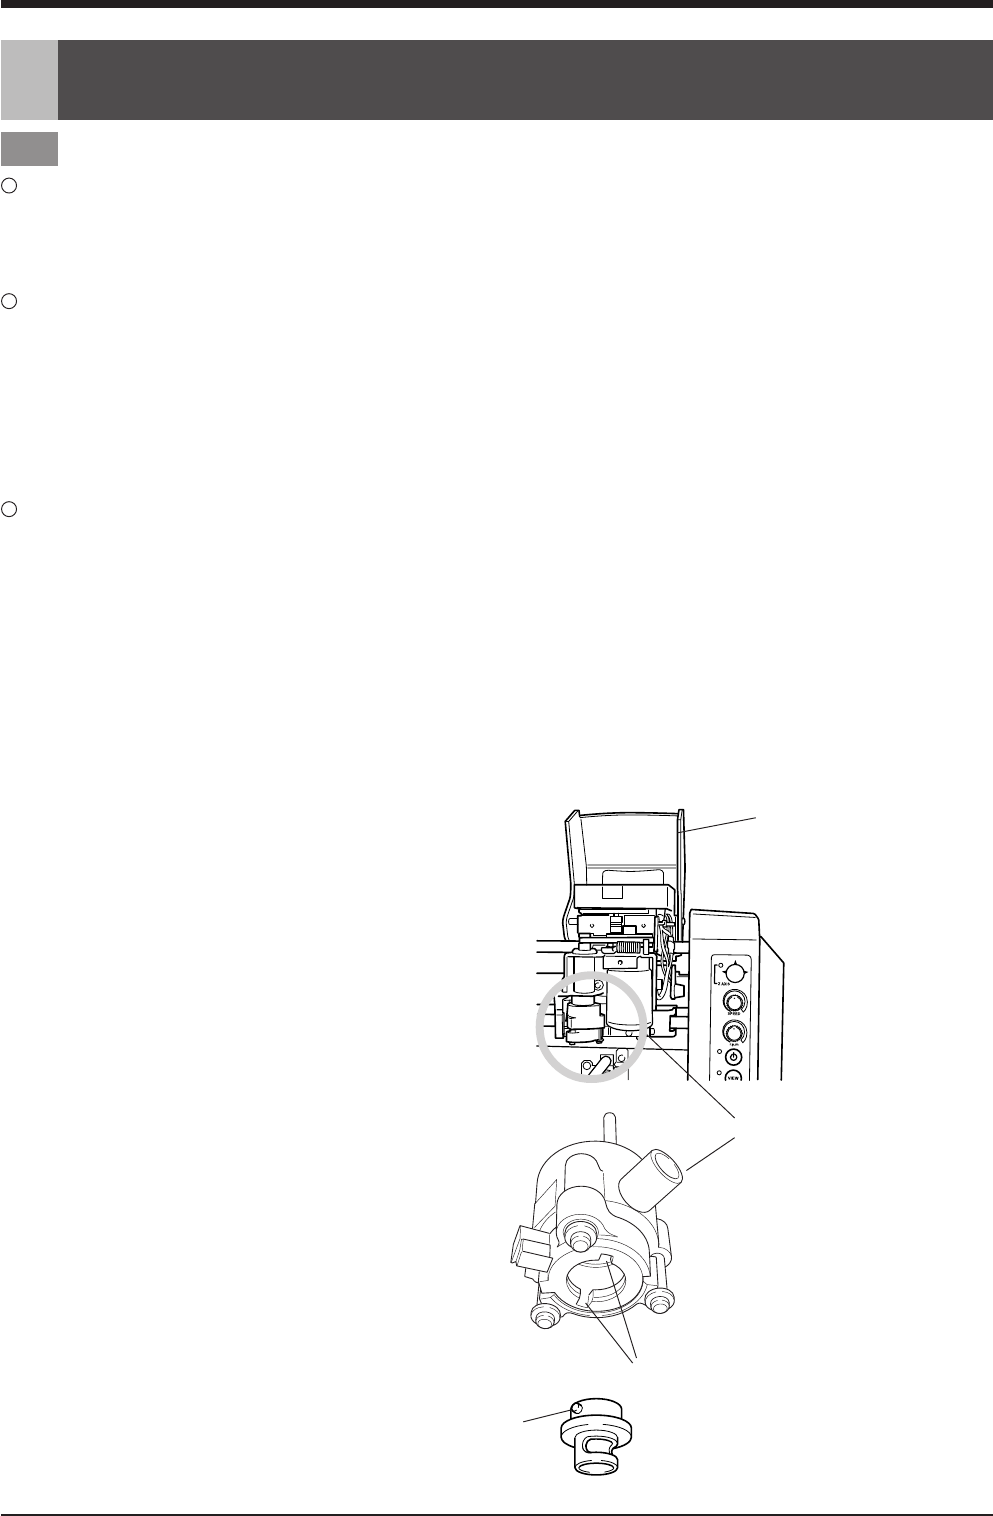
To Install
Orient the depth regulator nose so that the two
tabs face up, then insert it into the depth
regulator unit from below.
Line up the tabs on the depth regulator nose with
the notches on the depth regulator unit, insert,
then turn the depth regulator nose clockwise to
secure it in place.
Depth regulator nose
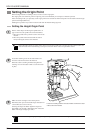
Open the cover for the carriage.
Depth regulator unit
notches
tads
5 Important Notes, Limitations, and Other Information