


30
EGX-20 USER'S MANUAL
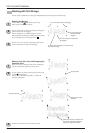
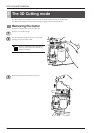
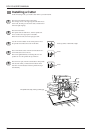
Installing a Cutter
In the 3D Cutting mode, you install a cutter before you load material.
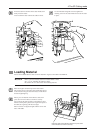
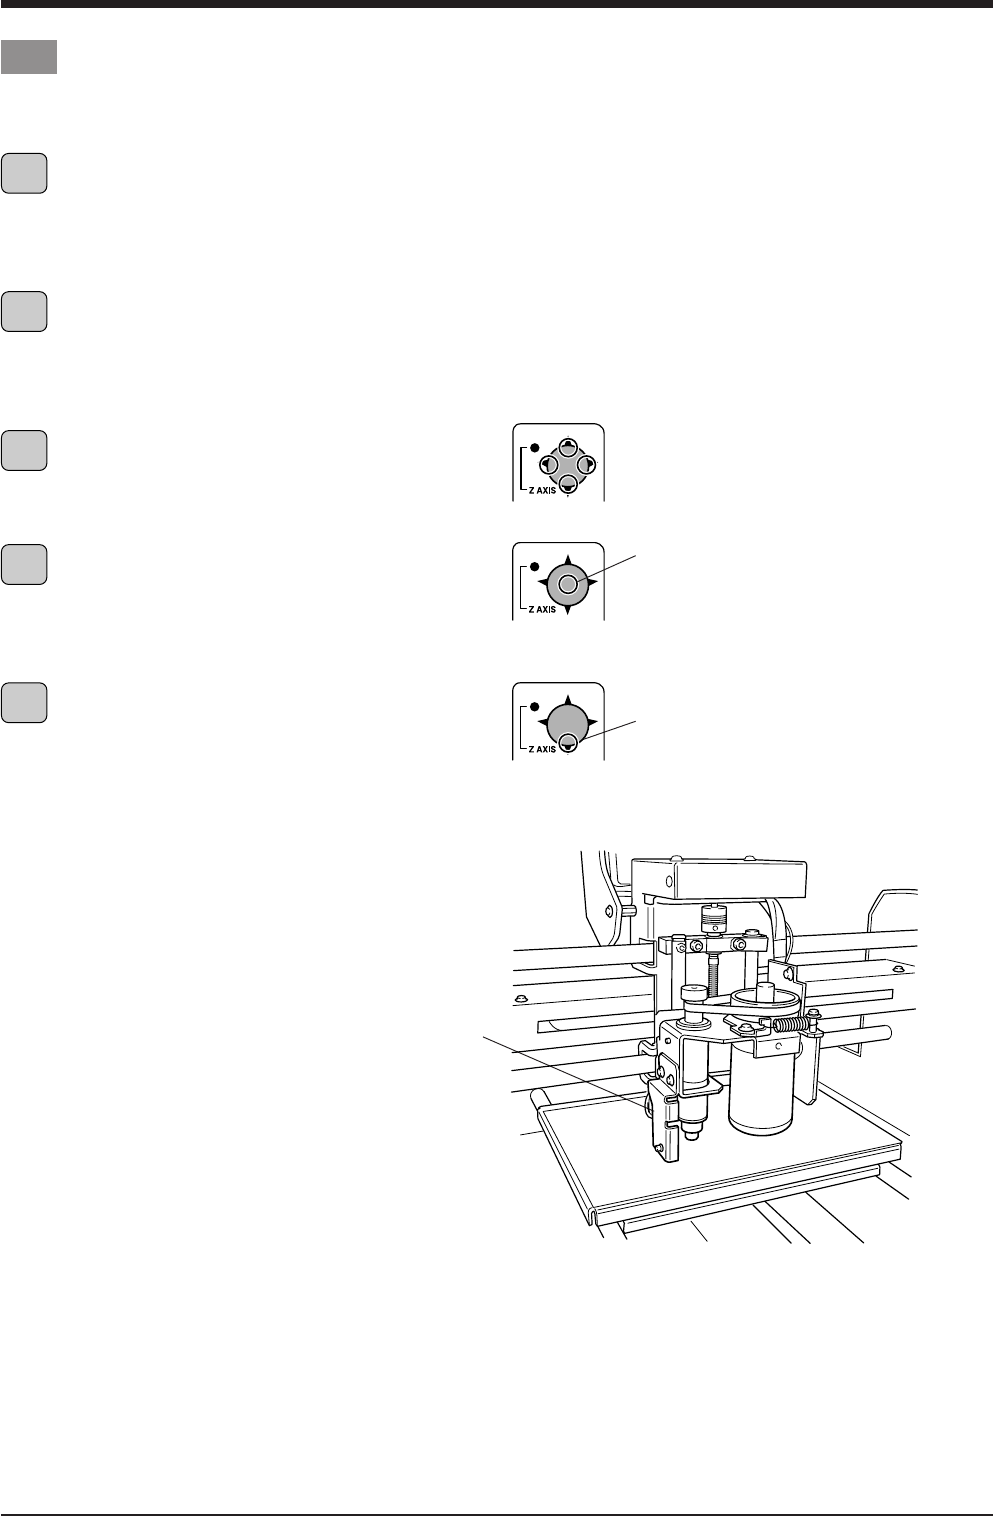
The spindle unit stops, leaving a small gap.
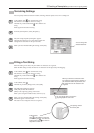
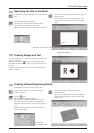
Press up, down, or to the left or right.
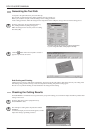
Press.
Press.
1
2
3
4
5
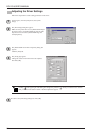
Press the power button to turn on the power.
The carriage moves to the right edge and the table moves
to the front, the unit goes into View status, and the Power
and View lights light up.
Press the View button.
The spindle unit and table move, and the spindle unit
moves to above the origin point on the table.
When movement ends, the View light goes dark.
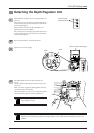
Use the movement button on the switch panel to move
the spindle unit to about the center of the table.
Press and hold the center of the movement button for a
short while (0.6 second or more).
The Z-axis light illuminates, indicating that it is now
possible to move the spindle unit up and down.
Press the lower part of the movement button. The spindle
unit descends while you hold down the button. Hold
down the movement button until the spindle unit stops
automatically.