34
EGX-20 USER'S MANUAL
In 3D Engrave, go to the [Cut] menu and choose
[Machines].
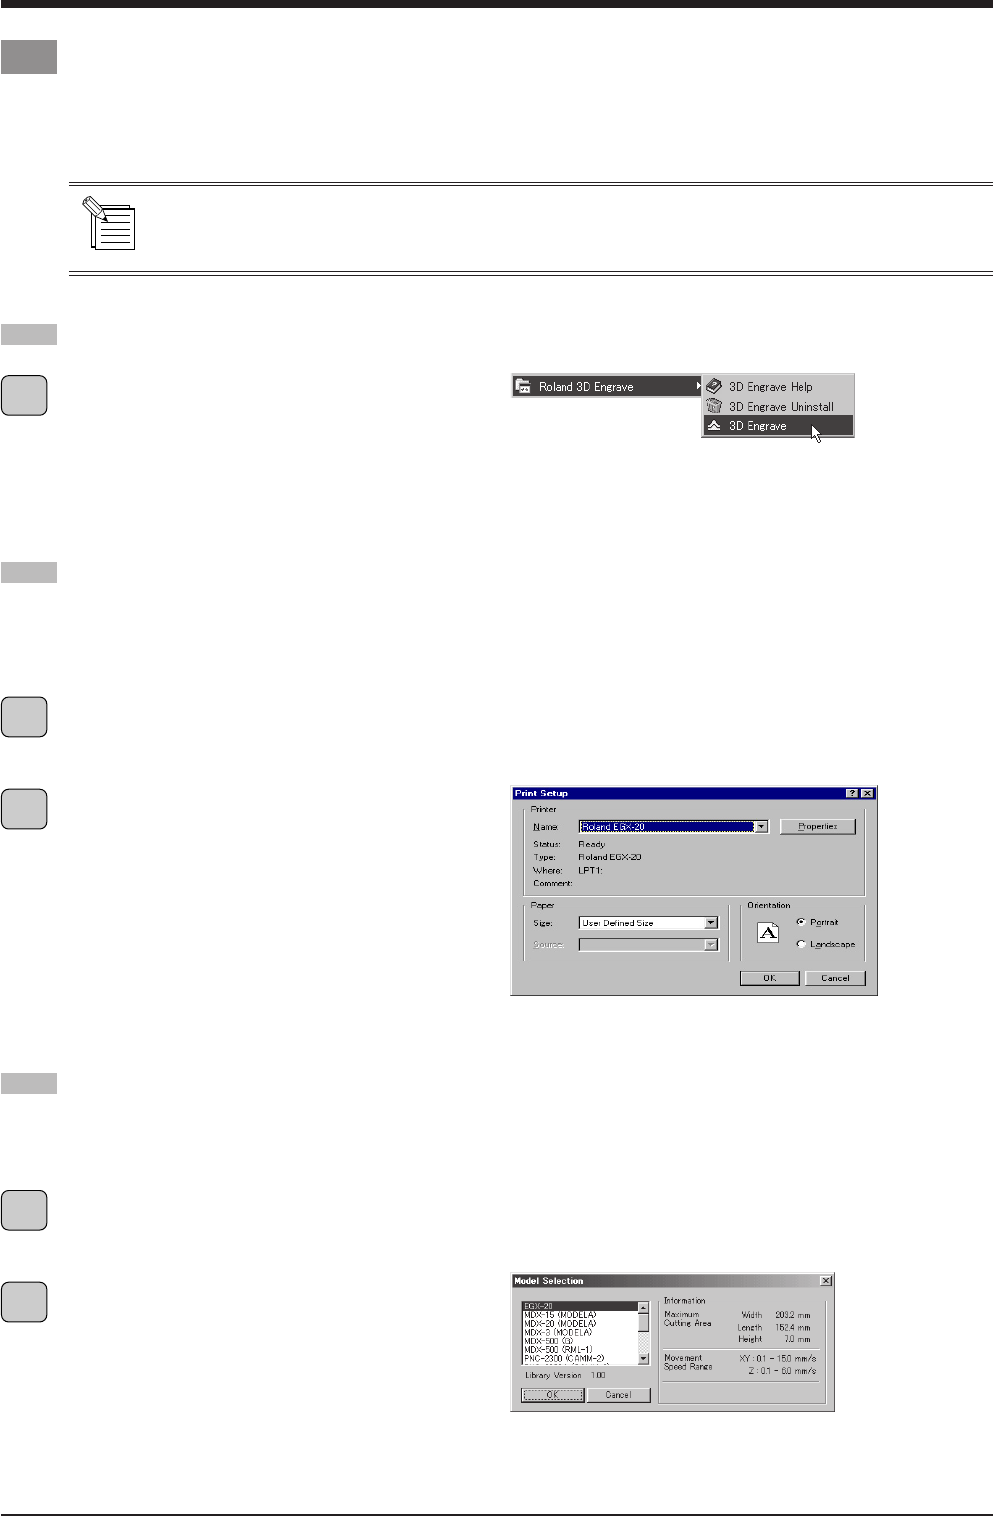
The [Model Selection] dialog box appears.
Select [EGX-20], then click [OK].
In 3D Engrave, go to the [File] menu and select [Output
Device Setup].
The [Print Setup] dialog box appears.
Make sure the printer name is set to [Roland EGX-20] (if
the printer name is not [Roland EGX-20], then click the
drop-down arrow and select [Roland EGX-20]), then
click [OK].
In Windows, click the [Start] button. At the Start menu,
point to [Programs], then to [Roland 3D Engrave]. At the
menu that appears, click [3D Engrave].
3D Engrave starts.
The following explanation is for Windows 95/98/Me.
For an explanation for Windows NT 4.0/2000, or for a more detailed explanation, see the help for 3D Engrave or
refer to the 3D Engrave User's Manual (PDF) on the Roland Software Package CD-ROM.
Creating Data with 3D Engrave
This section describes the basic steps for cutting a relief using 3D Engrave.
3D Engrave is a program for adding thickness to a flat (two-dimensional) graphic to create a relief (raised engraving).
You can also add thickness to figures and other images.
Starting 3D Engrave
Selecting the Driver
Select the output device (driver).
Even if you click [Properties] and make sets for the size of the material or the cutting conditions (tool speed, depth, and so on),
the data that is output is not affected.
Selecting the Model
Select the model name.
This generates a tool path matched to the selected model.
1
1
2
1
2


