


29
4 The 3D Cutting mode
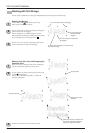
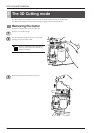
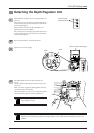
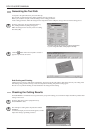
The depth regulator unit is secured in place by two
screws.
Use the included small hexagonal wrench to loosen the
two screws.
When you do this, support the depth regulator unit with
your hand to keep it from falling.
After loosening the two screws, move the depth regulator
unit downward and detach it from the spindle unit.
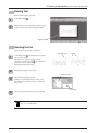
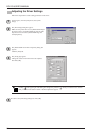
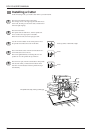
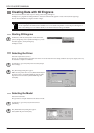
If the EGX-20 is switched off, press the power button to
turn it on.
The carriage moves to the right edge and the table moves
to the front, the unit goes into View status, and the Power
and View lights light up.
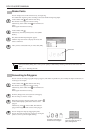
If the EGX-20 is turned on but the View light is not
illuminated, press the View button.
The carriage moves to the right edge and the table moves
to the front, the unit goes into View status, and the Power
and View lights light up.
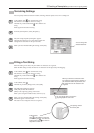
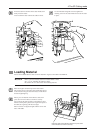
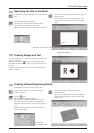
Press the power button to switch off the power.
Open the cover for the carriage.
Detaching the Depth Regulator Unit
Power and View
lights illuminated
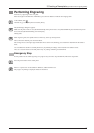
When you switch on the EGX-20, a sensor checks whether the depth regulator unit is installed. At this time, the
machine goes into the Engraving mode if the depth regulator unit is install and the 3D Cutting mode if it is not
installed.
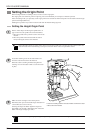
Store the depth regulator unit in a safe place
to guard against losing it.
Screw
Screw
Depth regulator unit
Open the cover for the carriage.
1
2
3
4