


47
SETTINGS AND ADJUSTMENTS
SECTION 4-12
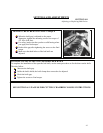
Adjusting or Replacing Rotor Knives
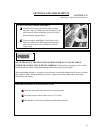
The rotor knives and bed knives are very sharp wear heavy gloves to avoid injury.
Use the rotor-locating pin to lock the rotor in the position that is least likely to cause injury as you work. The
pin keeps the rotor from turning.
If the rotor knives and the bed knives are to be removed, remove the rotor knives first {and replace them
last) to reduce the chance of injury.
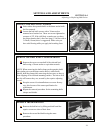
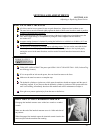
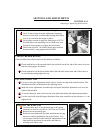
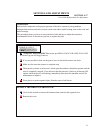
LOCK THE ROTOR
Position the rotor so that a blade is at top dead center.
Insert the rotor-locking pin into the hole in the right side
bearing housing.
Apply light pressure against the pin while turning the rotor
toward you approximately 10 degrees. The pin will drop into
the hole when it is properly aligned.
The pin locks the rotor in place until the pin is removed.
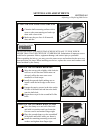
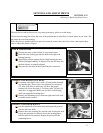
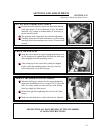
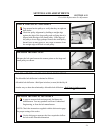
REMOVE THE MOUNTING SCREWS
Loosen the rotor knife screws with a 30 mm socket mounted
on a breaker bar (These screws are tightened to a torque of
472 ft lbs (640 Nm) so make sure you have the proper
breaker bar (a four foot long (1.2 m) bar with a 3/4 inch (19
mm) drive is suggested. Make sure you have solid footing
while you apply the breaking force.
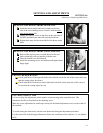
Remove the mounting screws from the right rotor knife with
a suitable socket wrench.
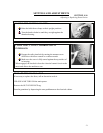
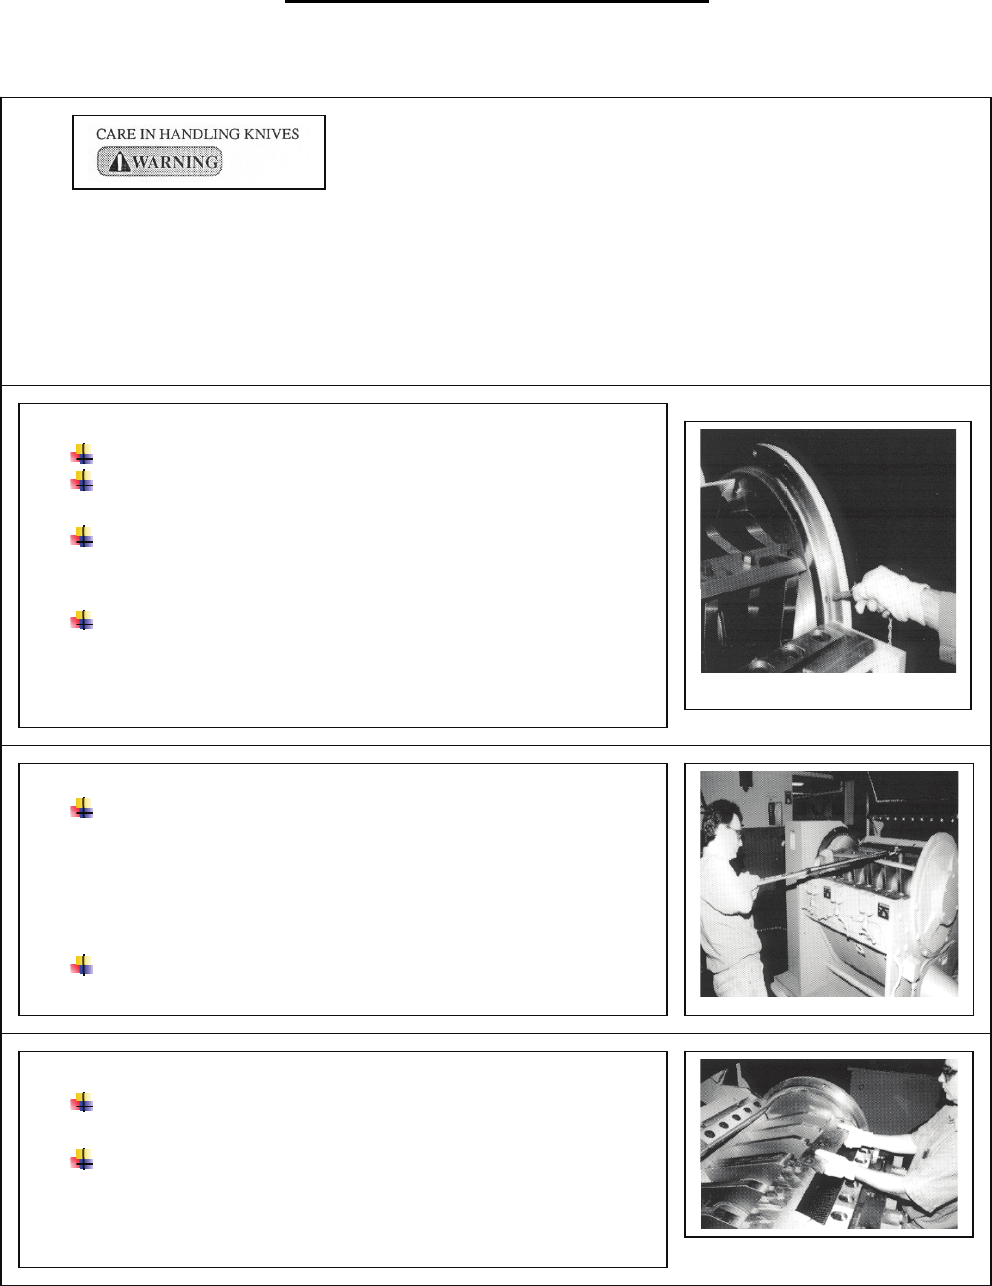
REMOVE THE ROTOR KNIVES
Lift the right knife off from the rotor and repeat the process
with the left rotor knife.
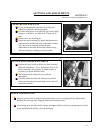
Remove the rotor-locating pin, turn the rotor to bring the next
knives into position for removal, insert the locating pin to
hold the rotor in this position. Repeat the process for the
remaining knives.