62
SETTINGS AND ADJUSTMENTS
SECTION 4-27
Setting and Adjusting the Chamber Jackscrew
SET & TEST THE MOUNTING BRACKET LIMIT
SWITCH (Continued from previous page)
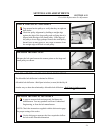
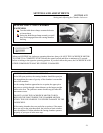
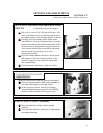
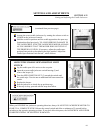
Place a 4 in. x4 in.x12 in. (100 mm x l00 mm x 300
mm) wood block on its 4 in. (l00 mm) side between
the mating surfaces of the cutting chamber, as shown.
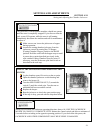
Carefully close the chamber until it bears on the
wood block (4" from the closed position) with some
pressure and check that the limit switch shuts off the
jackscrew motor. Be prepared to stop the jackscrew
at the console switch in the event that the mounting
bracket switch is not properly set or is not
functioning correctly.
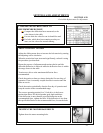
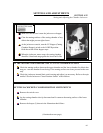
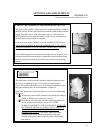
Open the cutting chamber and close it on the wood
block again to verify the switch operation. If the
switch is properly set, the jackscrew motor shuts
down immediately.
If the operation is satisfactory, replace the sheet
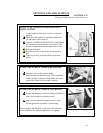
Make sure that no one is near the jackscrew or hopper.
Clear the mating surfaces of the cutting chamber of
any debris that might prevent tight closure.
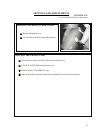
At the jackscrew console, turn the CC/Hopper
(Cutting Chamber/Hopper) switch to the LOWER
position. Hold the switch till the hopper stops.
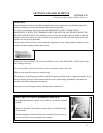
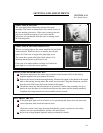
FASTEN THE CUTTING CHAMBER
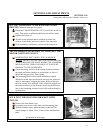
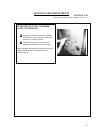
Raise the hold-down clamps to their upright
positions.
Turn the knobs clockwise until they are tight against
the chamber housing.


