Appendix B Verification and Calibration
114 Series N5700 User’s Guide
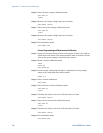
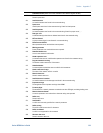
Step 5. Select the first voltage calibration point.
CAL:LEV P1
*OPC?
Step 6. Measure the output voltage and enter the data.
CAL:DATA <data>
Step 7. Select the second voltage calibration point.
CAL:LEV P2
*OPC?
Step 8. Measure the output voltage and enter the data.
CAL:DATA <data>
Step 9. Exit calibration mode.
CAL:STAT OFF
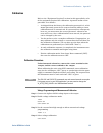
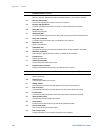
Current Programming and Measurement Calibration
Step 1. Connect a precision shunt resistor to an output. Connect the Agilent
3458A across the shunt. The shunt should be able to measure at least
120% of the power supply’s rated full-scale current.
Step 2. Enable current calibration mode.
*RST
OUTP ON
CAL:STAT ON
Step 3. Set the output voltage high enough to compensate for any voltage
drops on the load leads and current shunt.
VSET 0.5
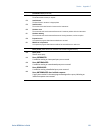
Step 4. Select current calibration.
CAL:CURR
Step 5. Select the first current calibration point.
CAL:LEV P1
*OPC?
Step 6. Calculate the shunt current (I=V/R) and enter the data.
CAL:DATA <data>
Step 7. Select the second current calibration point.
CAL:LEV P2
*OPC?
Step 8. Calculate the shunt current (I=V/R) and enter the data.
CAL:DATA <data>
Step 9. Exit calibration mode.
CAL:STAT OFF


