


Operating the Power Supply Remotely 4
Series N5700 User’s Guide 49
USB Interface
NOTE
For detailed information about USB interface connections, refer to the Agilent
Technologies USB/LAN/GPIB Interfaces Connectivity Guide, located on the
Automation-Ready CD-ROM that is shipped with your product.
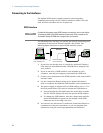
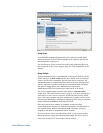
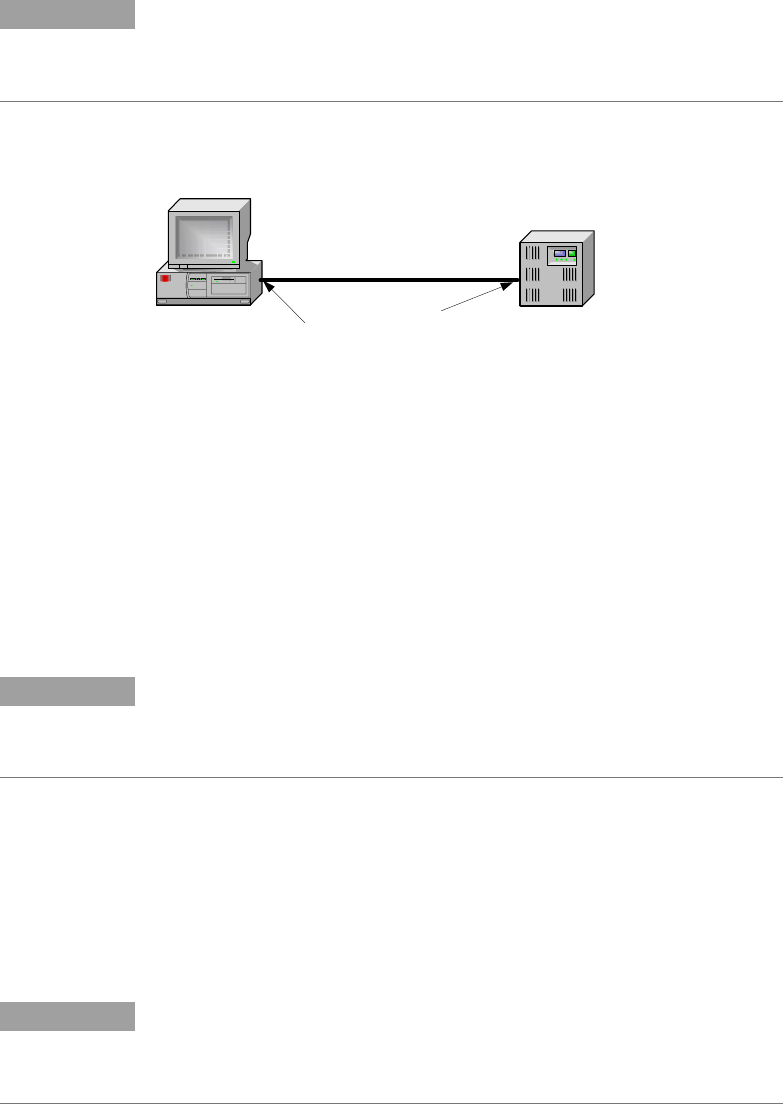
The following steps will help you quickly get started connecting your
USB-enabled instrument to the Universal Serial Bus (USB). The
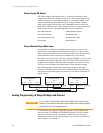
following figure illustrates a typical USB interface system.
1 If you have not already done so, install the Agilent IO Libraries
Suite from the Automation-Ready CD-ROM that is shipped with
your product.
2 Connect your instrument to the USB port on your computer.
3 With the Connection Expert utility of the Agilent IO Libraries
Suite running, the computer will automatically recognize the
instrument. This may take several seconds. When the instrument
is recognized, your computer will display the VISA alias, IDN
string, and VISA address. This information is located in the USB
folder.
NOTE
The VISA address is: USB0::2391::2055::serialnumber::0:INSTR
where 2391 is the Agilent code, 2055 is the N5700 code, and serialnumber is
the 10-character serial number located on the label on the side of the unit.
4 You can now use Interactive IO within the Connection Expert to
communicate with your instrument, or you can program your
instrument using the various programming environments.
LAN Interface
NOTE
For detailed information about LAN interface connections, refer to the Agilent
Technologies USB/LAN/GPIB Interfaces Connectivity Guide, located on the
Automation-Ready CD-ROM that is shipped with your product.
The following steps will help you quickly get started connecting and
configuring your instrument on a local area network (LAN). The two
types of local area networks connections that are discussed in this
section are site networks and private networks.
PC
Instrument
USB Cable
Connect to USB
port on PC.
Connect to
USB port on
instrument.