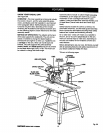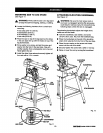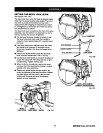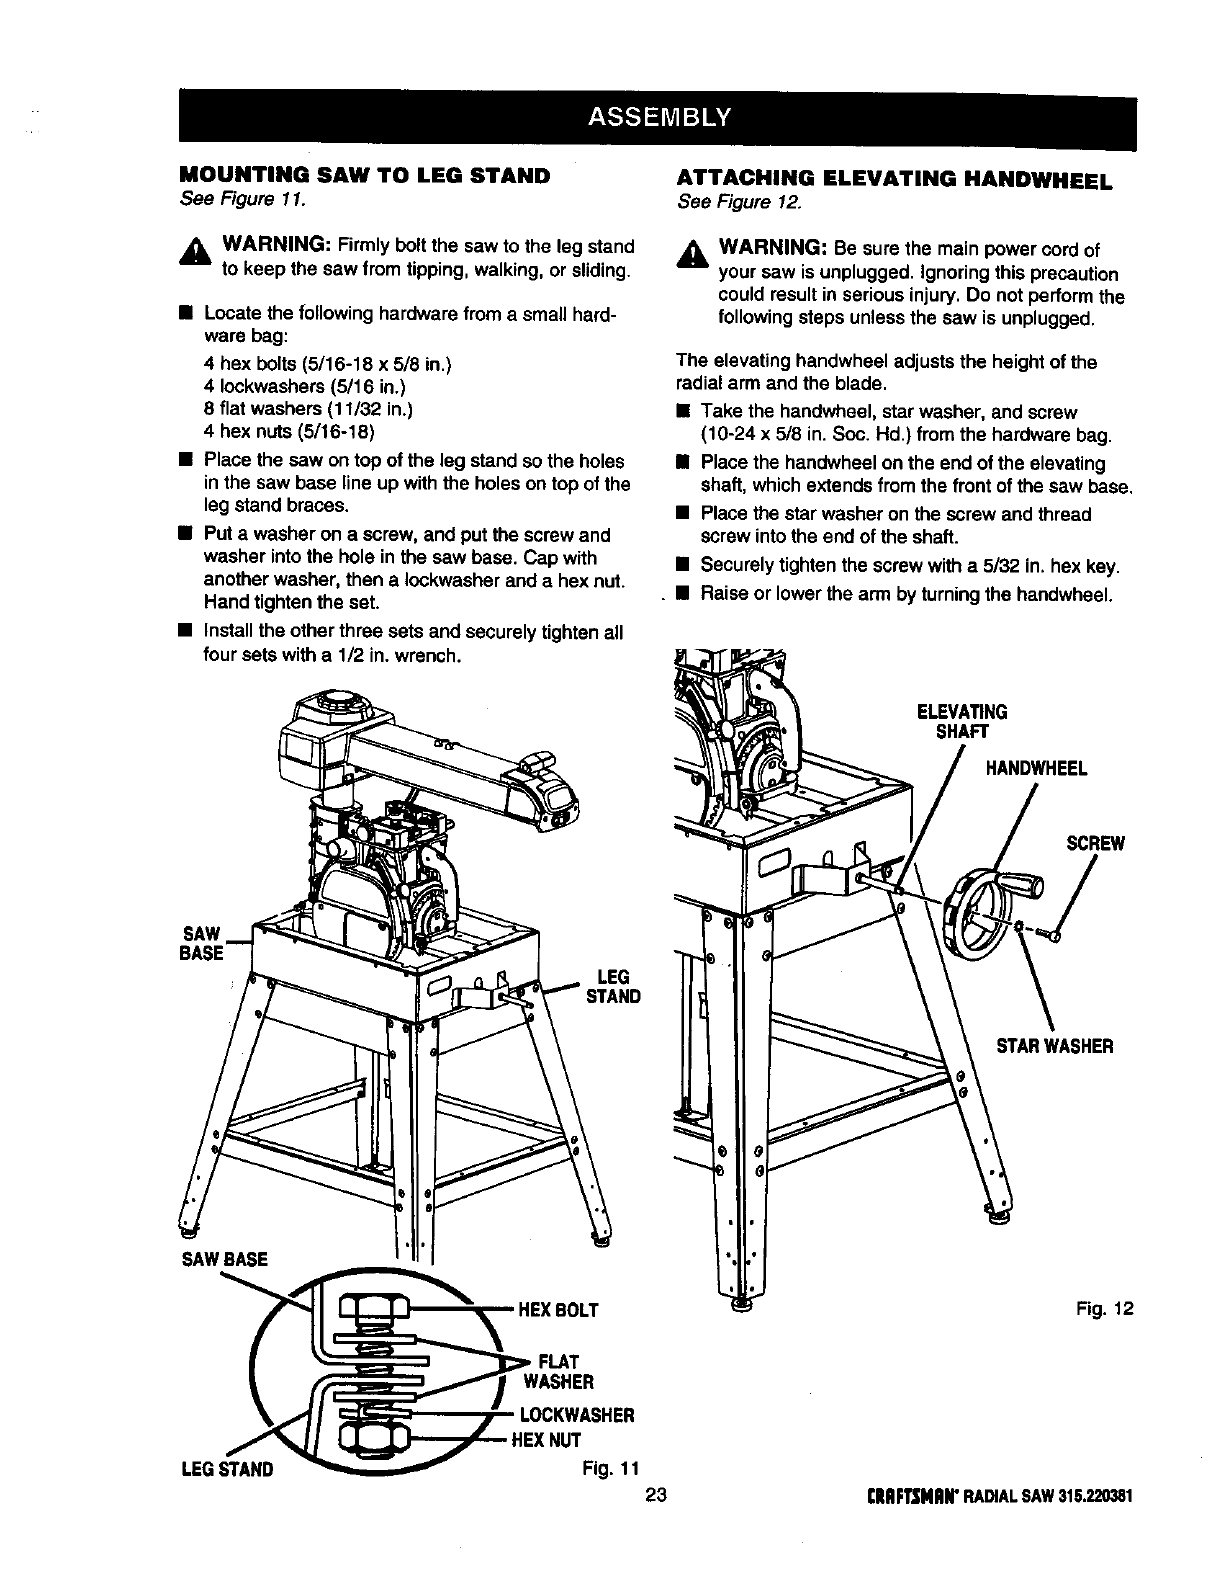
MOUNTING SAW TO LEG STAND
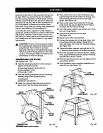
See Figure 11.
,_ WARNING: Firmly boltthe sawto the leg stand
to keep the saw from tipping,walking,or sliding.
• Locate the followinghardware from a small hard-
ware bag:
4 hex bolts (5/16-18 x 5/8 in.)
4 Iockwashers(5/16 in.)
8 flat washers (11/32 in.)
4 hex nuts (5/16-18)
• Place the saw on top ofthe leg stand sothe holes
inthe sawbase lineup with the holeson top of the
leg stand braces.
• Puta washer on a screw, and put the screwand
washer intothe hole in the saw base. Cap with
another washer, then a Iockwasherand a hex nut.
Hand tightenthe set.
• Installthe otherthree sets and securelytighten all
four sets witha 1/2 in.wrench.
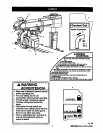
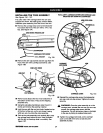
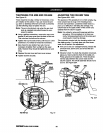
ATTACHING ELEVATING HANDWHEEL
See Figure 12.
_, WARNING: Be sure the main powercord of
yoursaw is unplugged.Ignoringthis precaution
could resultin serious injury.Do not performthe
followingsteps unlessthe saw is unplugged.
The elevating handwheel adjuststhe heightof the
radialarm andthe blade.
• Take the handwheel, starwasher, and screw
(10-24 x 5/8 in. Soc. Hd.) fromthe hardware bag.
• Placethe handwheel onthe end ofthe elevating
shaft, whichextendsfrom the front ofthe saw base.
• Placethe starwasher on the screwand thread
screw into the end of the shaft.
• Securelytightenthe screw witha 5132 in.hex key.
• Raise or lowerthe arm byturningthe handwheel.
ELEVATING
SHAFT
HANDWHEEL
SCREW
SAW
BASE
LEG
STARWASHER
SAWBASE i
HEXBOLT
| _ _J_,,FLAT
_1 WASHER
'_,_,*'/I _ /" LOCKWASHER
LEGs_HEXNUTFig. 11
23
Fig. 12
[IIQF1]JNIIN"RADIALSAW315.220381


