


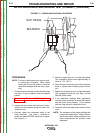
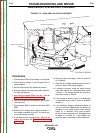


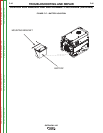
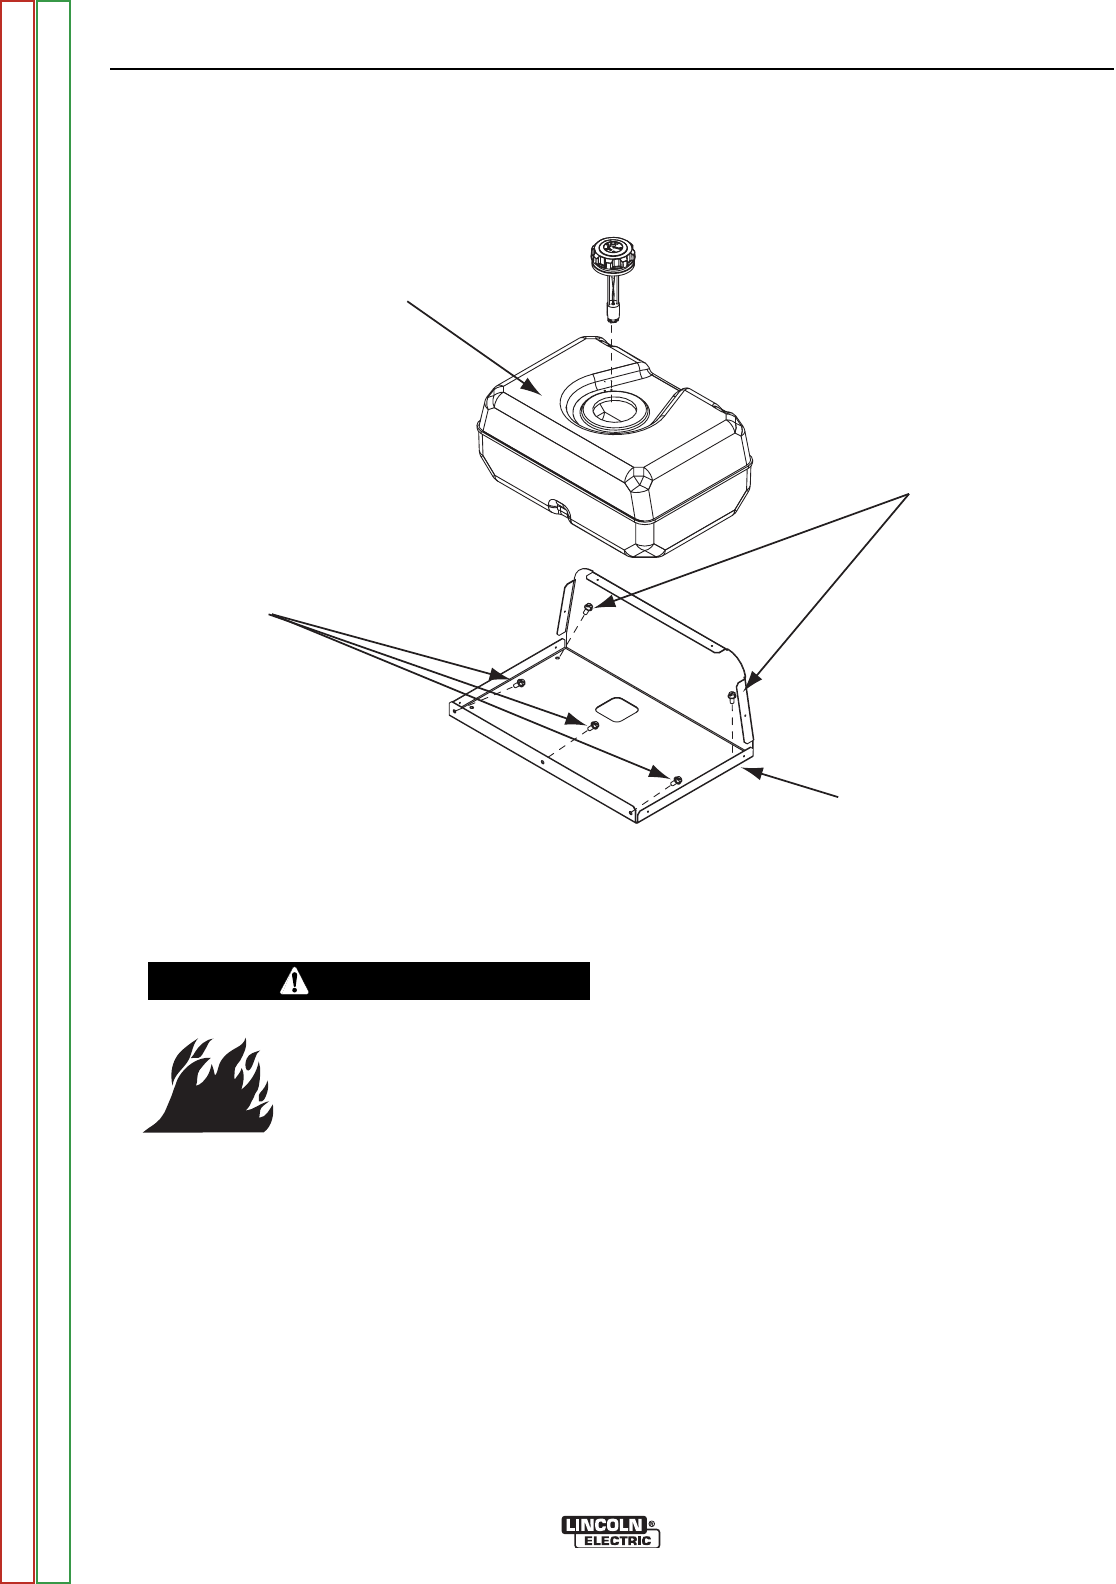
3/8’ SCREWS
FUEL TANK
3/8’ SCREWS
FUEL TANK ENCLOSURE
FIGURE F.14 – FUEL TANK REMOVAL
FUEL TANK AND ENCLOSURE
REMOVAL AND REPLACEMENT PROCEDURE (continued)
TROUBLESHOOTING AND REPAIR
F-40 F-40
OUTBACK® 185
Return to Section TOC Return to Section TOC Return to Section TOC Return to Section TOC
Return to Master TOC Return to Master TOC Return to Master TOC Return to Master TOC
PROCEDURE
Because gasoline is highly
flammable, the following
procedures should be done in
a well-ventilated area; far
away from flame, sparks, or
any other sources of ignition.
1. Perform the Case Cover Removal Procedure.
2. Close gasoline valve. “Red Lever” located on
bottom of gas tank.
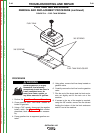
3. Using a 7/16” wrench, disconnect the negative
battery cable. See Figure F.15. Note washer
placement; label and disconnect for reassem-
bly.
4. Pump gasoline into an approved gasoline con-
tainer.
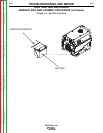
5. Using pliers, remove fuel line clamp located on
gasoline valve.
6. Carefully remove the fuel line from the gasoline
valve.
7. Flex the end of the sheet steel fuel tank enclo-
sure out slightly and lift the tank out of the
machine.
8. If access to the top of the engine is required,
using the 3/8” wrench, remove the five screws
holding the bottom of the fuel tank enclosure
and lift it out of the machine.
WARNING