WinCHAP User’s Manual Hearing Aid Measurements 93
7.2.6 Controlling your analyzer
There are some very basic analyzer controls that you can perform remotely from
your computer with WinCHAP. To reach them, open the Tools menu of the test
window and point at Analyzer Tools. You will see the following selections:
• Reset analyzer: This is equivalent to pushing the “Reset” button on your
analyzer.
• Level analyzer: This is equivalent to pushing the “Level” button on your
analyzer. It will attempt to level the test environment.
• Print with analyzer: This will cause the analyzer to dump the current
analyzer window to its built-in internal printer or attached external print
-
er.
• Line feed with analyzer: This will advance the paper in the analyzer’s
internal thermal printer.
• Set analyzer label: This will bring up a window that will let you set the
label printed with the thermal paper test strip. See Section 7.2.7.
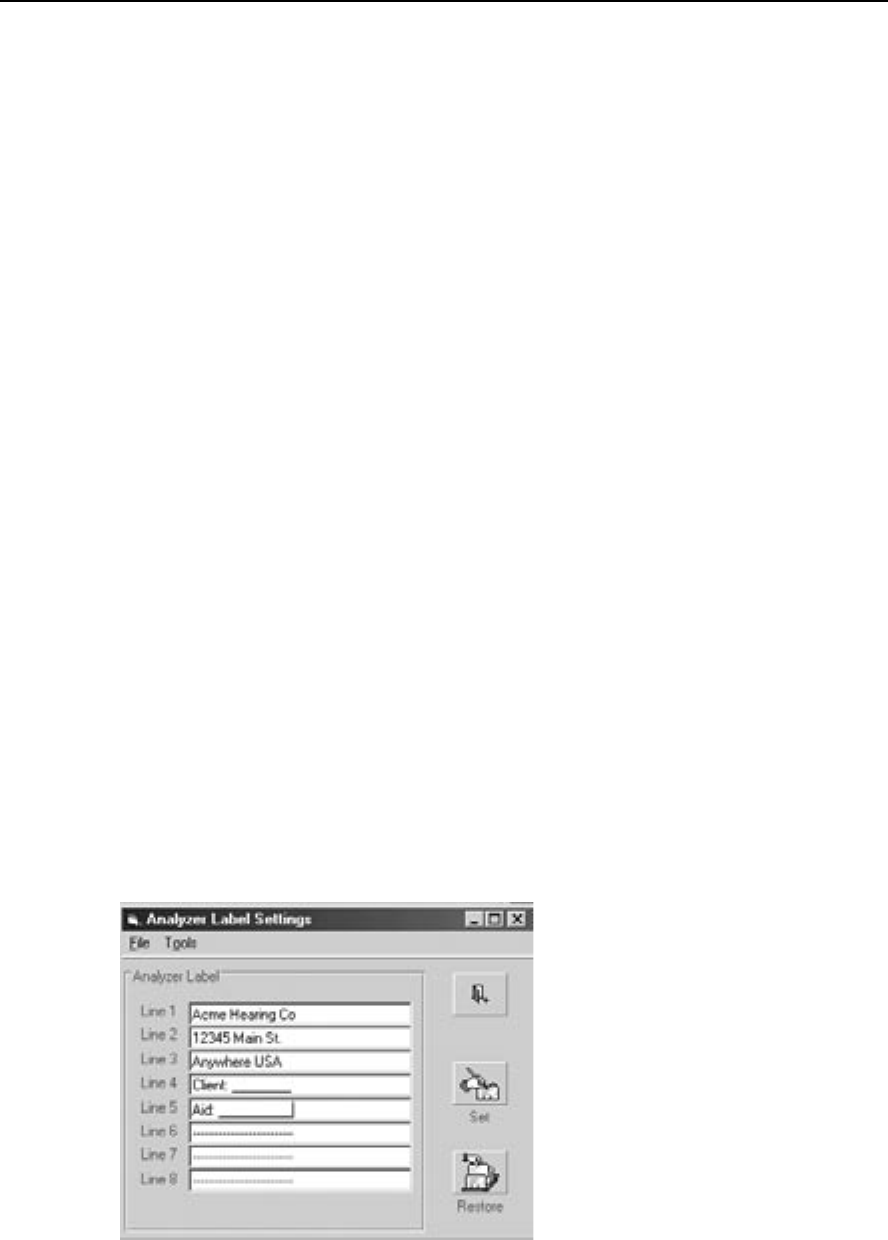
7.2.7 Changing your analyzer’s label
You can use WinCHAP to change the label printed with the analyzer’s internal
thermal printer or attached external printer.
1. Open a WinCHAP test window. See Section 4.2.2 for details.
2. Open the Tools menu, point at Analyzer Tools, and select Set Analyzer
Label. This will open the Analyzer Label Setting window. See Figure
7.2.7.
3. Type your desired label into the provided lines.
4. Click
Set. This will set the displayed label as your analyzer’s new default
label. This label will be saved even if you turn off your analyzer.
Figure 7.2.7—Analyzer Label Settings window


