ProSecure Unified Threat Management UTM10 or UTM25 Reference Manual
2-6 Using the Setup Wizard to Provision the UTM in Your Network
v1.0, September 2009
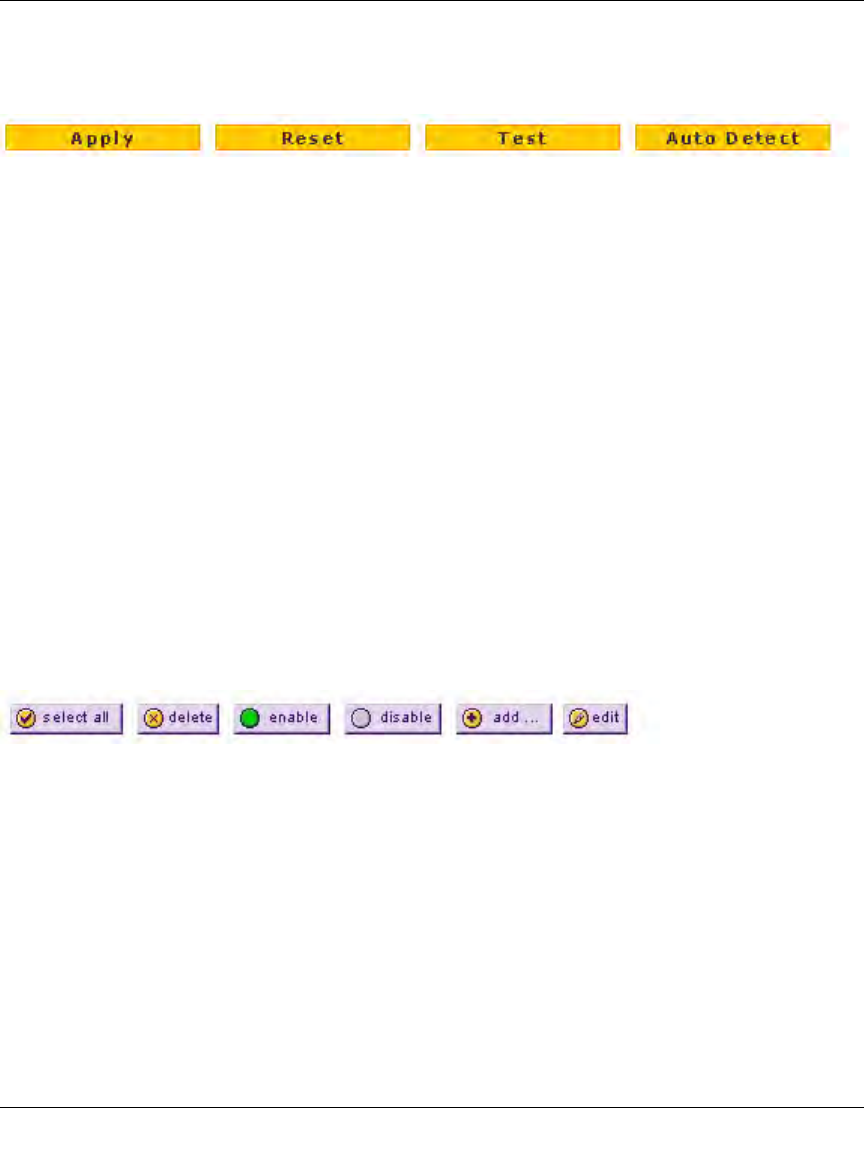
The bottom of each screen provides action buttons. The nature of the screen determines which
action buttons are shown. Figure 2-4 shows an example.
Any of the following action buttons might be displayed on screen (this list might not be complete):
• Apply. Save and apply the configuration.
• Reset. Reset the configuration to default values.
• Test. Test the configuration before you decide whether or not to save and apply the
configuration.
• Auto Detect. Enable the UTM to detect the configuration automatically and suggest values for
the configuration.
• Next. Go to the next screen (for wizards).
• Back. Go to the previous screen (for wizards).
• Search. Perform a search operation.
• Cancel. Cancel the operation.
• Send Now. Send a file or report.
When a screen includes a table, table buttons are displayed to let you configure the table entries.
The nature of the screen determines which table buttons are shown. Figure 2-5 shows an example.
Any of the following table buttons might be displayed on screen:
• select all. Select all entries in the table.
• delete. Delete the selected entry or entries from the table.
• enable. Enable the selected entry or entries in the table.
• disable. Disable the selected entry or entries in the table.
• add. Add an entry to the table.
• edit. Edit the selected entry.
Figure 2-4
Figure 2-5
