


30
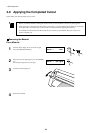
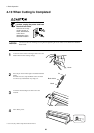
4 Basic Operation
5
6
7
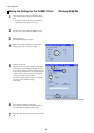
4
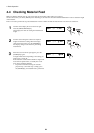
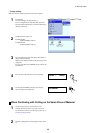
In the [Printers] dialog box, click [OK].
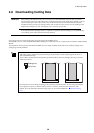
In the program window, lay out the cutting data so
that it fits within the displayed cutting range.
Send the cutting data from the program to the CX-24/
12.
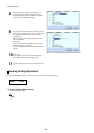
Click the [Size] tab and make the settings for the
cutting range at the screen shown at right.
Click the [Tools] tab.
Clicking the drop-down arrow displays the numerals
[1] through [8] and the [Machine Setting] selections.
To specify the speed for performing cutting using the
driver, choose a number from [1] to [8] and enter the
cutting conditions. When you do this, the machine
settings for the CX-24/12 are disabled.
To perform cutting using the conditions set with the
CX-24/12, choose [Machine Setting].
Click [OK].
* When you are performing cutting, clear the selection for [Fill Pitch].
1
2
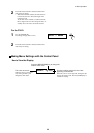
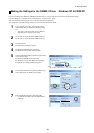
In the program you're using, from the [File] menu,
choose [Print Setup] to display the [Printers] dialog
box.
* The names of the menu items may be different,
depending on the program you're using.
For the CX-24, choose [Roland CAMM-1 CX-24].
For the CX-12, choose [Roland CAMM-1 CX-12].
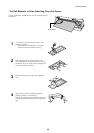
Making the Settings for the CAMM-1 Driver -Windows 95/98/Me
3
Click [Properties].
The [Properties] dialog box appears.