


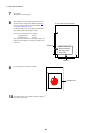

8 Cutting Printed Material
47
9
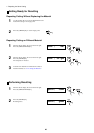
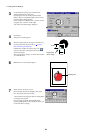
For the CX-24
Depending on the type of material loaded, choose
[PIECE] or [ROLL], then press the [ENTER] key.
For the CX-12
Press the [ENTER] key.
The cutting carriage moves to the left and detection of
the crop marks starts.
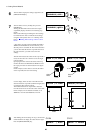
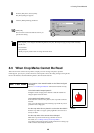
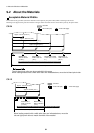
10
During crop-mark detection, the display sequentially
shows the messages at right.
When mark detection ends, the message "ALIGN
COMPLETED" flashes. When "SETUP | <ON>"
appears, data can be received.
If any other message appears, it means that reading of
the crop marks failed.
Refer to "8-5 When Crop Marks Cannot Be Read"
and check the content of the data and how the
material is loaded.
SETUP -> ENTER
SELECT | ROLL
CX-24 CX-12
NOW LOADING..
SEARCHING MARK 1
SEARCHING MARK 2
SEARCHING MARK 3
ALIGN COMPLETED
SETUP | <ON>
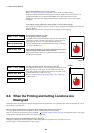
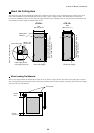
MARK 1 MARK 2
MARK 3
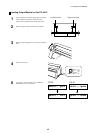
Performing Cutting with the CX-24/12
1
In Illustrator, go to the [File] menu and choose [Print
Setup].
The [Print Setup] dialog box appears.
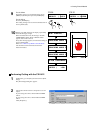
2
Choose the CX-24/12 driver as the printer to use for
output.
If you're using the CX-24, choose Roland CAMM1
CX-24.
If you're using the CX-12, choose Roland CAMM1
CX-12.
Click [Properties].