


8 Cutting Printed Material
44
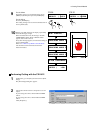
9
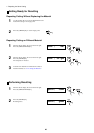
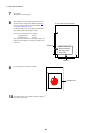
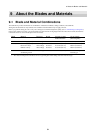
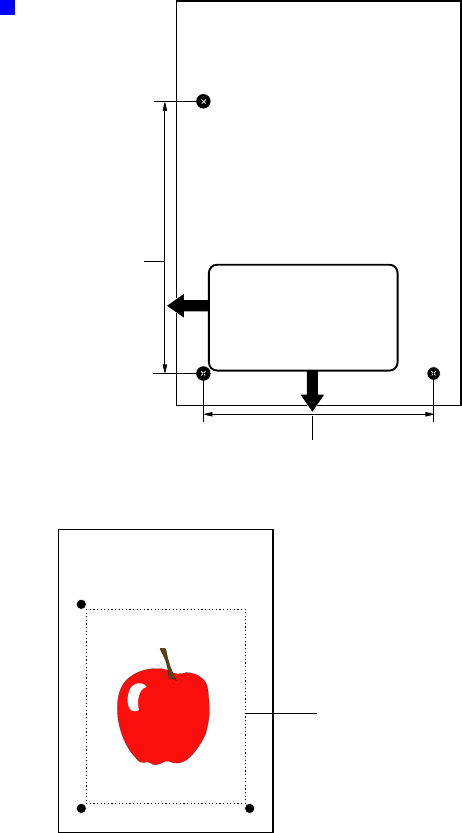
Lay out the figure inside the crop marks.
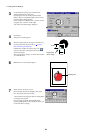
10
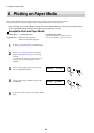
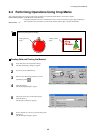
From [File] menu, choose [Print] to perform output to
the printer you're using.
7
Click [OK].
The preview window appears.
8
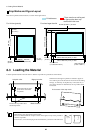
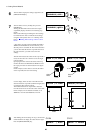
This example uses the layout and positioning of crop
mark for A4-size material. For detailed information,
refer to "8-2 Shape and Layout of Crop Marks -
Crop Marks and Figure Layout."
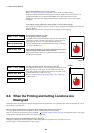
At this time make a note of the distances between the
crop marks specified in the figure at right.
For A4-size material, these are as follows.
Length direction: 210 mm
Width direction: 170 mm
The values you note down here are required when you
make the menu settings for sensing crop marks on the
CX-24/12.
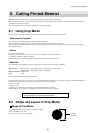
Make a note of the
distance between
the center of the
crop marks
X: The center of the crop mark
Printable Area
LENGTH
WIDTH