


3-2
Cisco ASA 5500-X Series Hardware Installation Guide
Chapter 3 Installing and Connecting the ASA 5500-X
Rack Mounting the Chassis
Rack Mounting the ASA 5512-X, 5515-X, and 5525-X With Brackets
The ASA 5512-X, 5515-X, and 5525-X appliances ship with rack mount brackets installed on the front
of the chassis. If you want to mount the chassis to the back of the rack, you can move the brackets from
the front to the back of the chassis.
Detailed Steps
Step 1 (Optional) Move the brackets to the back of the chassis to install it in the back of the rack.
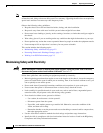
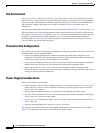
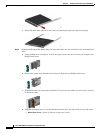
a. Remove the rack-mount brackets from the chassis as shown in Figure 3-1.
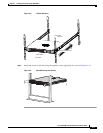
Figure 3-1 Removing the Brackets from the Front of the Chassis
b.
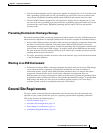
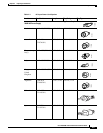
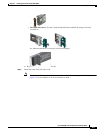
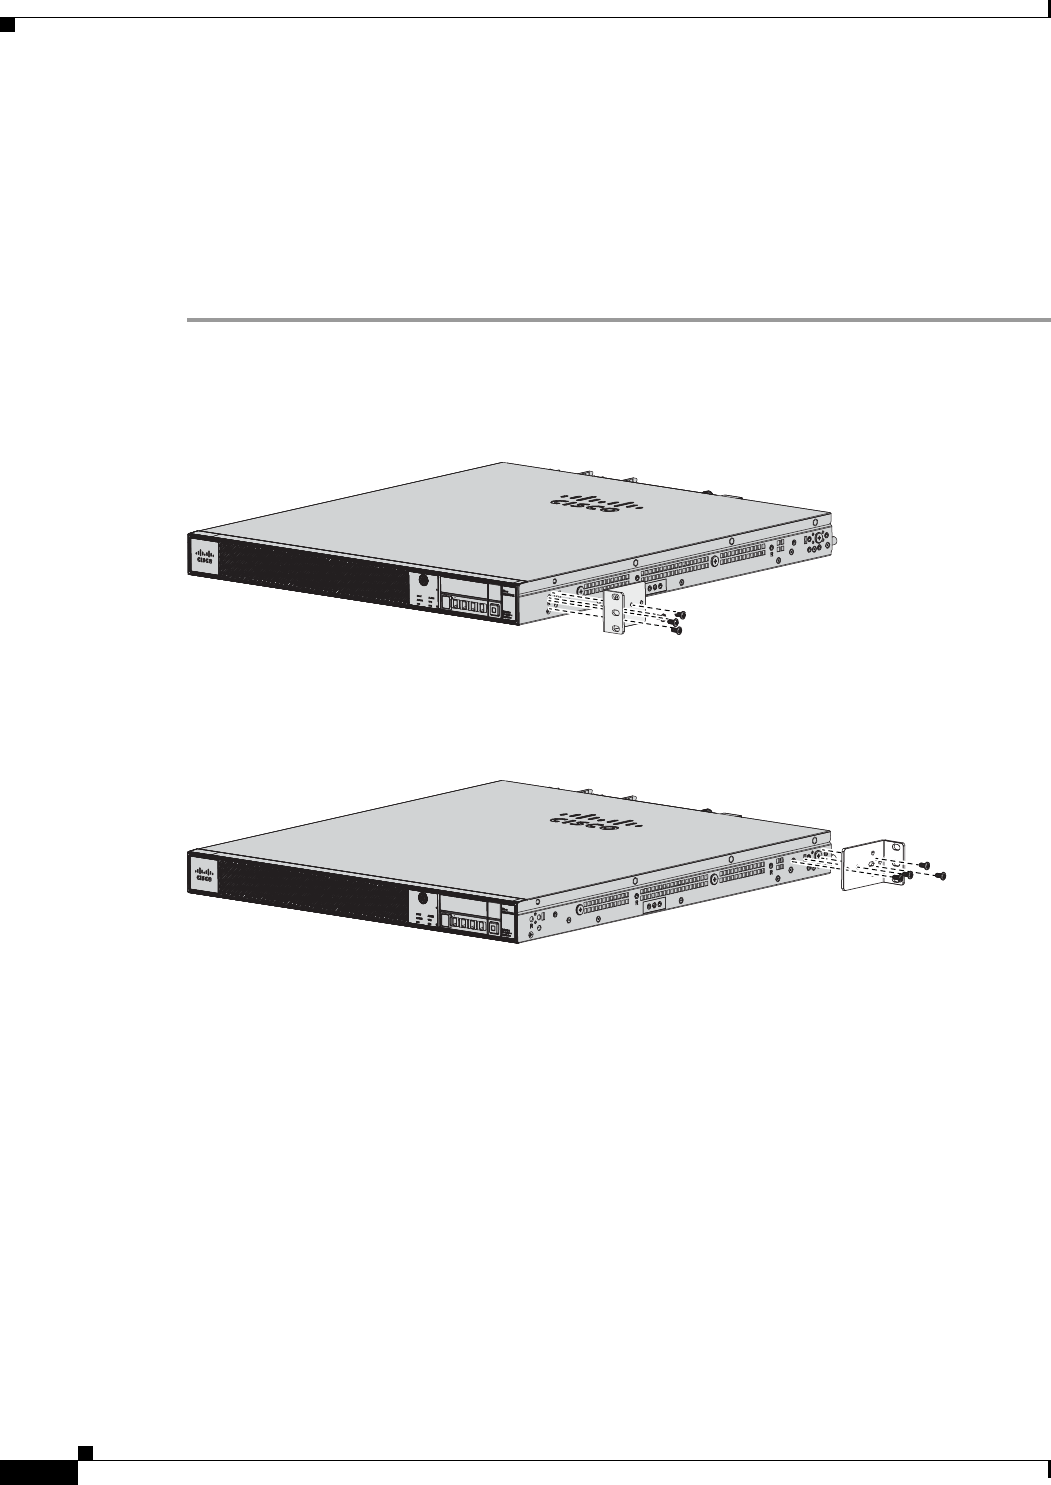
Install the brackets on the back of the chassis by attaching the brackets to the holes in the chassis as
shown in Figure 3-2. After the brackets are secured to the chassis, you can rack-mount it.
Figure 3-2 Installing the Brackets on the Back of the Chassis
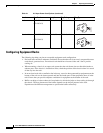
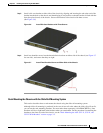
Step 2 We recommend that you install the chassis with the front bezel facing the cold aisle. (See Figure 3-3 for
an example of air flow from front to back.)
334560
334561